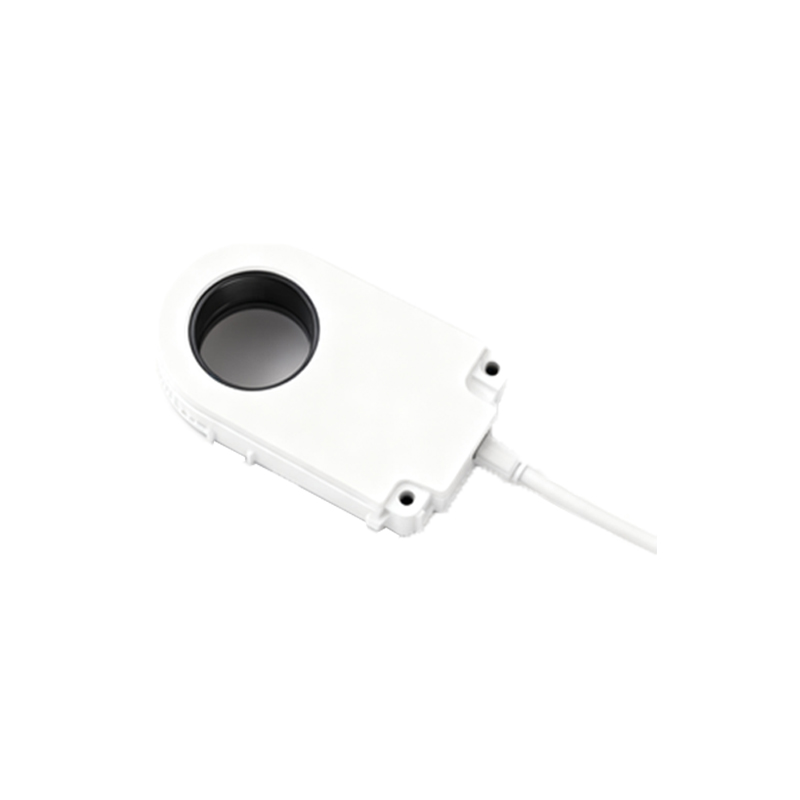
Proximity sensors are ubiquitous in modern electronics, found in everything from smartphones and tablets to industrial machinery and automotive systems. These small, non-contact devices detect the presence or absence of an object within a specific range. When a small proximity sensor fails, it can halt an entire process or render a device inoperable. While replacement is often the quickest solution, many failures are repairable with the right approach, tools, and patience. This guide provides a systematic, practical method for diagnosing and repairing common issues in small inductive or capacitive proximity sensors.
Before beginning any repair, safety is paramount. Always disconnect the device or machine from its power source. For sensors integrated into larger systems, follow lock-out/tag-out procedures. Gather the necessary tools: a multimeter, a set of precision screwdrivers (including Torx and hex drivers if needed), a soldering iron with fine tip, solder, desoldering wick or pump, magnifying glass or head-mounted magnifier, isopropyl alcohol, and lint-free swabs. A clean, well-lit, and static-free workspace is essential to avoid damaging sensitive electronic components.
The first step is accurate diagnosis. Symptoms of a faulty sensor include no response to detected objects, intermittent operation, reduced sensing range, or constant activation. Start with a visual inspection under magnification. Look for obvious signs of damage: cracked or broken housing, bent or corroded metal sensing face, damaged wiring or cable insulation near the connector, or loose terminals. For sensors with an LED indicator, observe its behavior; an LED that doesn't light up or behaves erratically can point to a power or output circuit issue.
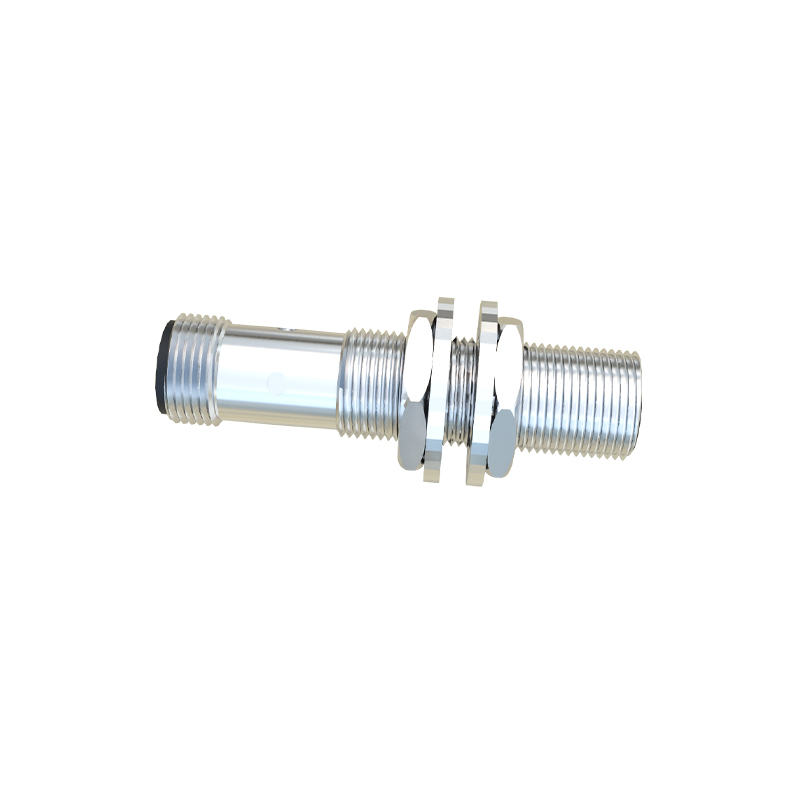
Next, perform electrical tests with a multimeter. Check the power supply voltage at the sensor's terminals to ensure it matches the sensor's specifications (commonly 12-24V DC). If voltage is absent or incorrect, trace the issue back to the power source or controller. With power confirmed, test the output. For a digital PNP or NPN sensor, set the multimeter to DC voltage. When the sensor is inactive (no target present), the output voltage should be near 0V (for NPN) or supply voltage (for PNP). Activate the sensor by bringing a valid target metal (for inductive) close to the face. The output should switch. No change indicates an internal fault.
If electrical tests point to an internal failure, proceed with careful disassembly. Many small sensors are sealed with epoxy or ultrasonic welding, making non-destructive opening difficult. Some have threaded rings or small screws. Use the correct tool to avoid stripping. Once open, examine the internal printed circuit board (PCB). Common points of failure include broken solder joints, especially where wires connect to the board or where larger components are mounted. Reflow these joints with a fine-tipped soldering iron. Look for burnt components, bulging or leaking capacitors, or cracked resistors. A burnt smell is a clear indicator. Use the multimeter in continuity or diode mode to check for open circuits on PCB traces or failed components like the oscillator coil in inductive sensors.
Cleaning can resolve many issues, particularly for capacitive sensors or those used in dirty environments. Dust, metallic shavings, oil, or moisture on the sensing face or inside the housing can cause malfunction. Gently clean the sensing face and internal assembly with isopropyl alcohol and swabs. Allow it to dry completely before reassembly. For moisture ingress, a longer drying time in a warm, dry area may be necessary.
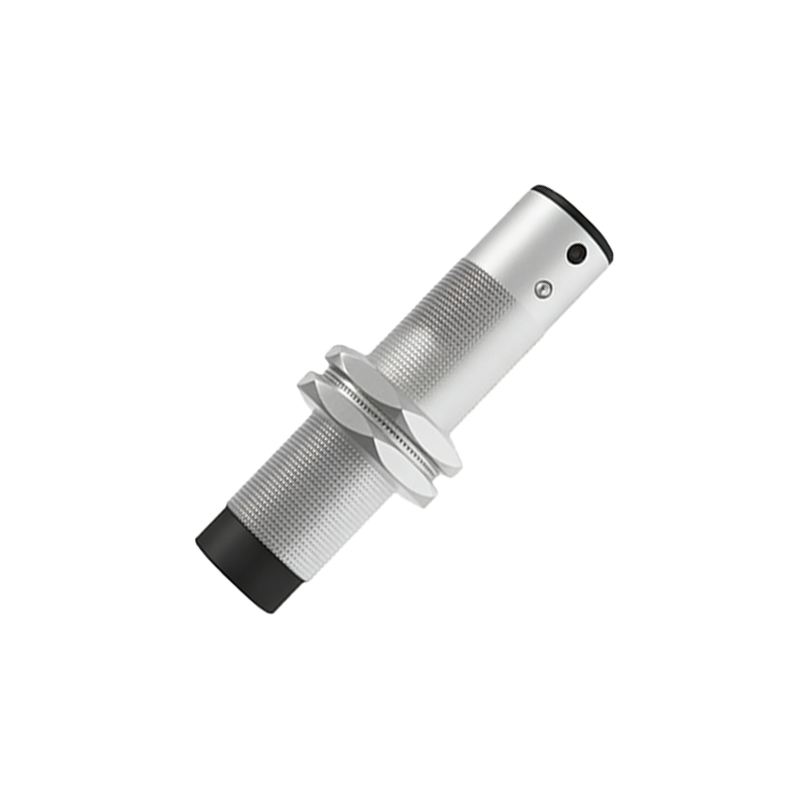
Reassembly is the reverse of disassembly. Ensure all components are correctly seated and that the housing seals properly. If the original seal is compromised, a small amount of appropriate epoxy resin around the seam can restore environmental protection, but avoid getting any on the active sensing face. After reassembly, repeat the electrical and functional tests before reinstalling the sensor in its application. Perform a final test with the actual target at the required distance to verify the sensing range is restored.
Not all sensors can be repaired. If the internal microchip or the encapsulated sensing coil is damaged, replacement is the only option. However, the diagnostic process remains valuable for confirming the fault and preventing unnecessary replacement of other components. Regular preventive maintenance, such as periodic cleaning and checking connection integrity, can significantly extend the life of small proximity sensors. By understanding their basic operation and applying a logical troubleshooting sequence, many apparent failures can be resolved efficiently, saving cost and reducing downtime.