In modern industrial automation, laser sensors are critical components for precision measurement, object detection, and quality control. Proper installation is paramount to ensure optimal performance, accuracy, and longevity. This guide provides a comprehensive, step-by-step approach to installing a laser sensor, tailored for engineers and technicians in the electrical and automation fields.
Before beginning the installation process, thorough preparation is essential. First, review the sensor's datasheet and technical manual provided by the manufacturer. Key specifications to note include the sensing range, output type (e.g., NPN, PNP, analog, IO-Link), power supply requirements (typically 10-30 V DC), and environmental ratings (IP class, temperature range). Ensure you have the correct mounting brackets, connectors, and tools, such as a screwdriver set, wrenches, and a multimeter for voltage checks. Always adhere to local and international safety standards, including locking out power sources and wearing appropriate personal protective equipment (PPE).
The installation site must be carefully selected. Avoid areas with excessive vibration, dust, moisture, or direct sunlight unless the sensor is specifically rated for such conditions. The target object's surface properties—such as color, reflectivity, and material—can affect the sensor's performance. For diffuse reflection sensors, ensure the background is non-reflective and stable. Consider potential interference from other light sources, including ambient factory lighting or adjacent laser devices. Mount the sensor on a stable, rigid surface using the provided brackets. Alignment is critical; even minor angular deviations can lead to measurement errors. Use precision levels or alignment tools if necessary.
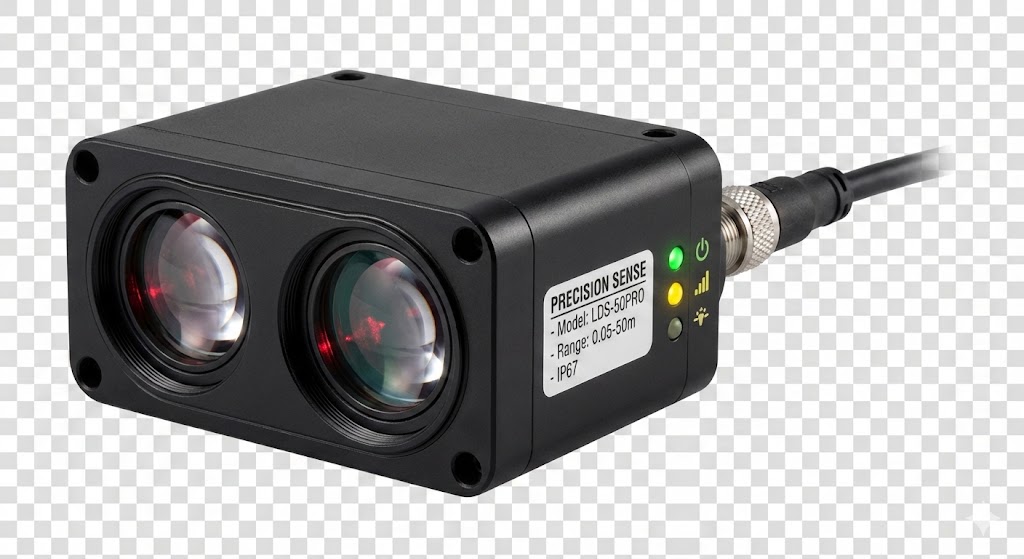
Wiring the laser sensor correctly is a fundamental step. Begin by connecting the power supply according to the wiring diagram. Typically, brown wire connects to positive (+V), blue wire to negative (0V or common), and the output wire (often black or white) to the PLC or control system input. For analog sensors, additional wires may be required for analog output signals. Double-check all connections for tightness and correct polarity to prevent short circuits or sensor damage. After wiring, apply power and observe the sensor's indicator LEDs. Most sensors have a power LED and a signal LED that indicates target detection. Refer to the manual for LED status interpretations.

Once powered, configuration and calibration are necessary. Many modern laser sensors feature teach-in buttons or software interfaces for setting parameters like sensing distance, output logic (light-on/dark-on), and response time. For distance-measuring sensors, perform a calibration routine using a known reference target at the desired working distance. Adjust the sensor's sensitivity to avoid false triggers from background objects or environmental noise. Use the multimeter to verify the output signal matches the expected voltage or current range when the target is present and absent.
Testing under real operating conditions is crucial. Introduce the target object within the sensing range and observe the sensor's response. Check for consistency across multiple cycles. If the sensor fails to detect reliably, re-evaluate alignment, environmental factors, or sensitivity settings. For challenging applications, such as detecting transparent or highly reflective objects, consider using specialized sensors with background suppression or polarized filters. Document all settings and installation details for future maintenance or troubleshooting.
Regular maintenance ensures sustained accuracy. Periodically clean the lens with a soft, lint-free cloth to remove dust or contaminants. Inspect mounting hardware for loosening due to vibration. Verify electrical connections remain secure. Recalibrate the sensor if the application conditions change significantly. By following these systematic steps, engineers can achieve reliable and precise laser sensor integration, enhancing overall system efficiency and reducing downtime.