Laser sensors are critical components in modern industrial automation, offering high precision for measurement, detection, and positioning tasks. Proper calibration and adjustment are essential to ensure accuracy, reliability, and longevity. This guide outlines systematic steps for tuning laser sensors, tailored for engineers and technicians in electrical and automation fields.
First, understand the sensor type and specifications. Laser sensors vary, including diffuse, retro-reflective, and through-beam models, each with unique adjustment needs. Review the manufacturer’s datasheet for key parameters such as sensing range, response time, output type (analog or digital), and environmental ratings. Ensure the sensor is correctly installed, with stable mounting, clean optics, and proper alignment to the target. Avoid vibrations or obstructions in the beam path.
Power up the sensor and connect it to a monitoring system, like a PLC or oscilloscope, to observe real-time output. Begin with coarse adjustments using the sensor’s potentiometers or software interface. For distance-measuring sensors, set the zero point by placing a reference target at the minimum sensing distance and adjusting the offset until the output reads correctly. Then, calibrate the span by moving the target to the maximum distance and tuning the gain. Use a calibrated gauge or fixture for precise positioning.

For detection sensors, adjust the sensitivity threshold to distinguish between target presence and absence. Avoid setting it too high, which may cause false triggers from ambient light or reflections, or too low, leading to missed detections. In reflective environments, use polarization filters or adjust the beam angle to reduce noise. Test with actual target materials under operating conditions, as surface color, texture, and reflectivity affect performance.
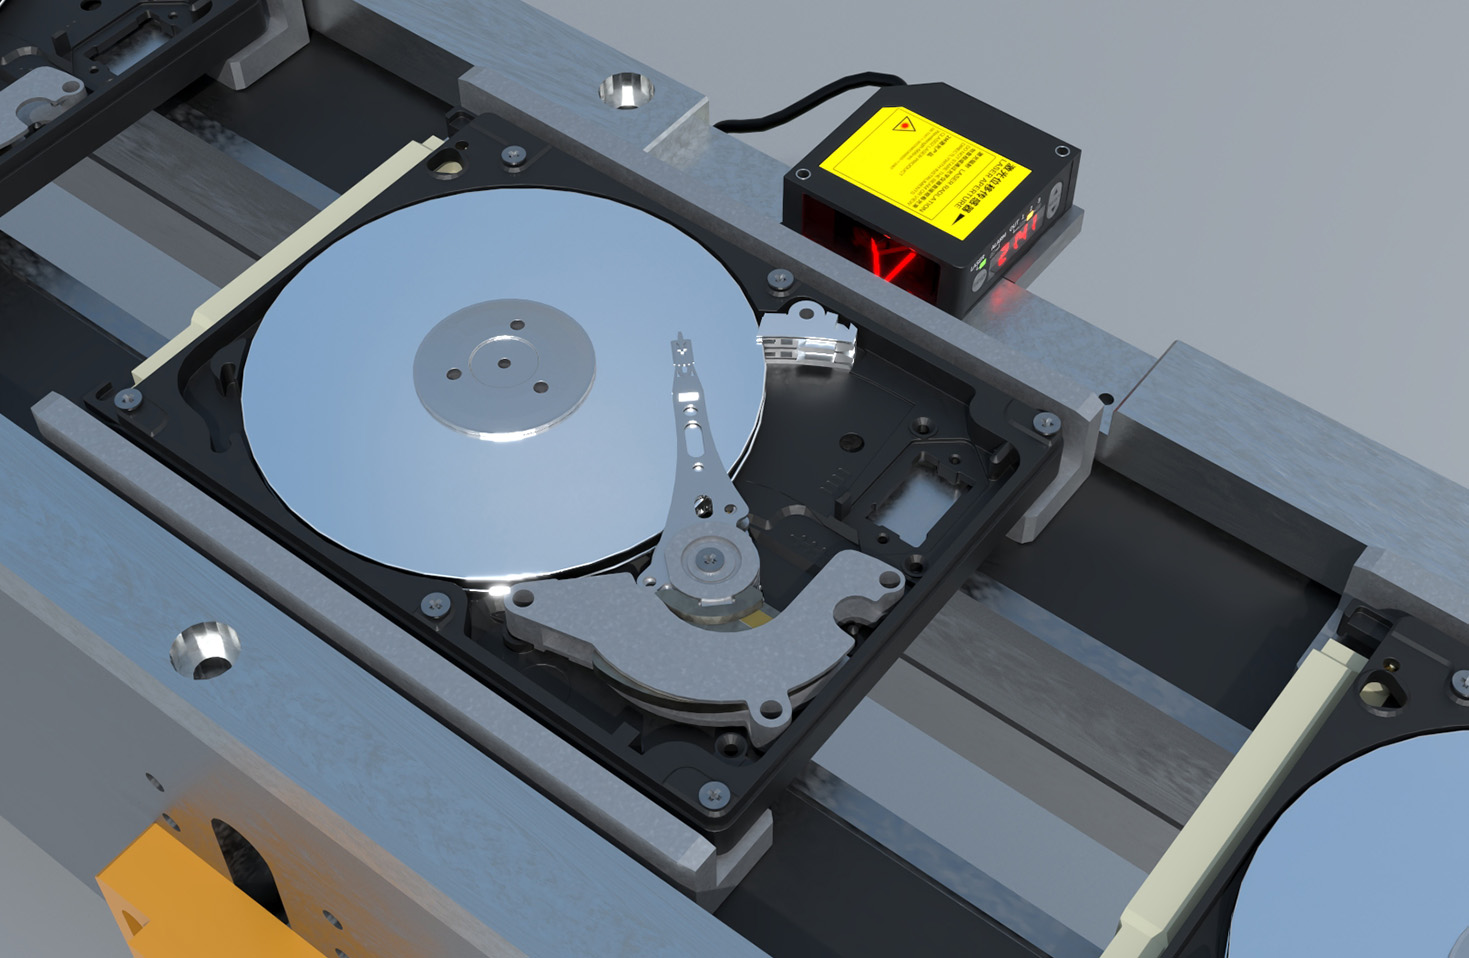
Fine-tune the response parameters. Adjust hysteresis to prevent output chatter near the threshold and set delay timers for stable operation in dynamic applications. For analog sensors, linearize the output curve if needed, using multi-point calibration for non-linear ranges. Verify temperature stability, as thermal drift can impact accuracy; some sensors offer temperature compensation features.
Validate adjustments through rigorous testing. Perform repeatability tests by moving the target repeatedly to check consistency. Conduct long-term runs to ensure stability under operational stresses. Document all settings, including potentiometer positions or software configurations, for future maintenance.
Common issues include erratic readings due to electrical interference—ensure proper shielding and grounding. If the sensor fails to detect, check for beam misalignment or dirty lenses. Regular maintenance, like cleaning optics and verifying connections, prolongs sensor life.
In summary, laser sensor adjustment requires methodical steps: installation, coarse and fine tuning, and validation. Mastery of these techniques enhances system precision, reduces downtime, and supports efficient automation. Always prioritize safety by following laser class guidelines and manufacturer instructions.