Proximity sensors are integral components in modern devices, from smartphones preventing accidental screen touches during calls to industrial machinery ensuring operator safety. Their core function is to detect the presence or absence of an object within a specific range without physical contact. However, a sensor that is too sensitive may trigger false positives, while one that is not sensitive enough might fail to detect objects reliably. Adjusting the sensitivity is therefore a critical calibration step for optimal functionality. This guide outlines the general principles and methods for tuning proximity sensor sensitivity across different applications.
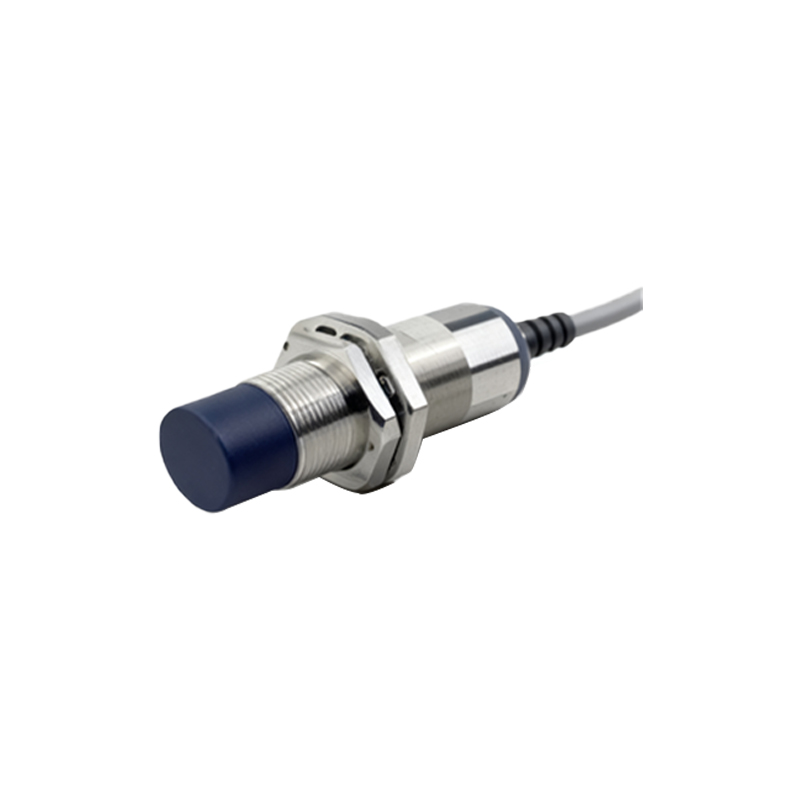
The first and most crucial step is understanding the specific type of proximity sensor you are working with. Common types include Inductive (for detecting metals), Capacitive (for detecting both metals and non-metals like liquids or human body), Ultrasonic (using sound waves), and Infrared (IR) or Photoelectric sensors (using light beams). The adjustment methodology varies significantly between these types. Always consult the manufacturer's datasheet or user manual for the definitive guide to your specific model. It will contain the operational parameters, recommended sensing distances, and adjustment procedures.
For many modern digital sensors, especially in consumer electronics or programmable logic controller (PLC) systems, sensitivity is adjusted via software or a configuration interface. In an industrial setting, a sensor connected to a PLC might be tuned by changing parameters within the ladder logic or dedicated configuration software. You can often adjust the sensing distance threshold, hysteresis (the difference between the switch-on and switch-off point to prevent chatter), and response time. For instance, increasing the threshold value might make the sensor less sensitive, requiring an object to be closer to trigger detection.
On the sensor hardware itself, you will frequently find a potentiometer—a small, adjustable resistor—often marked with a plus (+) and minus (-) sign or labeled "SENS" or "DIST." Using a small screwdriver, turning the potentiometer clockwise typically increases sensitivity (lengthens the sensing range), while turning it counterclockwise decreases it (shortens the range). The adjustment should be performed incrementally. A best practice is to use the target object for testing. Bring the object to the desired detection distance and adjust the potentiometer until the sensor's indicator LED just activates or the output signal switches. Then, move the object slightly beyond the desired range to ensure it reliably turns off, verifying the hysteresis is appropriate for the application.
Environmental factors are paramount. For optical sensors (IR, photoelectric), ambient light, dust, fog, or the color and reflectivity of the target object can drastically affect performance. A sensor might need reduced sensitivity in a very bright environment to avoid interference from sunlight. For capacitive sensors, changes in humidity or the presence of other materials near the sensing field can cause drift. Ultrasonic sensors can be affected by temperature variations (which change the speed of sound) and soft, sound-absorbing materials. Always perform final calibration in the sensor's actual operating environment, not just on a clean workbench.
In complex systems, fine-tuning may involve monitoring the raw analog output signal of the sensor using a multimeter or an oscilloscope, rather than just its digital on/off state. This allows you to see the exact signal strength corresponding to the object's distance and set a precise trigger point in the connected controller. For example, you might determine that an object at 10cm produces a 4V signal, and set your system to trigger at 3.8V for a reliable margin.
Finally, rigorous testing is non-negotiable. After adjustment, test the sensor repeatedly with the intended target object under all expected operating conditions. Check for false triggers by introducing non-target objects into the environment. Ensure the sensor consistently detects objects at the maximum required range and reliably disengages when the object is removed. Document the final potentiometer position or software parameter values for future reference and quick recalibration if needed.
Remember, the goal is not maximum sensitivity, but reliable and repeatable detection tailored to your specific application's needs. Proper adjustment minimizes downtime, prevents safety issues, and ensures the longevity and accuracy of your automated systems.