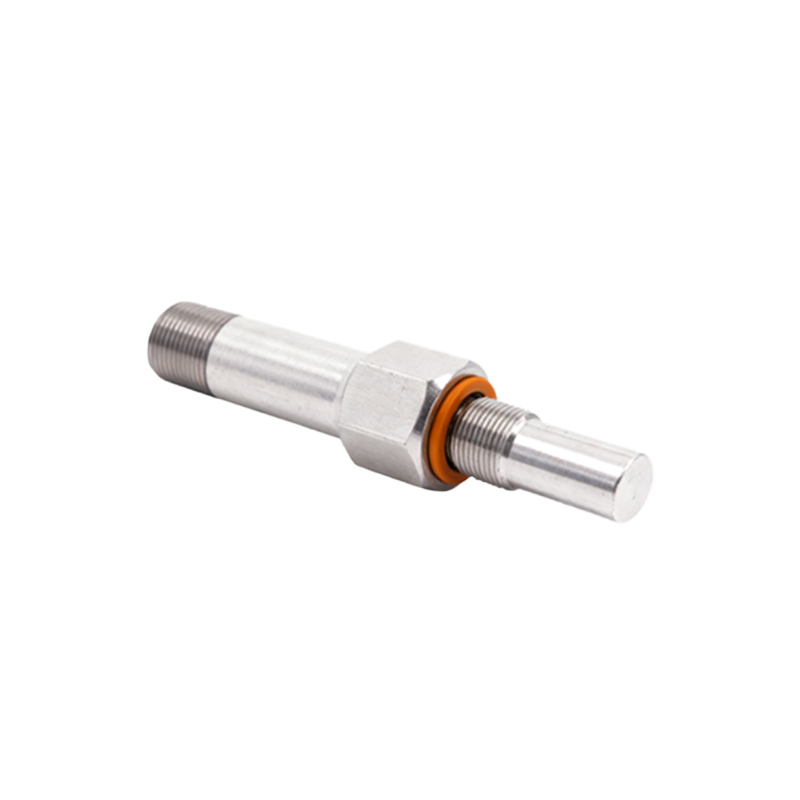
Proximity sensors are critical components in modern industrial automation, providing non-contact detection of metallic or non-metallic objects. Proper assembly and installation are essential to ensure reliable operation, longevity, and safety in demanding environments. This article outlines key assembly standards and best practices aligned with industry norms, including IEC 60947-5-2 and ISO 13849-1, which govern functional safety and performance.
First, environmental considerations must be addressed prior to assembly. Proximity sensors should be installed in locations free from excessive dust, moisture, chemical exposure, or electromagnetic interference, unless specifically rated for such conditions (e.g., IP67 or IP69K enclosures). The mounting surface should be clean, flat, and vibration-resistant to prevent misalignment or physical damage. For cylindrical sensors, correct mounting brackets or threaded housings must be used to avoid stress on the sensor body.
Electrical wiring is another crucial aspect. Always follow manufacturer specifications for voltage, current, and wiring diagrams. Shielded cables are recommended for analog or high-frequency sensors to minimize noise interference. Cable glands or strain relief devices should be employed to protect connections from pull-out or environmental ingress. Ensure proper grounding according to local electrical codes to prevent stray currents or potential differences that could affect sensor sensitivity.
Alignment and sensing distance require careful attention. The sensor must be positioned within its specified sensing range, accounting for factors like target material, size, and approach speed. For inductive sensors, the sensing distance may vary based on the target's metal composition. Maintain a clearance zone around the sensor to prevent false triggers from adjacent objects. Regular calibration checks during assembly can verify detection consistency.
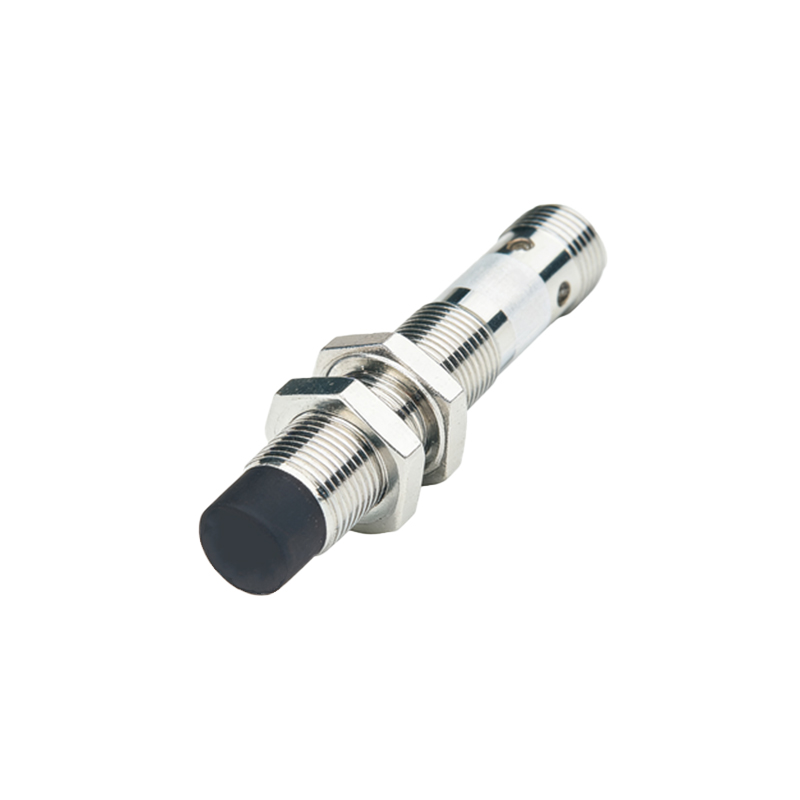
Mechanical mounting should account for thermal expansion, shock, and long-term wear. Use appropriate torque values when tightening mounting nuts—over-tightening can deform housings, while under-tightening may lead to loosening over time. In high-vibration settings, consider using lock washers or thread-locking compounds. For flush-mountable sensors, ensure the mounting surface is recessed correctly to avoid physical contact with passing objects.
Testing and validation form the final step. After assembly, perform functional tests using representative targets under actual operating conditions. Verify output signals (e.g., PNP/NPN, analog, or IO-Link) with monitoring equipment. Document the installation, noting sensor orientation, cable routing, and any adjustments made. Periodic maintenance, as per the sensor’s mean time between failures (MTBF) data, helps sustain performance.
In summary, adhering to standardized assembly practices enhances system reliability and reduces downtime. Collaboration with sensor manufacturers for specific guidelines, along with training for technicians, ensures compliance with evolving industry standards. As automation advances, integrating smart sensors with predictive maintenance capabilities will further refine assembly protocols, driving efficiency in industrial applications.