Proximity switch sensors are critical components in industrial automation, enabling non-contact detection of metallic or non-metallic objects. Proper removal and installation are essential to maintain system reliability and prevent downtime. This guide provides a detailed, industry-standard procedure for handling proximity sensors, ensuring safety and accuracy throughout the process.
Before starting any work, always adhere to safety protocols. De-energize the electrical circuit by switching off the power supply and locking out/tagging out (LOTO) the system to prevent accidental re-energization. Verify the absence of voltage using a multimeter. Wear appropriate personal protective equipment (PPE), such as insulated gloves and safety glasses, to protect against electrical hazards and mechanical injuries.
Removal Procedure:
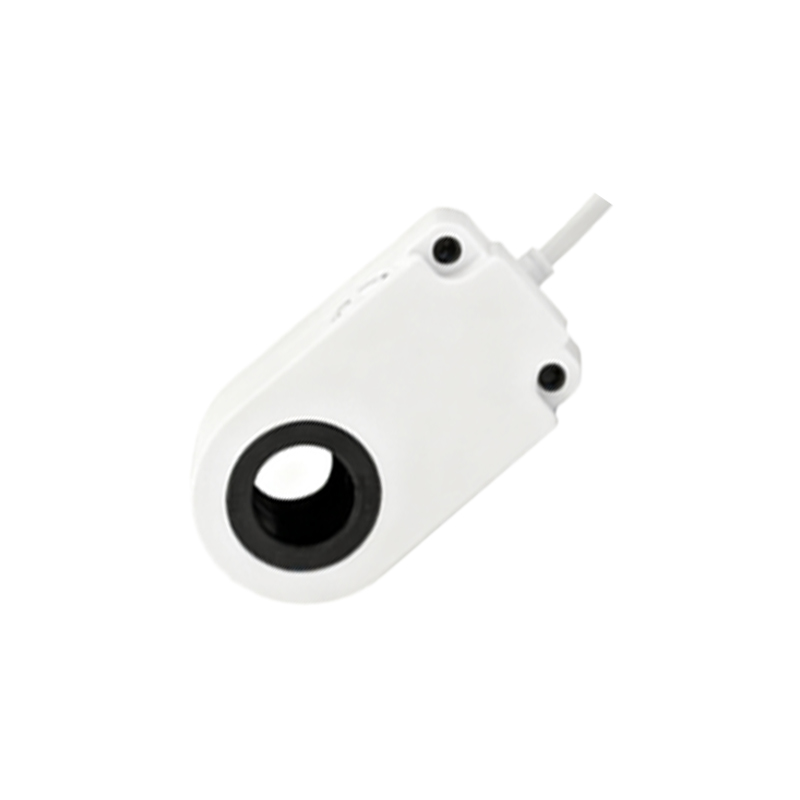
1. Documentation and Identification: Record the sensor’s model number, specifications, and wiring configuration. Take photos or sketch the wiring diagram for reference during reinstallation. Identify the sensor type—inductive, capacitive, or magnetic—as this may affect handling.
2. Disconnect Wiring: Carefully disconnect the electrical connections. For connectors, release locking mechanisms and gently pull apart. For hardwired sensors, label each wire according to its terminal (e.g., brown for +V, blue for 0V, black for output) before unscrewing terminals. Use wire ties to secure loose wires and avoid tangling.
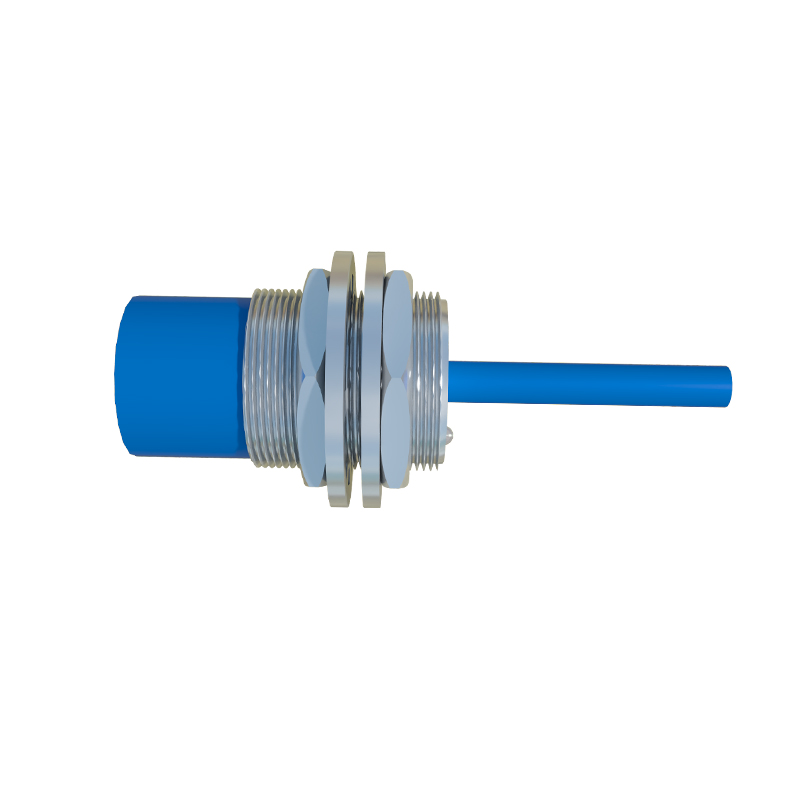
3. Unmount the Sensor: Most proximity sensors are mounted with brackets, nuts, or threaded barrels. Use suitable tools, such as wrenches or screwdrivers, to loosen fasteners. Avoid excessive force to prevent damage to the sensor or mounting surface. For cylindrical sensors, unscrew the locking nut while holding the sensor body steady.
4. Inspect and Clean: Once removed, inspect the sensor for signs of wear, corrosion, or physical damage. Clean the sensing face and housing with a soft, dry cloth. Check the mounting area for debris or misalignment that could affect performance.
Installation Procedure:
1. Preparation: Ensure the new or reinstalled sensor matches the original specifications, including sensing range, output type (PNP/NPN), and voltage rating. Verify the mounting location is clean, aligned, and free from obstructions that could interfere with detection.
2. Mounting: Position the sensor securely in its designated location. For threaded sensors, hand-tighten initially to avoid cross-threading, then use a wrench to secure—typically applying torque as per manufacturer guidelines (e.g., 0.5–1.5 Nm). Ensure the sensing face is oriented correctly toward the target object, maintaining the recommended gap (usually 0–80% of the rated sensing distance).
3. Reconnect Wiring: Refer to your earlier documentation to reattach wires accurately. For connectors, align pins properly and push until they click into place. For terminal connections, tighten screws firmly to ensure good conductivity but avoid over-tightening, which can strip threads. Double-check that wiring matches the power supply polarity and load requirements.
4. Testing and Calibration: Restore power gradually while monitoring for faults. Use a multimeter to verify voltage at the sensor terminals. Test functionality by introducing a target object within the sensing range—observe the output indicator LED or measure signal changes. Adjust the sensor position if detection is inconsistent, and confirm stable operation under normal working conditions.
Common Pitfalls and Tips:
- Avoid installing sensors near strong electromagnetic fields or vibrating machinery, which can cause false triggers.
- For harsh environments, select sensors with appropriate IP ratings (e.g., IP67 for dust and water resistance).
- Regularly schedule maintenance checks to prolong sensor lifespan and prevent unexpected failures.
By following these steps, engineers can ensure efficient and safe handling of proximity switch sensors, minimizing operational disruptions and enhancing system integrity. Always consult the manufacturer’s manual for model-specific instructions, as variations may exist in design or requirements.