In the world of mechanical design and simulation, integrating intelligence into 3D models is no longer a luxury—it’s a necessity. One powerful yet often underutilized tool within SOLIDWORKS is the proximity sensor. This feature allows designers to simulate real-world detection and triggering events, bringing a new level of automation and validation to digital prototypes. Unlike basic geometric modeling, proximity sensors add a layer of behavioral logic, enabling assemblies to react dynamically based on component positions.
To begin, a proximity sensor in SOLIDWORKS is defined as a virtual device that detects the presence or absence of a target component within a specified range. It can be configured to monitor distances between faces, edges, vertices, or even entire bodies. The primary application is in motion studies, where sensors can trigger actions—like stopping a motor, changing a color, or playing a sound—when components enter or exit a detection zone. This functionality is invaluable for simulating automated systems, safety mechanisms, or interactive product demonstrations.
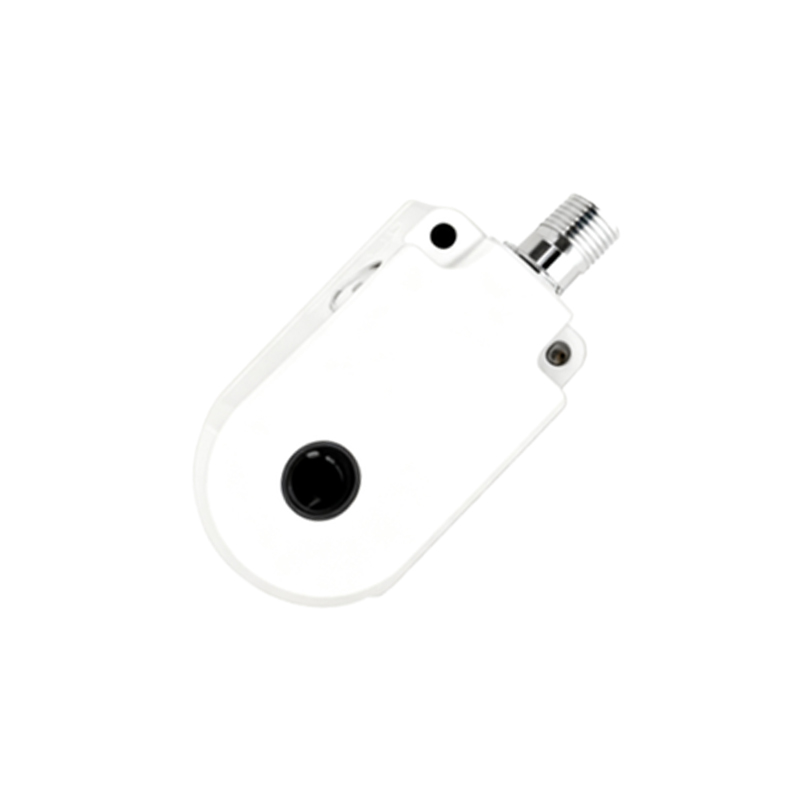
Setting up a proximity sensor is straightforward. First, navigate to the “Evaluate” tab or the “Motion Study” environment. Under the “Sensor” toolset, select “Proximity Sensor.” You’ll be prompted to define the sensor’s origin and direction, typically by selecting a face or plane. Next, specify the target entity—the component you want the sensor to monitor. Critical parameters include the detection range (minimum and maximum distances) and the sensing angle if using a conical zone. SOLIDWORKS provides visual feedback with a translucent graphic, making it easy to adjust the sensor’s coverage area interactively.
The real power emerges when linking sensors to motion study events. For example, in a conveyor belt assembly, a proximity sensor can detect when a part reaches a specific position, triggering a pusher mechanism to activate. This is done by adding an “Event-Based Motion” trigger in the Motion Manager. The sensor’s state change—from “Not Detected” to “Detected”—becomes the condition for the event. Such setups reduce the need for manual keyframing and create more accurate, repeatable simulations.
Best practices for using proximity sensors include keeping detection ranges as tight as possible to avoid unintended triggers, especially in complex assemblies. Use reference geometry like planes or axes to align sensors precisely. Additionally, leverage the “Sensor” property manager to log data over time, which can be exported for analysis. This data is useful for validating clearance requirements or timing sequences in mechanical systems.
Common challenges involve sensor performance in high-speed simulations, where rapid movements might cause missed detections. To mitigate this, adjust the simulation frame rate or use multiple sensors in parallel. Another tip is to combine proximity sensors with other sensor types, such as force or velocity sensors, for multifaceted control logic. For instance, a proximity sensor could activate a force sensor only when a component is in range, optimizing computational resources.
From an industry perspective, proximity sensors in SOLIDWORKS bridge the gap between design and real-world operation. They enable engineers to prototype automated manufacturing cells, robotic pick-and-place systems, or consumer products with smart features—all before physical fabrication. This not only reduces prototyping costs but also enhances safety and reliability by identifying interference or timing issues early in the design phase.
In conclusion, mastering proximity sensors elevates SOLIDWORKS models from static representations to interactive simulations. By embedding detection logic directly into assemblies, designers can create smarter, more responsive digital prototypes. Whether for industrial automation, product development, or educational demonstrations, this tool empowers users to validate and communicate design intent with greater fidelity. Start experimenting with proximity sensors in your next project—you might discover opportunities to automate validations that were previously manual or overlooked.