Proximity sensors are essential components in modern automation and electronic systems, enabling devices to detect the presence or absence of objects without physical contact. Proper setup and configuration are critical to ensure accurate detection, reliability, and longevity. This guide provides a comprehensive overview of the steps involved in configuring proximity sensors for optimal performance.
The first step in proximity sensor setup is selecting the appropriate sensor type for your application. Inductive sensors are ideal for detecting metallic objects, while capacitive sensors can sense both metallic and non-metallic materials. Ultrasonic and photoelectric sensors offer longer detection ranges and are suitable for diverse environments. Consider factors such as sensing distance, object material, environmental conditions (e.g., temperature, humidity), and electrical requirements when making your choice.
Once the sensor is selected, installation plays a key role in its functionality. Mount the sensor securely to minimize vibrations or movements that could affect readings. Ensure the sensing face is aligned correctly with the target object, maintaining the recommended operating distance. Avoid placing the sensor near sources of electromagnetic interference, such as motors or high-voltage cables, which can cause false triggers. For cylindrical or tubular sensors, use appropriate mounting brackets to stabilize the unit.
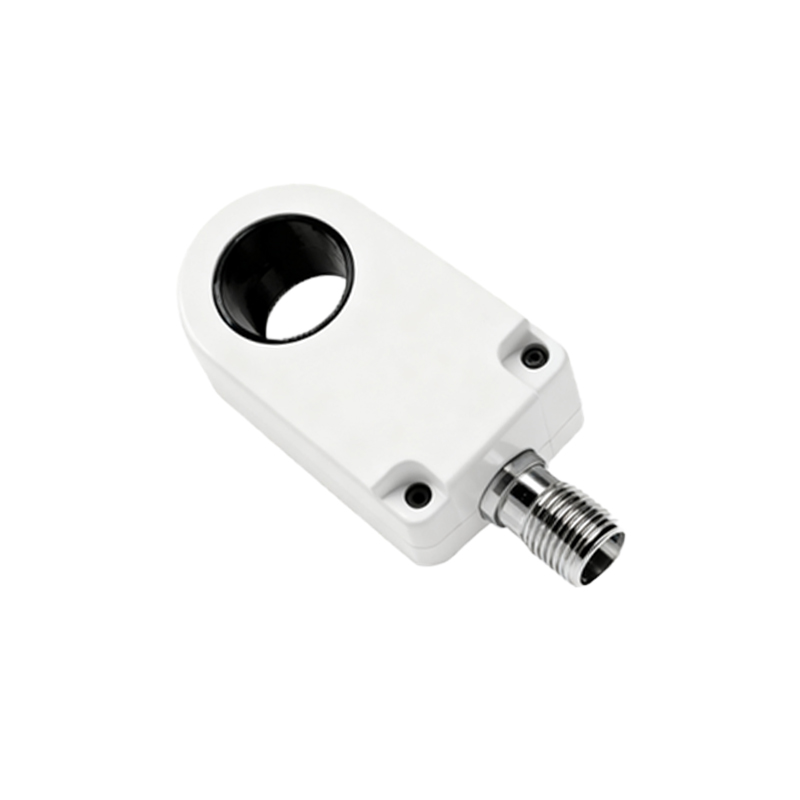
Wiring the sensor correctly is crucial for safety and performance. Most proximity sensors operate on DC or AC power supplies, typically ranging from 10-30V DC or 90-250V AC. Refer to the manufacturer’s datasheet for specific voltage and current ratings. Connect the power supply wires to the designated terminals, ensuring proper polarity for DC sensors. Output wires (e.g., NPN or PNP for DC sensors) should be linked to the control system, such as a PLC or relay. Always use shielded cables in industrial settings to reduce noise interference, and ground the shield at one end to prevent ground loops.
Configuration involves adjusting the sensor’s parameters to match the application needs. Many modern sensors feature potentiometers or digital interfaces for tuning sensitivity, hysteresis, and response time. Sensitivity adjustment allows fine-tuning of the detection threshold, which is useful for distinguishing between similar objects or minimizing false alarms. Hysteresis setting prevents rapid switching when an object is near the detection limit, enhancing stability. Response time should be set based on the speed of the target object; faster objects require shorter response times to avoid missed detections.
Testing and calibration are vital after installation. Use a target object similar to the actual application material to verify the sensing range. Check for consistent detection by moving the object in and out of the sensing area multiple times. If the sensor includes LED indicators, observe their behavior—steady illumination typically indicates power and detection, while blinking may signal faults or misalignment. For analog sensors, measure the output signal with a multimeter to ensure it scales correctly with distance.
Maintenance ensures long-term reliability. Periodically clean the sensor face to remove dust, oil, or debris that could impair sensitivity. Inspect wiring for wear or corrosion, especially in harsh environments. Recalibrate the sensor if environmental conditions change significantly, such as temperature shifts or new equipment installations nearby. Keep a log of performance data to identify trends or potential issues early.
In summary, effective proximity sensor setup requires careful selection, proper installation, correct wiring, precise configuration, thorough testing, and regular maintenance. By following these steps, you can maximize sensor accuracy and extend its operational life, contributing to efficient and safe system performance.