Capacitive proximity sensors are versatile devices used to detect both metallic and non-metallic objects without physical contact. Proper installation is critical for reliable operation and longevity. This guide outlines key steps and considerations for installing capacitive proximity sensors in industrial and commercial applications.
First, select an appropriate mounting location. Ensure the sensor is positioned where the target object will consistently pass within its sensing range. Avoid mounting near metal surfaces, conductive materials, or high-voltage equipment that may cause interference, as capacitive sensors are sensitive to changes in their electrostatic field. The sensing face should face the target directly, with no obstructions like dust, oil, or debris, which can reduce sensitivity. For flush-mountable sensors, embed them in non-metallic enclosures to prevent false triggers from surrounding metals. Non-flush models require a clear space around the sensing area, typically 1-2 times the sensor diameter, as specified by the manufacturer.
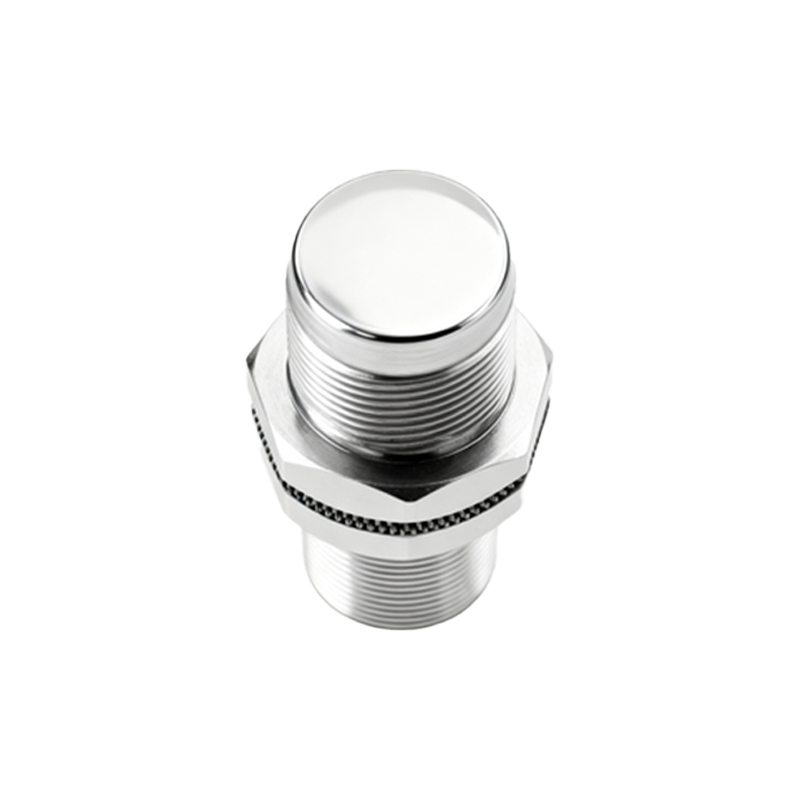
Next, consider environmental factors. Capacitive sensors can operate in harsh conditions, but exposure to extreme temperatures, moisture, or corrosive substances may damage them. Use sensors with suitable IP (Ingress Protection) ratings—for example, IP67 for dust and water resistance—if installing in wet or dirty environments. Shield the sensor from direct sunlight or heat sources to prevent drift in sensing performance. In applications involving liquids or granular materials, adjust the sensitivity to avoid detecting the container instead of the target material.
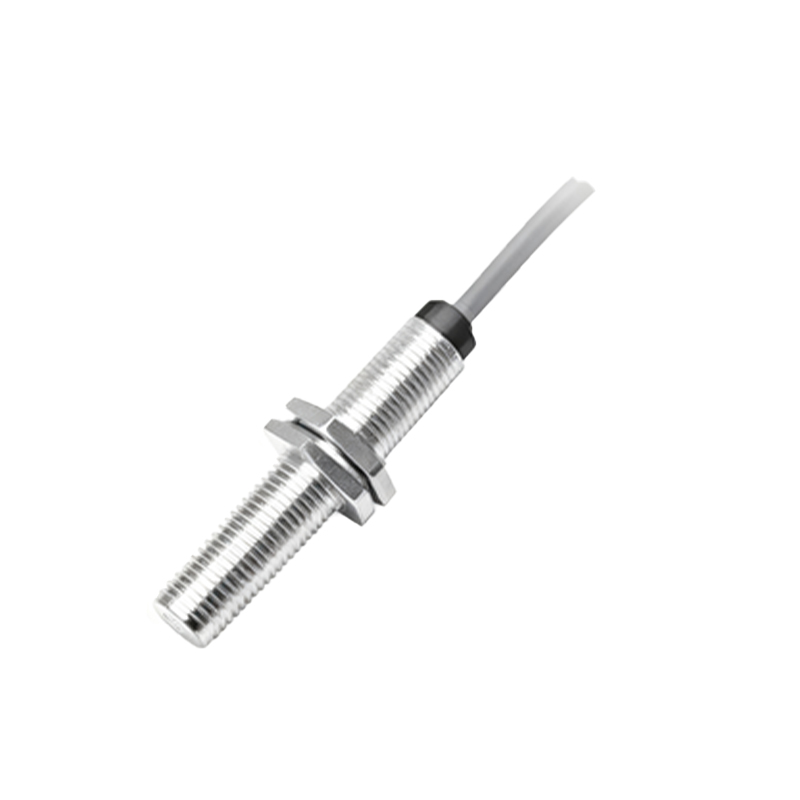
Wiring is a crucial step. Follow the manufacturer’s wiring diagram, typically provided on the sensor housing or datasheet. Most capacitive sensors have three wires: brown for power supply (10-30V DC), blue for ground, and black for the output signal. Ensure power supply voltage matches the sensor’s specifications to prevent damage. Use shielded cables in electrically noisy environments, grounding the shield at the controller end to minimize electromagnetic interference. Keep sensor cables away from power lines or motor drives to reduce noise pickup. Tighten connections securely, but avoid over-tightening, which can crack the sensor housing.
After wiring, calibrate the sensitivity. Capacitive sensors feature a potentiometer or teach-in button for adjustment. Power on the sensor and place the target object at the desired detection distance. Slowly adjust the sensitivity until the sensor’s output LED activates reliably. Test with multiple objects to ensure consistent detection, especially if targets vary in size or material. For level detection applications, such as monitoring liquids in tanks, set the sensitivity to ignore the container walls. Recalibrate periodically, as environmental changes like humidity can affect performance.
Finally, verify installation through testing. Simulate normal operating conditions by moving targets through the sensing range at expected speeds. Check for false triggers by introducing non-target materials nearby. Monitor the sensor’s output with a multimeter or PLC to ensure stable signal transmission. Document settings, including sensitivity level and mounting position, for future maintenance. Regular inspection—cleaning the sensing face and checking for physical damage—helps sustain accuracy over time.
In summary, successful capacitive proximity sensor installation involves careful planning, correct mounting, proper wiring, precise calibration, and thorough testing. By adhering to these practices, users can enhance system reliability, reduce downtime, and extend sensor life in diverse applications, from packaging machinery to liquid level control.