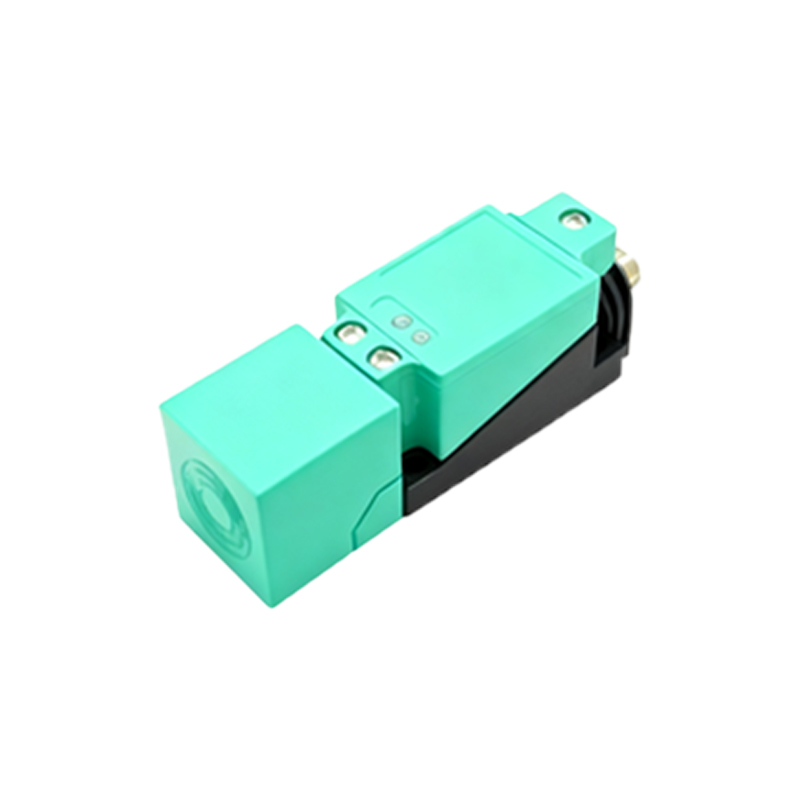
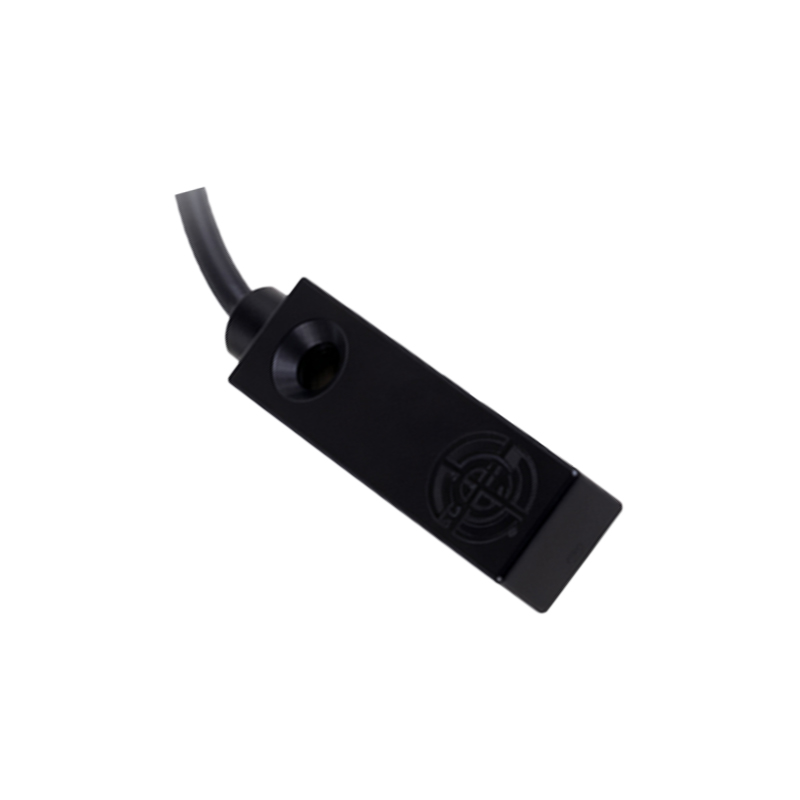
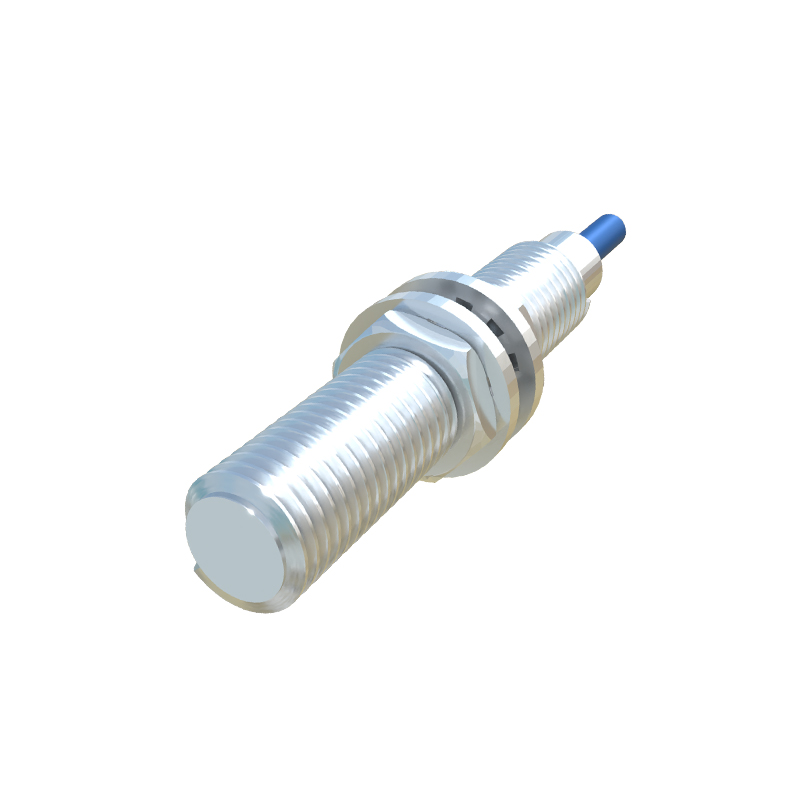
Proximity sensors are widely used in automation, robotics, and IoT applications to detect the presence or absence of objects without physical contact. Programming these sensors involves configuring hardware connections and writing software logic to interpret sensor data. This guide outlines the fundamental steps for programming a common inductive or capacitive proximity sensor with a microcontroller, such as an Arduino or Raspberry Pi.
First, understand the sensor's specifications. Proximity sensors typically provide a digital or analog output. Digital sensors output a high/low signal when an object is within a set range, while analog sensors output a voltage proportional to distance. Check the datasheet for voltage requirements, detection range, and output type. For example, a 12-24V DC sensor may require a relay or voltage divider to interface with a 5V microcontroller.
Hardware setup is critical. Connect the sensor's power pins to an appropriate supply (e.g., 12V DC). For digital sensors, link the output pin to a digital input pin on the microcontroller, often with a pull-up resistor if needed. For analog sensors, connect the output to an analog input pin. Ensure proper grounding to avoid noise interference. If using a sensor with a relay output, you may connect it directly to control larger loads.
Next, write the code to read the sensor. For a digital sensor on an Arduino, use the digitalRead() function. Here’s a basic example:
``
const int sensorPin = 2;
void setup() {
pinMode(sensorPin, INPUT);
Serial.begin(9600);
}
void loop() {
int state = digitalRead(sensorPin);
if (state == HIGH) {
Serial.println("Object detected");
} else {
Serial.println("No object");
}
delay(100);
}
`
This code initializes a digital pin as input and prints a message based on the sensor's state. Adjust the pin number and serial baud rate as per your setup.
For analog sensors, use analogRead() to get distance values. Calibrate the sensor by mapping the analog readings (0-1023 on Arduino) to actual distance units. Example:
`
const int analogPin = A0;
void setup() {
Serial.begin(9600);
}
void loop() {
int value = analogRead(analogPin);
float distance = map(value, 0, 1023, 0, 100); // Example mapping to 0-100 cm
Serial.print("Distance: ");
Serial.println(distance);
delay(100);
}
``
Calibration may require testing with known distances to create a lookup table or formula.
Advanced programming includes adding hysteresis to prevent flickering when an object is at the threshold. Implement a debounce algorithm in code. For instance, use a time delay or average multiple readings. Also, consider integrating sensor data with other components, like activating a motor when an object is detected. Use conditional statements or interrupts for responsive applications. Interrupts can trigger immediate actions when the sensor state changes, improving efficiency.
For industrial PLCs, programming involves ladder logic or structured text. Configure the sensor input module in the PLC software, then write logic to monitor the input address. A simple ladder rung might use a contact instruction to energize an output when the sensor is active.
Testing and debugging are essential. Use a serial monitor to view sensor outputs. Check connections if readings are erratic. Ensure the sensor is correctly positioned and the target material is suitable (e.g., inductive sensors detect metals). Adjust sensitivity if the sensor has a potentiometer.
In summary, programming a proximity sensor requires hardware interfacing, basic coding skills, and calibration. Start with simple digital readings, then explore analog data processing and integration for complex systems. Always refer to the manufacturer's documentation for specific details.