Proximity sensors are indispensable components in modern automation and control systems. They detect the presence or absence of an object without physical contact, enabling precise and reliable operations in manufacturing, robotics, and safety applications. A critical aspect of implementing these sensors is correctly connecting them to an external load, such as a relay, solenoid valve, indicator lamp, or programmable logic controller (PLC) input. This process ensures the sensor's output signal effectively controls the desired action in a circuit.
Understanding the sensor's output type is the foundational step. Most industrial proximity sensors fall into two categories: sinking (NPN) and sourcing (PNP). These terms describe the transistor configuration used in the sensor's output stage and determine how current flows in the circuit. A sinking (NPN) sensor switches the negative side (common) of the load to ground, meaning the load must be connected between the positive supply voltage and the sensor's output wire. Conversely, a sourcing (PNP) sensor switches the positive side of the load to the supply voltage, requiring the load to be placed between the sensor's output and ground. Mismatching the sensor type with the load connection is a common error that prevents circuit operation.
The connection procedure requires careful attention to the electrical specifications of both the sensor and the load. First, consult the sensor's datasheet to identify its operating voltage range (commonly 10-30V DC), output current rating, and the function of its wires—typically brown for positive supply, blue for negative/common, and black for the output signal. The load's voltage and current requirements must be compatible with the sensor's output capacity. Exceeding the sensor's maximum current rating can cause permanent damage. For loads drawing more current than the sensor can handle, such as a large motor starter coil, an intermediate device like a relay is essential. In this setup, the sensor's low-power output switches the relay coil, and the relay's heavy-duty contacts then handle the high current required by the primary load.
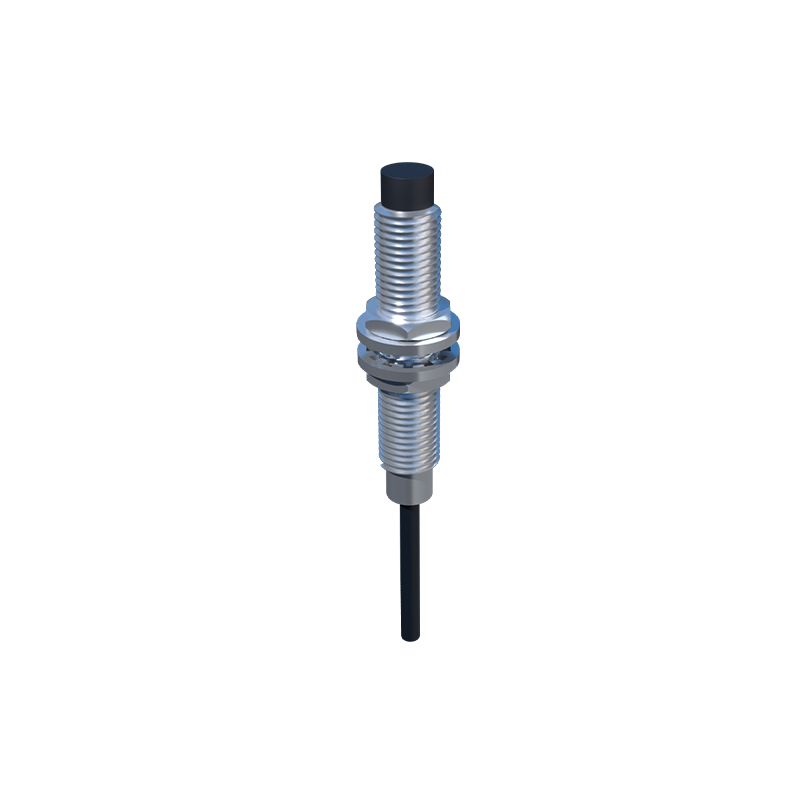
Wiring the components follows a logical sequence. For a standard three-wire DC sensor, begin by connecting the power supply. Link the positive terminal of the DC power source to the sensor's brown wire and the negative terminal to the blue wire. Next, integrate the external load. For a PNP (sourcing) sensor, connect one terminal of the load to the sensor's black output wire. Connect the other terminal of the load to the negative side of the power supply (blue wire/common). For an NPN (sinking) sensor, connect one load terminal to the positive supply (brown wire), and the other terminal to the sensor's black output wire. Always ensure connections are secure, using appropriate terminals to prevent loose wires, which can lead to intermittent faults or overheating.
After wiring, thorough testing is crucial. Apply power and observe the sensor's indicator LED. When no target is present, the LED is typically off, and the output should be in its normal state (open or closed, depending on whether it's normally open or normally closed). Introduce a target object within the sensor's specified sensing range. The LED should illuminate, and the output state should change. Use a multimeter to verify the voltage at the output wire confirms the switching action. Finally, confirm that the external load activates and deactivates as expected. If the load fails to respond, double-check the sensor type versus wiring configuration, verify power supply voltage, and ensure the load is within the sensor's current and voltage limits.
Properly interfacing a proximity sensor with an external load is a fundamental skill in electrical and automation engineering. By systematically identifying the output type, respecting electrical ratings, executing correct wiring, and performing validation tests, technicians can build robust and dependable control circuits. This integration forms the backbone of countless automated processes, from simple part detection to complex sequential machine control.