Installing sensors in a laser printer is a precise task that requires attention to detail and a clear understanding of the printer's internal components. Sensors play a critical role in ensuring proper paper feeding, toner levels, and overall operational efficiency. This guide provides a step-by-step walkthrough for installing common laser printer sensors, accompanied by illustrative diagrams to assist users in performing the procedure correctly and safely.
Before beginning any installation, it is essential to gather the necessary tools and materials. Typically, you will need a set of screwdrivers (both flathead and Phillips), tweezers for handling small components, an anti-static wrist strap to prevent electrostatic discharge damage, and the replacement sensor kit specific to your printer model. Always refer to the printer's service manual for model-specific instructions and diagrams.
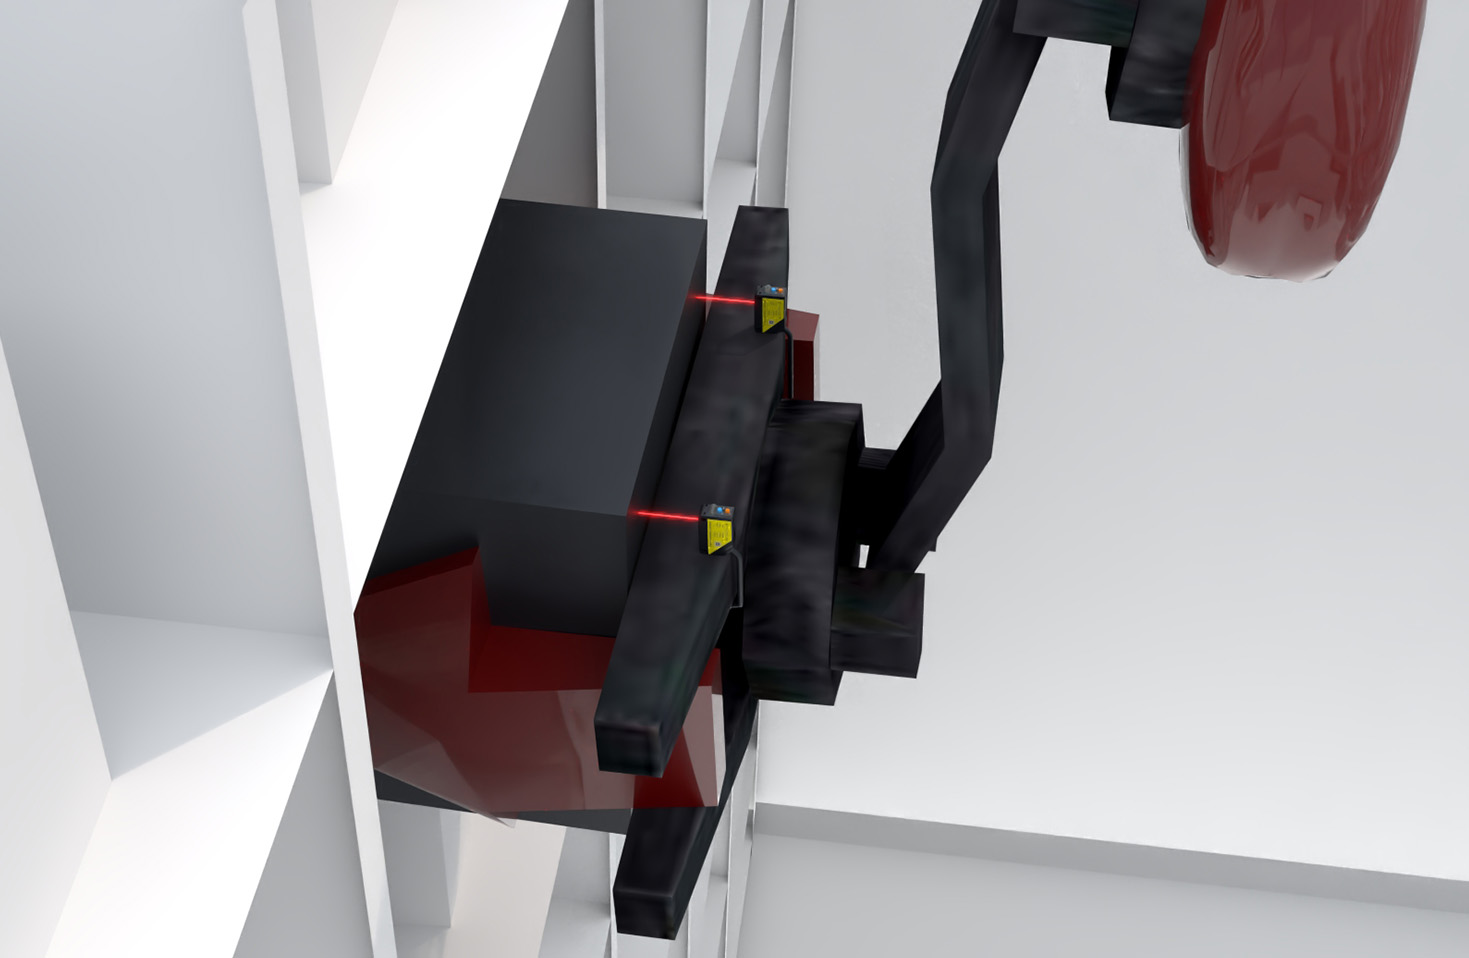
First, ensure the printer is completely powered off and unplugged from the electrical outlet. Allow the printer to cool down if it has been in recent use, as internal parts, especially the fuser unit, can become extremely hot. Open the printer's access panels carefully, following the manufacturer's guidelines. Most laser printers have a main rear cover, side panels, and a top cover that need to be removed to access the sensor locations.
The paper path sensors are commonly located near the paper trays and along the paper feed route. These sensors detect paper presence, jams, and alignment. To install a new paper sensor, locate the faulty sensor by checking error codes or observing paper feed issues. Gently disconnect the sensor's wiring harness from the mainboard. Use a screwdriver to remove any mounting screws or clips holding the sensor in place. Carefully extract the old sensor, noting its orientation. Place the new sensor in the same position, secure it with screws or clips, and reconnect the wiring harness. Refer to Diagram A for a typical paper sensor installation layout.
Toner level sensors are usually integrated into the toner cartridge or the imaging unit. For built-in printer sensors, access may require removing the toner cartridge and the imaging drum assembly. Identify the sensor, often a small optical or mechanical component near the toner hopper. Disconnect any cables, remove mounting hardware, and replace the sensor with the new unit. Ensure the sensor is clean and free of toner dust, as contamination can cause false readings. Diagram B shows the typical placement of toner sensors in relation to the cartridge and drum.
Fuser and temperature sensors are critical for preventing overheating and ensuring proper toner fusion. These sensors are typically located close to the fuser assembly, which is often housed in a separate module. Exercise extreme caution, as residual heat may be present. After allowing sufficient cooling time, detach the fuser unit by releasing the locking levers or screws. Locate the temperature sensor, which is usually a thermistor or thermal fuse. Replace it by disconnecting wires and removing any fasteners. Reinstall the fuser unit carefully, ensuring all connectors are firmly attached. Diagram C illustrates the fuser area sensor configuration.
Once all sensors are installed, reassemble the printer by reversing the disassembly steps. Ensure all panels are securely closed and no cables are pinched. Plug the printer back in and power it on. Run a diagnostic test or print a test page to verify sensor functionality. Check for any error messages on the printer's display. If issues persist, double-check connections and sensor alignment.
Regular maintenance, such as cleaning sensors with a soft, dry cloth, can prolong their lifespan and prevent common problems like paper jams or false low-toner warnings. Always use manufacturer-approved parts to ensure compatibility and reliability. By following these instructions and referring to the provided diagrams, users can successfully install laser printer sensors, restoring optimal performance and avoiding costly professional repairs.