Overview of H048W Photoelectric Sensor
The H048W photoelectric sensor is a widely used industrial component for object detection, presence sensing, and automation control. It operates on the principle of emitting light and detecting changes in the received signal. Despite its reliability, users may encounter occasional faults due to environmental factors, wiring issues, or component wear. This article provides a professional analysis of common problems and practical solutions, based on field experience from electrical engineering.
Fault 1: No Output Signal or Sensor Not Responding
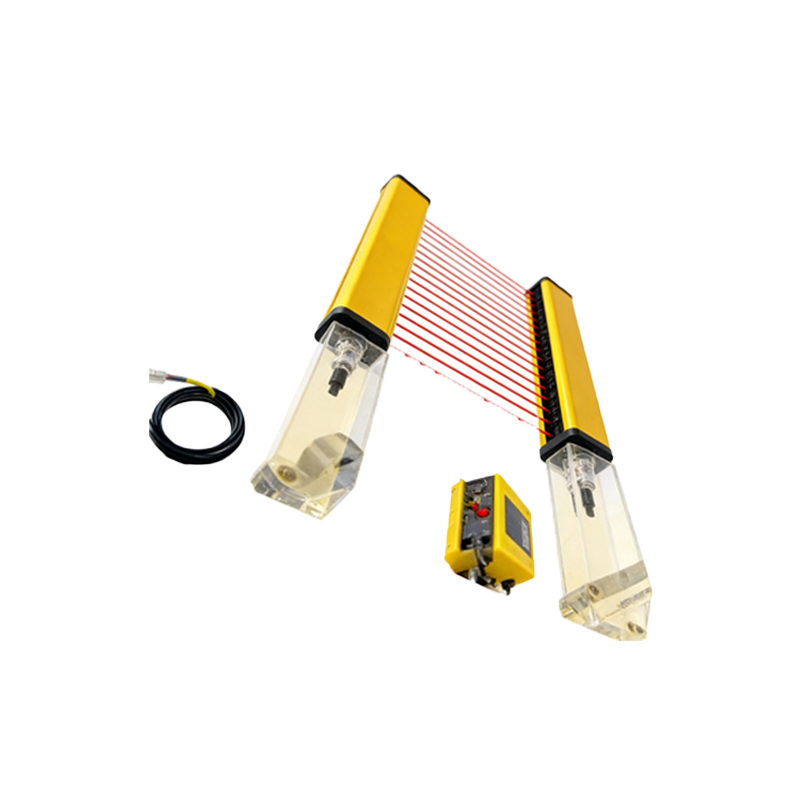
One of the most frequent issues is the sensor failing to produce an output signal when an object is present. This can be caused by incorrect power supply voltage (e.g., below 10V or above 30V DC), reversed polarity wiring, or a damaged internal circuit. To diagnose, first check the power source with a multimeter to ensure stable voltage within the rated range (12-24V DC). Verify wiring connections against the datasheet, especially the brown (V+), blue (V-), and black (output) wires. If the sensor still does not respond, inspect for physical damage like cracked housing or corroded terminals, which may require replacement.
Fault 2: False Triggering or Unstable Detection
False triggering occurs when the sensor activates without an actual target, often due to interference from ambient light, reflective surfaces, or electrical noise. The H048W, being a through-beam type, can be affected by sunlight, welding arcs, or nearby high-frequency devices. Solutions include adjusting the sensitivity potentiometer (if available) to reduce detection range, installing a light shield to block stray light, or adding a ferrite core on the power cable to suppress EMI. Additionally, ensure the emitter and receiver are properly aligned, as misalignment can cause erratic behavior.
Fault 3: Reduced Sensing Distance or Blind Spots
Over time, the sensor may exhibit a shortened detection range, failing to detect objects at the specified distance (up to 15 meters for clean air). This is often due to dust, oil, or condensation on the lenses. Clean both the emitter and receiver lenses with a soft, lint-free cloth and isopropyl alcohol. For outdoor installations, consider an anti-fog coating or a heated housing. If the issue persists, verify the optical path for any obstructions like machine parts or debris. In extreme cases, the LED emitter may degrade, requiring sensor replacement.
Fault 4: Intermittent Output or Response Delay
Intermittent operation, where the sensor sporadically loses signal, can stem from loose connections, vibration, or temperature extremes. Check all screw terminals and connectors for tightness, and use cable ties to secure wires. For high-vibration environments, apply thread-locking compound on mounting bolts. Temperature drift (e.g., above 60°C or below -25°C) may affect internal components; install the sensor in a climate-controlled enclosure if needed. Response time delays (e.g., >1ms) can be mitigated by selecting a faster output type, such as NPN or PNP with a short-circuit protection feature.
Fault 5: Power LED Flickering or Dimming
A flickering power indicator light often signals an unstable power supply or a failing capacitor in the sensor’s internal circuit. Use a regulated DC power supply with filtering, and avoid sharing the same line with high-current devices like motors or solenoids. If the LED remains dim even with correct voltage, the sensor may have an internal short; perform a continuity test across the power terminals. In such cases, replacing the sensor is more cost-effective than repairing it.
Preventive Maintenance Tips
To minimize faults, conduct regular inspections every three months: clean lenses, verify alignment, and test output with a known target. Keep spare sensors for critical applications, and document any environmental changes (e.g., new machinery or lighting) that could affect performance. Always consult the H048W datasheet for specific electrical and mechanical limits.