Introduction to Photoelectric Sensor Trigger Speed
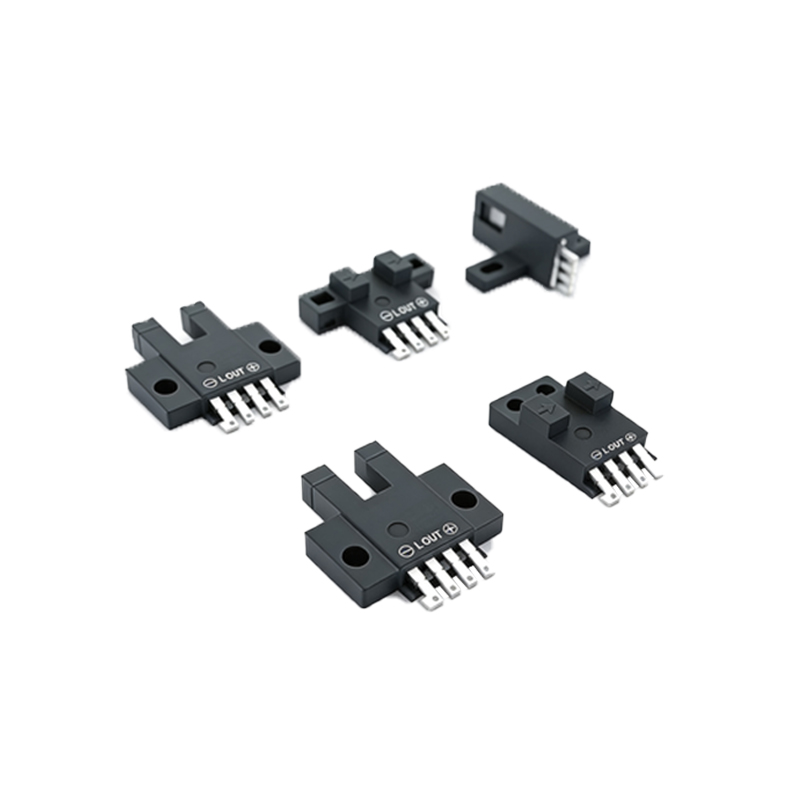
In industrial automation, photoelectric sensors are critical for detecting objects, counting parts, or verifying positions. One often overlooked feature is the ability to adjust the trigger speed—the rate at which the sensor responds to changes in light intensity. This adjustment allows engineers to fine-tune sensor performance for high-speed lines or slow-moving machinery, reducing false triggers and improving accuracy.
Why Adjust Trigger Speed Matters
In high-speed packaging lines, a sensor that triggers too slowly may miss fast-moving items, causing jams or miscounts. Conversely, in environments with vibration or fluctuating light, a sensor that triggers too quickly can cause nuisance signals. Adjusting the response time—either by using a potentiometer or digital settings—optimizes the sensor’s behavior for the specific application, balancing speed with stability.
Methods for Adjusting Trigger Speed
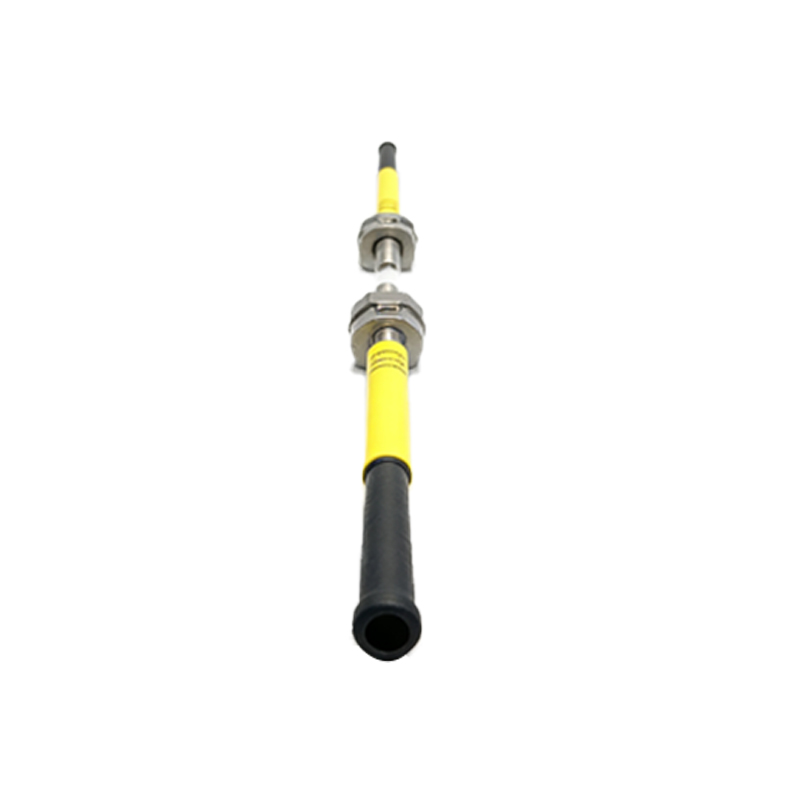
Most modern photoelectric sensors offer two primary adjustment methods: analog potentiometers and digital configuration via software or DIP switches. For analog models, turning the potentiometer clockwise typically decreases the response time (faster triggering), while counterclockwise increases it (slower triggering). Digital sensors allow setting precise time thresholds, such as 0.1 ms to 10 ms, using a menu interface. Always consult the datasheet for exact ranges.
Practical Considerations for Settings
When adjusting trigger speed, consider the target object’s size and velocity. For example, a sensor on a conveyor moving at 2 m/s with 10 cm parts needs a response time under 50 ms to avoid missed detections. Also, account for environmental factors: dust, fog, or reflective backgrounds may require slower triggering to filter out noise. Start with a medium setting, then test with actual production materials.
Common Pitfalls and Solutions
A frequent mistake is setting the trigger speed too fast, leading to false triggers from ambient light flicker or sensor oscillations. To mitigate this, use a hysteresis or delay-on feature if available. For slow-moving applications, overly slow settings can cause lag in system feedback. Calibrate by observing the sensor’s output on an oscilloscope or using a PLC counter.
Conclusion: Fine-Tuning for Reliability
Adjusting trigger speed is not a one-size-fits-all solution. It requires understanding the sensor’s specifications, the mechanical dynamics, and the control system’s requirements. Proper adjustment reduces downtime and improves product quality. Test in real-world conditions and document settings for repeatable results across similar installations.