Understanding the Sensor Type and Operating Principle
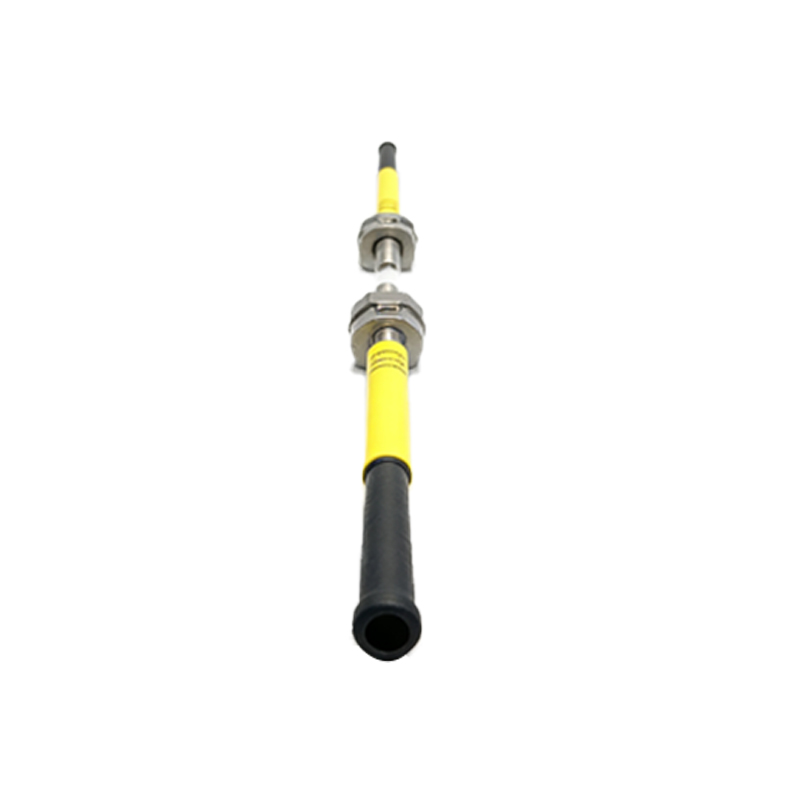
Before adjusting a counting photoelectric sensor, you must first identify its type: through-beam, retro-reflective, or diffuse reflective. Through-beam sensors have separate emitter and receiver, offering the longest range and highest accuracy for counting. Retro-reflective sensors use a reflector, while diffuse sensors rely on the target's reflection. Check the datasheet for operating voltage (typically 10-30 VDC), output type (NPN or PNP), and sensing distance. For counting applications, the sensor's response time is critical; ensure it matches the object's speed. For example, a sensor with 1 ms response time can count up to 500 objects per second. Always verify the sensor's light source (LED or laser) and ambient light interference, especially in industrial environments with strong sunlight or welding arcs.
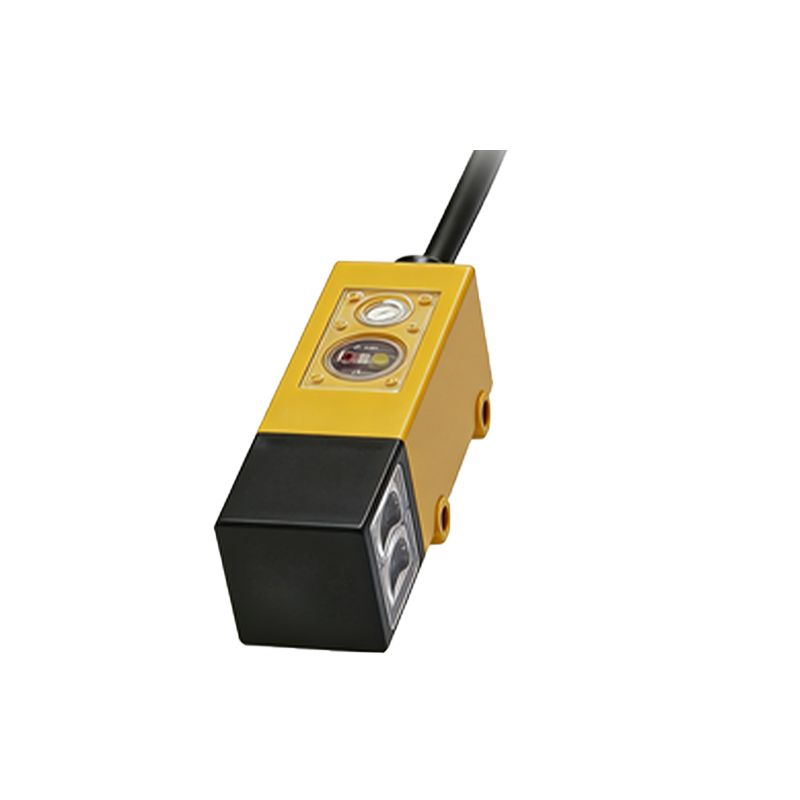
Mounting and Alignment for Reliable Counting
Proper mounting is essential for consistent counting. Align the sensor precisely with the target path. For through-beam sensors, ensure the emitter and receiver are coaxial and unobstructed. Use a laser alignment tool or sighting marks on the sensor housing. For retro-reflective sensors, the reflector must be perpendicular to the beam. Adjust the mounting brackets to minimize vibration, as industrial machinery can cause misalignment. The sensing distance should be set to 10-20% above the actual target distance to account for environmental variations. For example, if the target passes at 100 mm, set the distance to 120 mm. Avoid placing sensors near reflective surfaces like metal conveyors, which can cause false triggers.
Adjusting Sensitivity and Threshold Settings
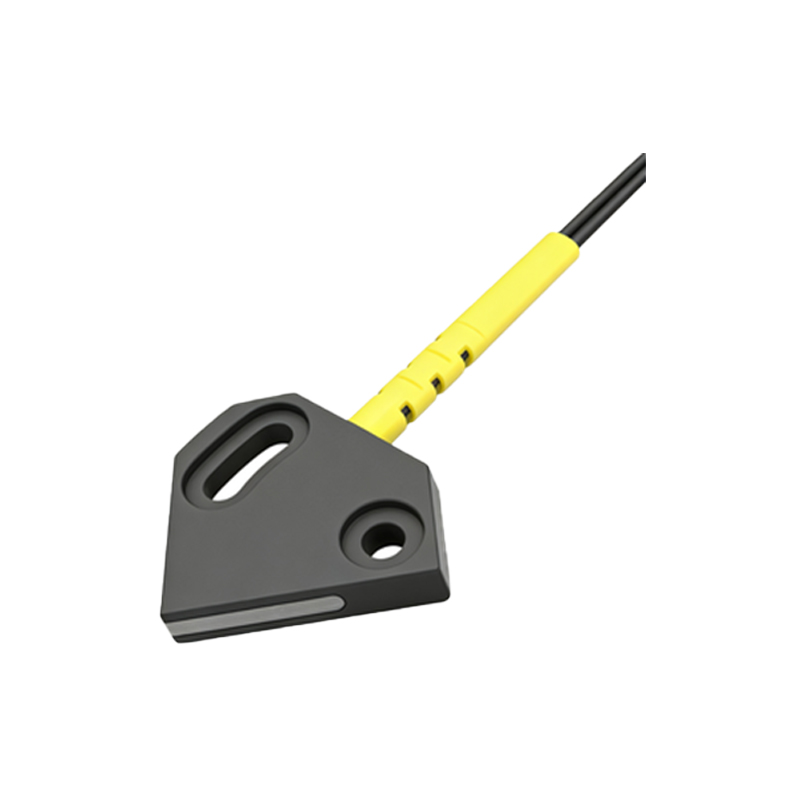
Most counting photoelectric sensors have a potentiometer or digital interface for sensitivity adjustment. Start by setting the sensitivity to the midpoint. Then, run the target object through the sensing area while monitoring the output signal. Use an oscilloscope or a multimeter to check the pulse width. The goal is to achieve a clean, square-wave output with no chattering. For diffuse sensors, adjust the sensitivity until the sensor reliably detects the target but ignores the background. A common technique is the "teach-in" method: press the teach button when the target is present, then again when absent. For high-speed counting, enable the "minimum pulse width" filter to reject noise. If the sensor has a "light-on" or "dark-on" mode, select the one that matches the application (e.g., light-on for transparent objects).
Testing, Troubleshooting, and Final Calibration
After adjustments, perform a production run test. Count 100 objects manually and compare to the sensor's count. If discrepancies exceed 1%, recheck alignment and sensitivity. Common issues include: false counts from dust or oil on the lens (clean with isopropyl alcohol), double-counting due to vibrations (increase hysteresis or add a delay), and missed counts from glossy surfaces (use polarized retro-reflective sensors). For high-temperature environments, use a heat shield or air purge. Finally, lock the potentiometer with a drop of nail polish or use a digital lock function to prevent drift. Document the settings in the maintenance log for future reference. For complex systems, integrate the sensor with a PLC to monitor counts and trigger alarms.