Understanding the Basics of Photoelectric Sensor Distance Adjustment
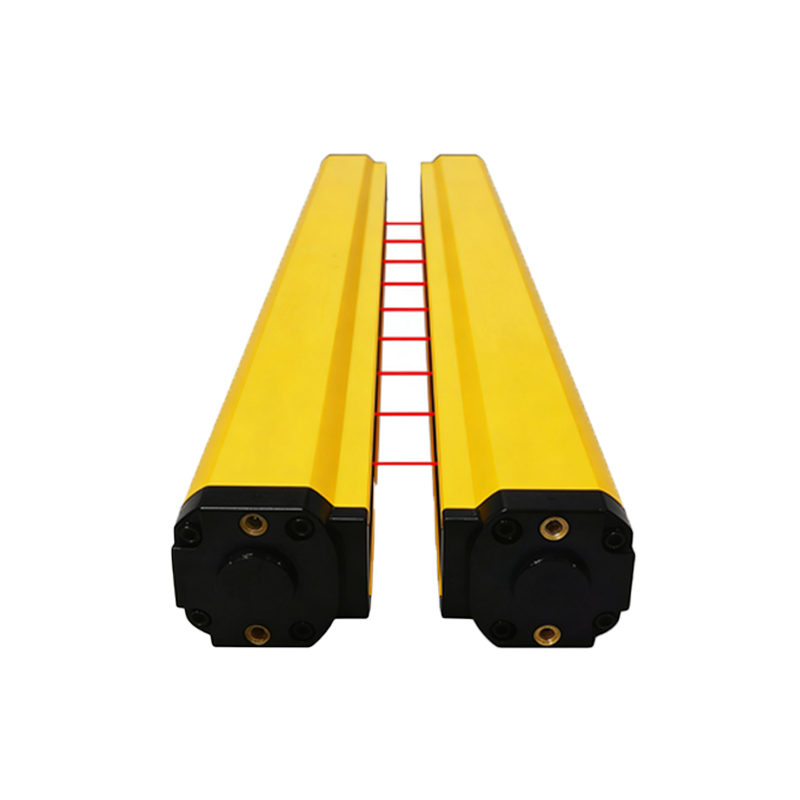
Photoelectric sensors are essential components in industrial automation, used to detect objects without physical contact. The distance adjustment, often referred to as sensitivity or range setting, is critical for reliable performance. Most sensors use either a potentiometer (trimmer) or a push-button teach-in method for distance calibration. The adjustment must account for the sensor type—through-beam, retro-reflective, or diffuse—as each has distinct range characteristics. For diffuse sensors, the sensing distance depends on the target’s reflectivity and color, while retro-reflective sensors rely on a reflector placed within a specified range. Always refer to the sensor’s datasheet for default range and adjustment limits.
Step-by-Step Procedure for Adjusting Sensor Distance
First, power down the system to ensure safety. Locate the adjustment control, typically a small screw or button on the sensor housing. For potentiometer-based sensors, use a fine-tipped screwdriver to turn the trimmer clockwise to increase distance or counterclockwise to decrease it. For teach-in sensors, follow the manufacturer’s sequence: press and hold the button while placing the target at the desired position, then release to set the threshold. After adjustment, verify the setting by moving the target through the sensing field. For diffuse sensors, test with the actual target material, as dark or matte surfaces reduce effective range. Document the final setting for maintenance records.
Troubleshooting Common Issues During Adjustment
If the sensor fails to detect consistently, check for electrical noise from nearby motors or inverters, which can cause false triggers. Ensure the sensor lens is clean, as dust or oil can attenuate the beam. For retro-reflective models, verify the reflector alignment and that no reflective objects are near the beam path. In diffuse-type sensors, excessive background interference—like shiny surfaces—may require reducing the distance or adding a background suppression function. If adjustments have no effect, the sensor may be damaged; test with a known good unit to isolate the issue.
Advanced Techniques for Optimizing Sensor Performance
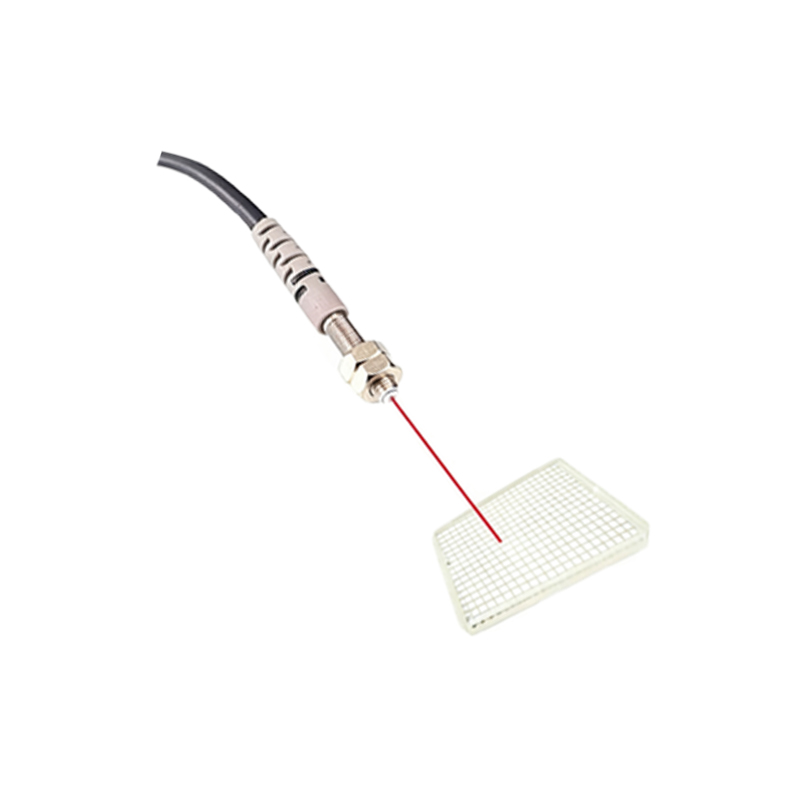
For critical applications, use a laser-based photoelectric sensor with a narrow beam for precise distance control. Implement a fixed mounting bracket to minimize vibration effects. In environments with varying ambient light, select sensors with modulated infrared or visible red light to reject interference. Consider using sensors with IO-Link communication for remote adjustment and real-time diagnostics. Calibrate the sensor using a reference target of known reflectivity and distance, then apply a safety margin of 20% above the minimum detection threshold to account for environmental drift.
Safety and Maintenance Best Practices
Always follow lockout/tagout procedures before servicing sensors. Replace worn or scratched lenses immediately, as they degrade performance. After adjustment, perform a full system test across the operating temperature range, as heat can shift sensor calibration. Keep adjustment tools (e.g., small screwdrivers) dedicated to the sensor to avoid damage. For sensors in dusty or wet locations, use IP67-rated enclosures and check seals annually. Record all adjustments in a log, noting date, reason, and new setting, to support future troubleshooting.