Understanding the Fundamental Principles
Photoelectric sensors detect the presence, absence, or distance of an object using light. The core components include an emitter (LED or laser) and a receiver (photodiode or phototransistor). The choice between through-beam, retro-reflective, and diffuse modes depends on your application. Through-beam sensors offer the longest range and highest reliability, as the emitter and receiver are separate units, but require alignment. Retro-reflective sensors use a reflector, making installation simpler while offering medium range. Diffuse sensors detect objects directly, ideal for short-range applications with irregular surfaces.
Selecting Based on Sensing Range and Environment
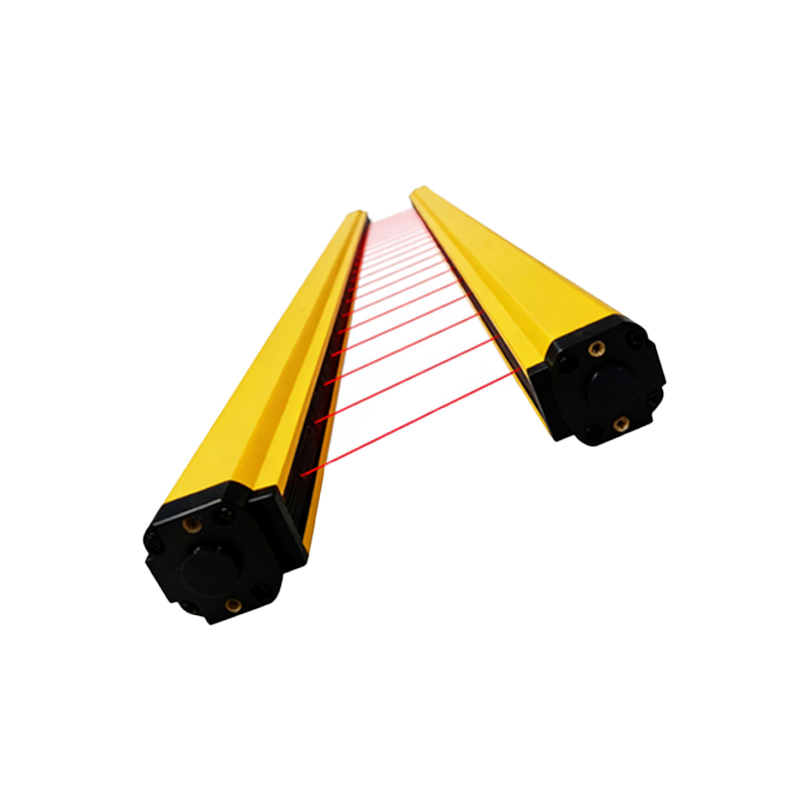
Range is critical. For clean, dust-free environments (e.g., electronics assembly), a diffuse sensor with a range of 10-100 mm works well. In dusty or wet conditions (e.g., packaging lines), retro-reflective or through-beam sensors with IP67 or IP69K ratings are preferable. Consider ambient light interference: use sensors with modulated light (pulsed LEDs) to reject sunlight or fluorescent flicker. Laser-based sensors provide precision for tiny objects (e.g., 0.1 mm resolution) but require stable mounting.
Matching Sensor Types to Object Properties
Object material and color affect detection. Dark objects absorb light, reducing effective range. For black, rubber, or transparent items (e.g., glass bottles), retro-reflective sensors with polarizing filters eliminate false triggers from shiny surfaces. For metallic targets, inductive sensors might be better, but photoelectric models with background suppression handle glossy metals. For transparent objects, use specifically designed "clear object" sensors that detect refraction.
Evaluating Output and Connectivity Options
Standard outputs include NPN (sinking) or PNP (sourcing) for PLC integration. Choose based on your controller's input configuration. For high-speed applications (e.g., counting at 10,000 parts/min), sensors with faster response times (under 1 ms) are necessary. Consider analog output (0-10 V or 4-20 mA) for distance measurement. IO-Link enabled sensors simplify wiring and provide diagnostic data, reducing downtime.
Installation and Maintenance Considerations
Mounting flexibility matters. Sensors with visible red or green alignment aids simplify setup. For harsh environments (e.g., washdown zones), select stainless steel housings with M12 connectors. Regularly clean lenses and check for misalignment due to vibration. Use sensors with self-diagnostic functions (e.g., output level warning) to predict failures. Spare parts management: standardize on two or three sensor families from major brands (e.g., SICK, Banner, Omron) for easier replacement.
Cost vs. Performance Trade-offs
Budget constraints drive decisions. For general-purpose tasks, commodity sensors (e.g., diffuse type at $20-$50) suffice. For mission-critical applications (e.g., safety light curtains), invest in certified models with redundancy (e.g., SIL 2/3). Consider total cost of ownership: a cheaper sensor may fail sooner, increasing downtime. Calculate ROI based on reliability, installation labor, and spare parts availability.
Final Checklist for Selection
1. Define object size, material, and color.
2. Measure required sensing distance and angle.
3. Check ambient light, temperature, and humidity.
4. Decide output type and response speed.
5. Verify physical mounting constraints.
6. Review certifications (CE, UL, FDA for food contact).
7. Test with a sample unit in your actual line.