2026-06-04
Tech Hub
By 创始人
Locating the Detection Hole in Photoelectric Sensors: A Practical Guide for Engineers
Understanding the Sensing Principle
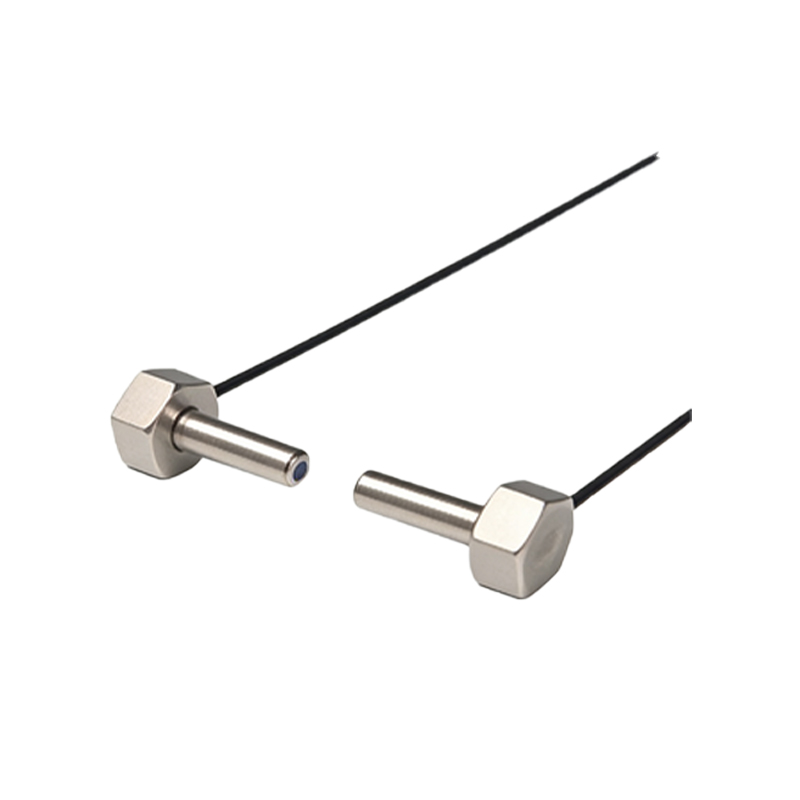
Photoelectric sensors operate by emitting a beam of light, typically infrared or visible red, and detecting changes in the received light intensity. The detection hole is not a single physical aperture but rather the optical path where the emitted beam interacts with the target. In through-beam sensors, the emitter and receiver are separate, and the detection area is the space between them. For retro-reflective models, the detection hole is the area where the beam is reflected back from a reflector. Diffuse sensors, however, have the detection hole located in the front lens area, where the emitted light scatters off the target and returns to the receiver. The exact position depends on the sensor's design and mounting.
Locating the Emission and Reception Windows
To find the detection hole, first identify the sensor's emission and reception windows. On most cylindrical photoelectric sensors (e.g., M12 or M18 types), the front end contains a transparent lens or a small opening. This is the primary detection hole. In rectangular or limit-switch style sensors, the detection hole is often a recessed rectangular window on the face. Check the sensor datasheet for the "optical axis" or "sensing face" specification. For example, in a Banner QS18 series sensor, the detection hole is centered on the front face, with a clear plastic cover protecting the LED and phototransistor. Always ensure the window is clean and free from obstructions like dust or oil, as this is the critical point for beam transmission.
Adjusting the Sensing Distance and Alignment
Once the detection hole is located, proper alignment is crucial for reliable operation. In through-beam sensors, align the emitter's detection hole directly with the receiver's detection hole. Use a visible red light indicator, if available, to confirm the beam path. For retro-reflective sensors, the detection hole must be perpendicular to the reflector surface. A common mistake is misalignment due to vibration or improper mounting, which can shift the detection hole away from the optimal beam path. Use a laser alignment tool or a simple cardboard test to verify. In diffuse sensors, the detection hole should face the target squarely within the specified sensing range, typically 0 to 200 mm for standard models.

Troubleshooting Detection Hole Issues
If the sensor fails to detect, the detection hole might be blocked or dirty. Use a soft, lint-free cloth and isopropyl alcohol to clean the lens. Also, check for mechanical damage like cracks or scratches on the detection hole surface. In harsh environments, such as those with high dust or moisture, consider using a sensor with a sealed detection hole or a protective housing. Another issue is false detection due to stray light entering the detection hole from sources like sunlight or nearby LEDs. Shield the sensor or adjust the mounting angle to minimize interference. Testing with a known target can help pinpoint if the detection hole is correctly positioned.
Case Studies in Industrial Applications
In a conveyor system using through-beam sensors, the detection hole was misaligned due to beam sag over a 10-meter distance. Realigning the optics using a laser pointer solved the issue. In another case, a diffuse sensor on a packaging machine failed because the detection hole was covered by a thin layer of plastic wrap. Regular cleaning and inspection of the detection hole prevented future downtime. For a retro-reflective sensor in a warehouse, the detection hole was angled by 5 degrees, causing intermittent detection. Adjusting the mounting bracket to ensure perpendicular alignment restored reliable operation. These examples highlight the importance of precisely locating and maintaining the detection hole.