Understanding the HS5 Photoelectric Sensor and Its Applications
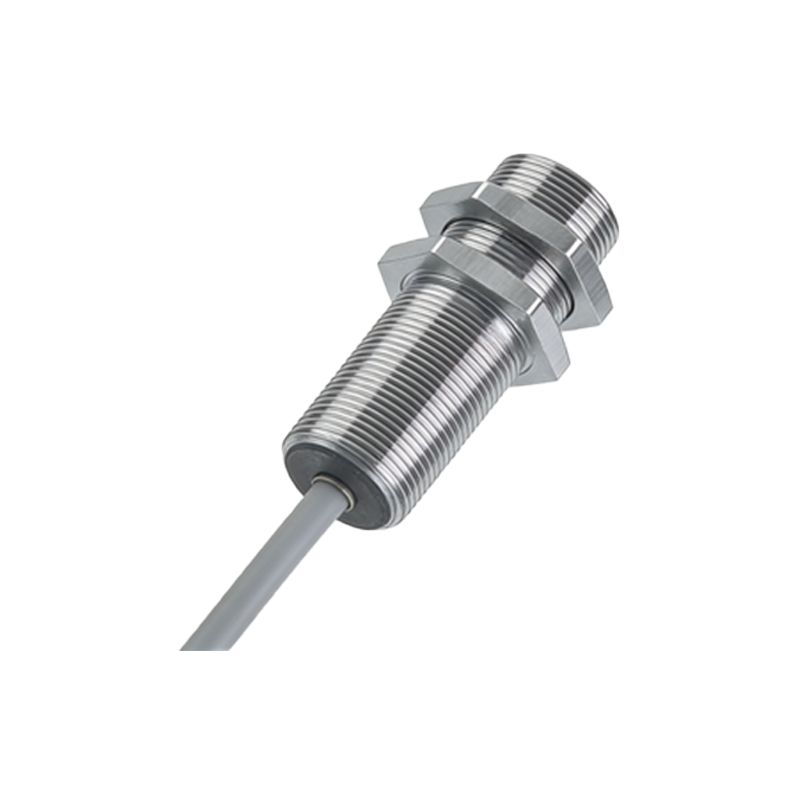
The HS5 photoelectric sensor is a high-performance industrial component designed for precise object detection in automated systems. As an electrical engineer, you will frequently encounter this sensor in packaging lines, conveyor systems, and material handling equipment. Its robust housing and reliable through-beam or retro-reflective operation make it suitable for harsh environments. The sensor typically operates at 10-30V DC and provides NPN or PNP output, depending on the model. To locate the HS5 sensor effectively, you must first understand its physical footprint: the cylindrical body measures approximately 18mm in diameter with a 50mm length, and its M18 threaded mounting collar requires a standard 18mm mounting hole.
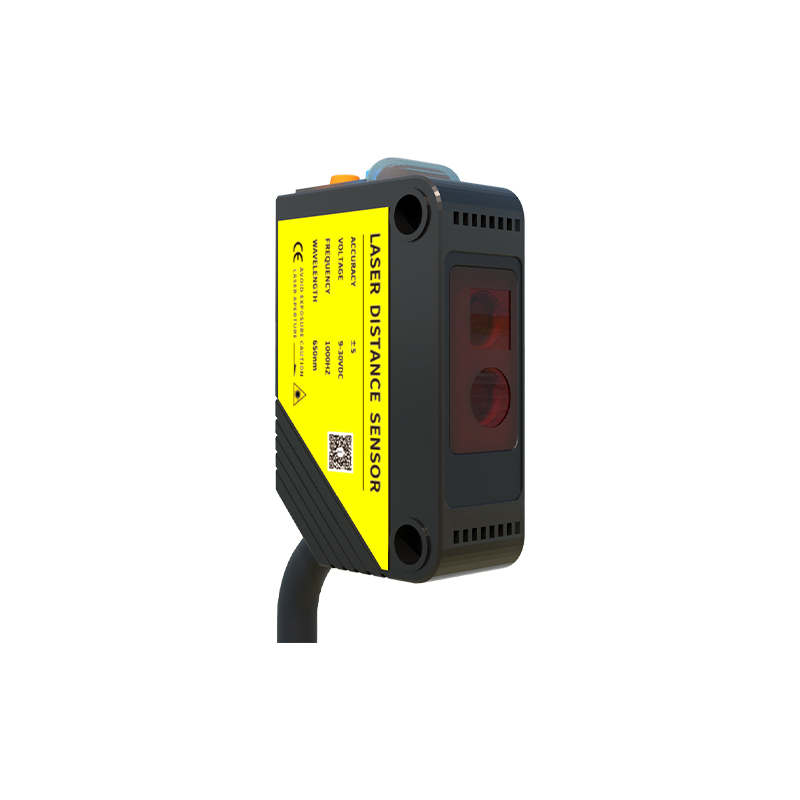
Common Installation Locations in Industrial Machinery
In most factory floor setups, the HS5 sensor is mounted near moving parts or along conveyor edges. For through-beam configurations, the emitter and receiver are aligned on opposite sides of the detection path, often at heights of 100-300mm above the conveyor belt. In retro-reflective mode, the sensor is placed on one side with a reflector on the opposite side. Engineers frequently install HS5 sensors at the entry and exit points of automated guided vehicles (AGVs) or near robotic arms to detect part presence. Check the mounting brackets on machine frames; the sensor is often secured using the included lock nut and a swivel bracket for angular adjustment. Look for the characteristic blue or black plastic housing with a red LED indicator near the sensing face.
Identifying HS5 Sensor Placement in Existing Systems
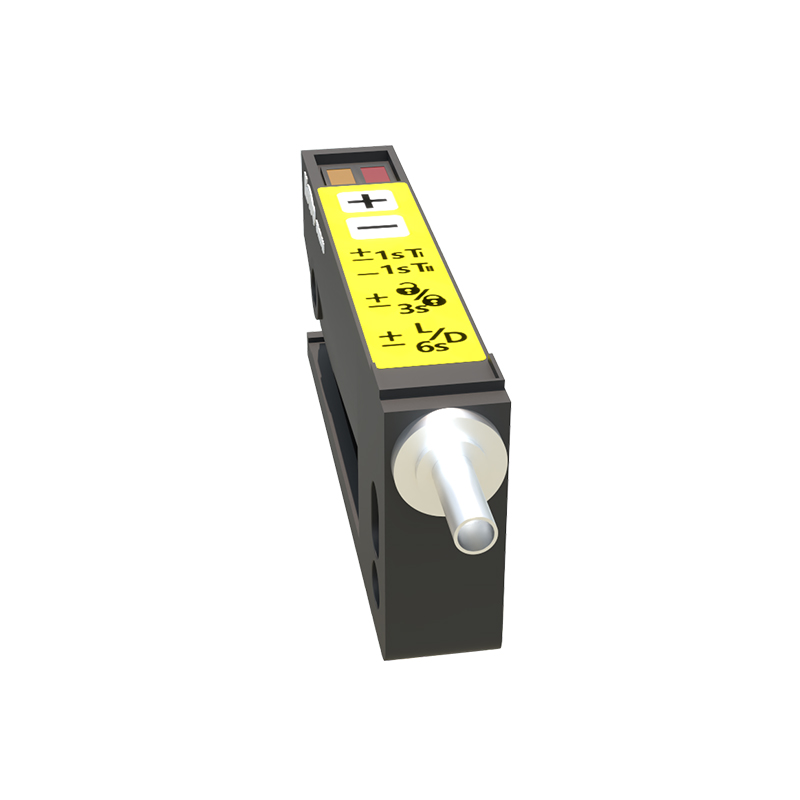
If you are troubleshooting or retrofitting an existing system, inspect the wiring diagram first. The HS5 sensor typically has three wires: brown for power supply (10-30V DC), blue for ground, and black for output signal. Follow these wires from the controller cabinet to the sensor location. Common places include the underside of conveyor rails, inside guarding enclosures, or at the end of actuator arms. The sensor may be hidden behind protective covers or plastic guards, so remove any panels carefully. Also, check for M18 threaded holes in metal brackets near the actuator's stroke end. The sensor's sensing range is typically 0.5 to 15 meters, so its location must allow an unobstructed beam path.
Locating the HS5 Sensor in Cleanroom and Specialized Environments
In cleanroom or food processing areas, the HS5 sensor is often enclosed in stainless steel housings or IP67-rated enclosures. Look for the sensor behind sealed glass windows or inside pressurized cabinets. The mounting bracket may be made of 316L stainless steel to resist corrosion. In these settings, the sensor might be located near washdown zones, but ensure the cable gland is properly sealed. The HS5 can also be found in overhead gantry systems, where it is mounted on the moving carriage with a flexible cable track. For laser-cut or welding cells, the sensor is positioned away from heat sources, often with a cooling shroud or at a 45-degree angle to avoid direct laser exposure.
Accessing the HS5 Sensor for Maintenance and Replacement
When you need to replace or adjust the HS5 sensor, first disconnect power and lock out the system. The sensor is usually accessible by loosening the M18 lock nut with a 24mm wrench. Rotate the sensor to align the indicator LED with the target. For through-beam pairs, you may need a second wrench to hold the emitter while adjusting the receiver. If the sensor is installed in a tight space, use a socket wrench with an extension. Always verify the sensor's alignment using a piece of white cardboard placed at the sensing distance. Finally, test the output by changing the target and monitoring the voltage across the black and blue wires. The LED should illuminate when the target is detected.