Introduction to Color Photoelectric Sensors
Color photoelectric sensors are critical components in industrial automation, used for detecting and distinguishing colors in packaging, sorting, and quality control applications. Proper calibration ensures accurate color recognition and reliable performance. This guide provides a detailed, engineer-focused approach to calibrating these sensors, based on a practical video demonstration.
Pre-Calibration Setup and Safety Checks
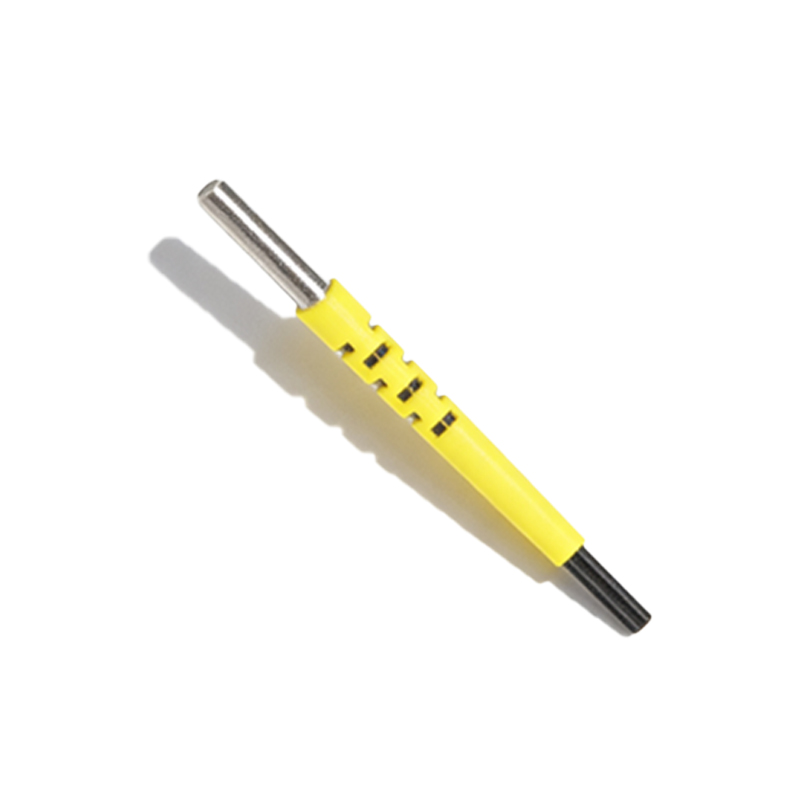
Before starting the calibration process, ensure the sensor is properly mounted and aligned with the target surface. Disconnect power to avoid accidental triggering. Verify the sensor’s specifications, such as detection distance and color range, from the manufacturer’s datasheet. For the video setup, use a stable background and controlled lighting to minimize environmental interference. The video will show how to adjust the sensor’s mounting bracket for optimal angle.
Entering Calibration Mode
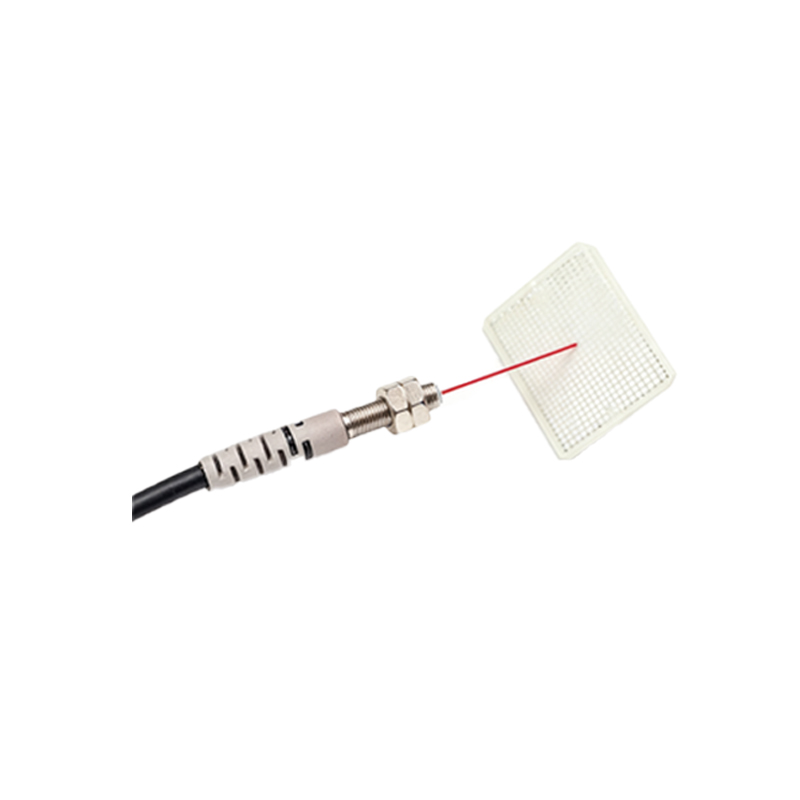
Most color sensors have a dedicated calibration mode, often activated by pressing a button or applying a specific input signal. In the video, we demonstrate using a standard RGB sensor with a teach-in button. Press and hold the button for 3 seconds until the LED indicator flashes, signaling the sensor is ready to learn. This step is crucial for locking in the color parameters.
Teaching the Target Color
Place a reference object with the target color directly in front of the sensor’s detection area. In the video, this is shown using a color chart with known values. Press the teach button again briefly to capture the color. The sensor will analyze the RGB values and store them in memory. Confirm the stored color by checking the output signal on an oscilloscope or PLC input. The video highlights the importance of consistent lighting during this step.
Adjusting Sensitivity and Thresholds
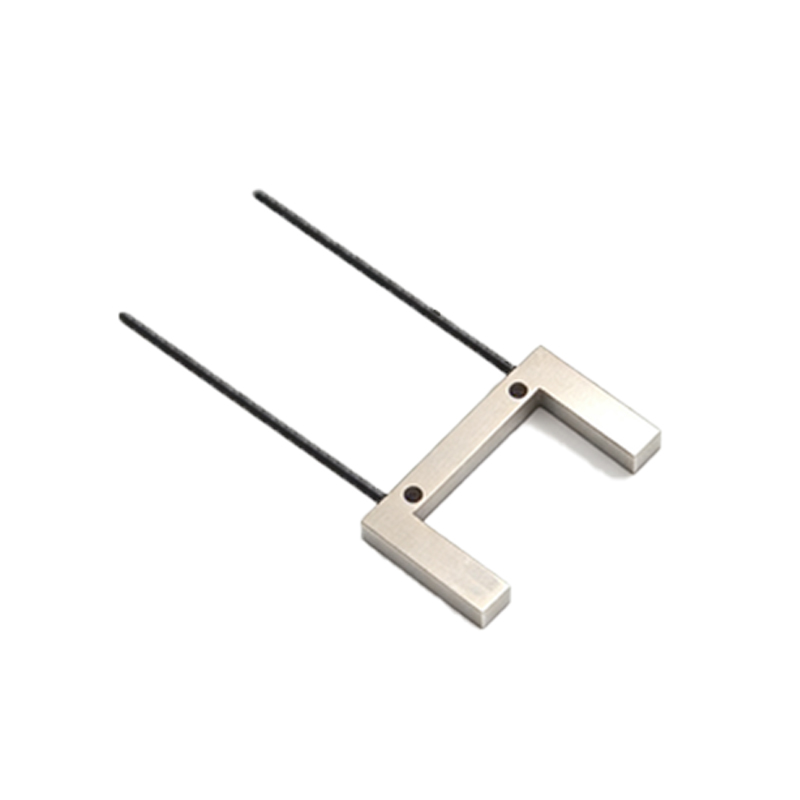
After teaching, fine-tune the sensor’s sensitivity to prevent false detections. Use the potentiometer or software interface to adjust the tolerance level. In the video, we show how to set a 10% tolerance for similar colors. For high-precision applications, lower the tolerance to 5%. Test with a different color object to ensure the sensor rejects it correctly. The video includes a table of recommended tolerance values for various industries.
Verifying Calibration with Real-World Tests
Run a series of tests using multiple color samples. The video demonstrates fast-moving objects on a conveyor belt to simulate production conditions. Check the sensor’s response time and accuracy. If errors occur, recalibrate with a more controlled environment or clean the sensor lens. The video also shows how to use a diagnostic tool to read error codes and adjust parameters via a PC interface.
Common Calibration Issues and Solutions
Engineers often face issues like ambient light interference or color drift. The video addresses these by using opaque shields and recalibrating after lens cleaning. Another tip is to use a white reference for background suppression. If the sensor fails to detect the color, check the detection distance or replace the LED source. The video concludes with a troubleshooting checklist.
Conclusion and Best Practices
Regular calibration every 6 months ensures long-term sensor reliability. Always document the calibration parameters for traceability. The video emphasizes keeping a log of ambient conditions and color values. For complex environments, consider using a multi-point calibration method. This guide, combined with the video, provides a robust foundation for any industrial application.