Understanding the Role of Photoelectric Sensors in Conveyor Systems
Photoelectric sensors are critical components in modern conveyor systems, used to detect objects, monitor belt position, and ensure smooth material flow. In industrial environments, these sensors often face harsh conditions such as dust, vibration, and moisture, leading to wear or failure. When a sensor malfunctions, it can cause production delays, misalignment, or even safety hazards. This guide provides a practical, step-by-step video demonstration for replacing a faulty photoelectric sensor on a conveyor belt, focusing on safety, precision, and efficiency.
Pre-Replacement Safety and Tools Preparation
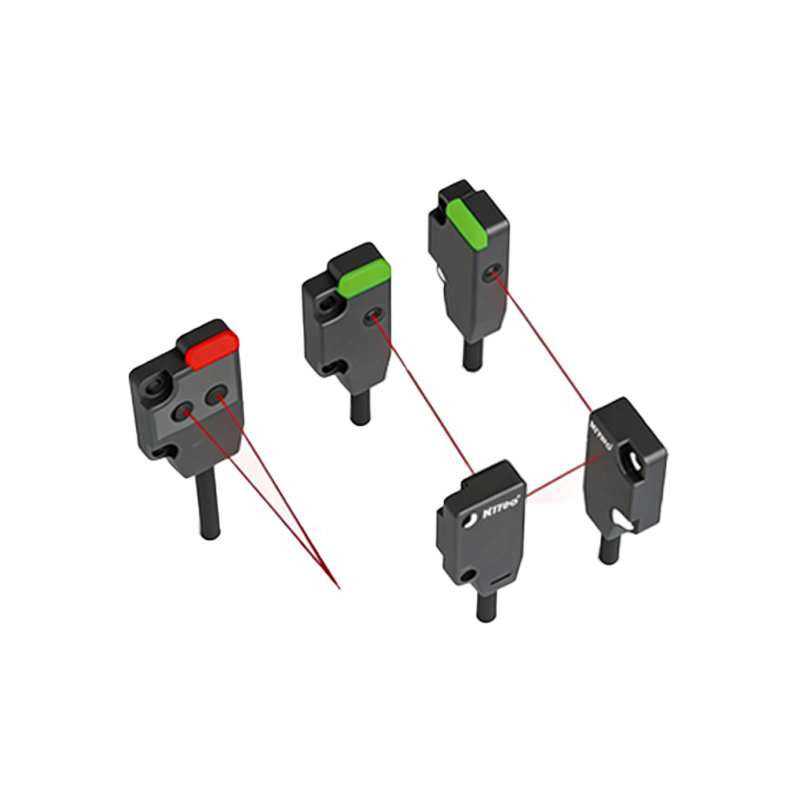
Before any replacement, ensure the conveyor system is completely powered down and locked out to prevent accidental startup. Gather essential tools: a replacement photoelectric sensor (matching the original specifications, such as through-beam or retroreflective type), a multimeter for continuity checks, screwdrivers, wire strippers, and electrical tape. Review the conveyor’s wiring diagram to identify sensor connections. Safety gear, including insulated gloves and safety glasses, is mandatory. This preparation minimizes downtime and risks during the replacement process.
Identifying the Faulty Sensor and Removing It
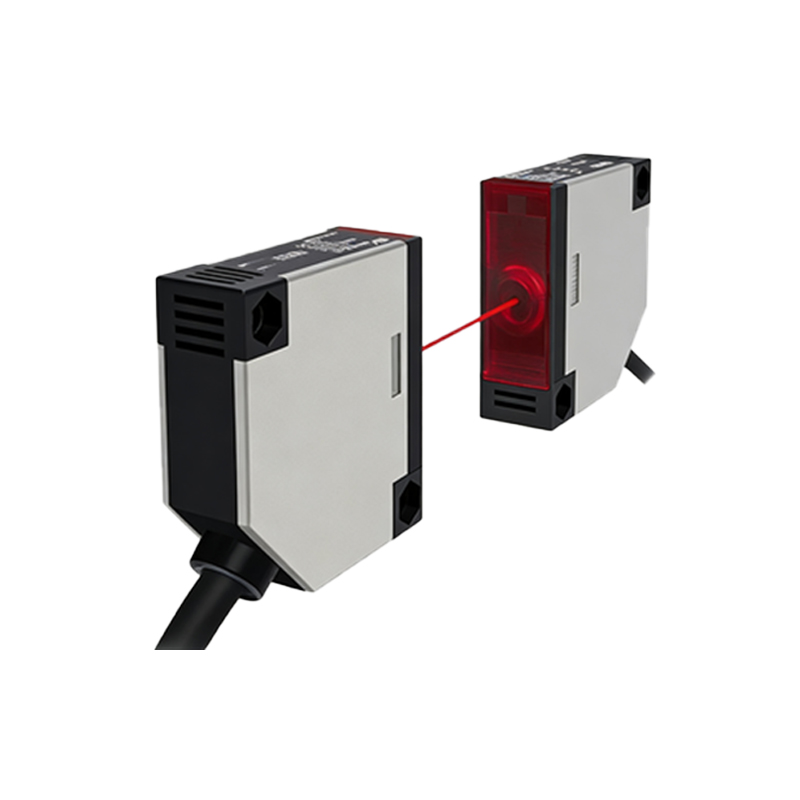
Locate the defective sensor by observing error codes on the control panel or using a multimeter to test output signals. Typically, a sensor will show no response to objects or a constant triggered state. Power off the system and disconnect the sensor’s wiring harness. Use a screwdriver to remove mounting screws or brackets securing the sensor to the conveyor frame. Carefully extract the sensor, noting its orientation and cable routing for reinstallation. Document the wiring color codes or take a photo for reference.
Installing the New Photoelectric Sensor
Mount the new sensor in the same position as the old one, ensuring it aligns with the reflector (for retroreflective types) or receiver (for through-beam types). Tighten the mounting hardware to prevent vibration-induced misalignment. Connect the wires following the original color coding: typically brown for positive supply, blue for negative, and black for output. Use wire connectors or terminal blocks for secure connections. Avoid exposing wires to moving parts or sharp edges. Apply electrical tape to seal connections against moisture.
Testing and Calibration of the New Sensor
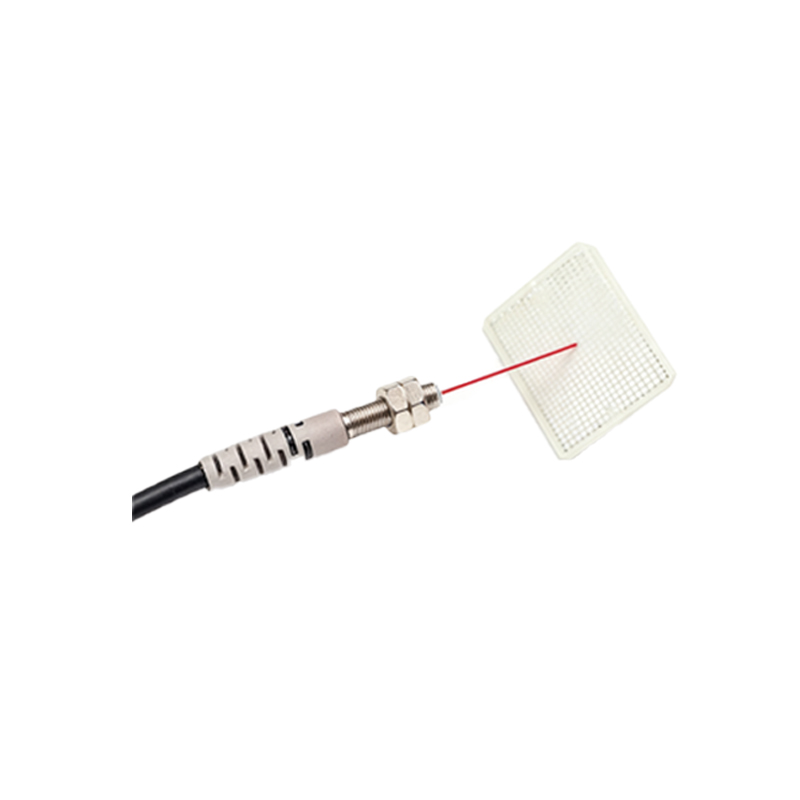
Restore power to the conveyor system after double-checking all connections. Observe the sensor’s indicator light: a steady green or red light often indicates normal operation, while flashing may indicate misalignment. Place a test object on the conveyor belt to verify the sensor triggers correctly. For retroreflective sensors, adjust the sensitivity potentiometer if needed to avoid false triggers. Use a multimeter to confirm the output signal matches the PLC input requirements. Run the conveyor at a low speed initially to ensure stable detection.
Final Verification and Troubleshooting Tips
After calibration, run the conveyor at full speed for several cycles to confirm consistent sensor performance. Check for common issues: if the sensor fails to detect objects, verify alignment and clean the lens; if it triggers continuously, reduce sensitivity or check for reflective surfaces. If the sensor still fails, inspect wiring for shorts or loose connections. A successful replacement reduces downtime and improves system reliability. For complex systems, consult the sensor’s datasheet or a senior technician.
Video Demonstration and Additional Resources
This guide is complemented by a step-by-step video that visually demonstrates each phase, from power lockout to final testing. The video includes close-up shots of wiring and mounting, making it easier for technicians to follow. For further reference, access the manufacturer’s troubleshooting guide or our online library of conveyor maintenance videos. Regular sensor inspection and replacement are key to maintaining optimal conveyor performance in industrial settings.