Understanding the Photoelectric Sensor Wiring Basics
As an industrial electrician, you often encounter photoelectric sensors in automation systems. These devices detect objects using light beams, and proper wiring is crucial for reliable operation. Typically, a photoelectric sensor has three wires: brown for power (usually 10-30V DC), blue for ground, and black for the output signal. Some models include a white wire for additional functions like light/dark select. Always verify the datasheet before starting. For a standard NPN sensor, the output sinks to ground when activated; for PNP, it sources voltage. This distinction affects how you connect it to a PLC or relay.
Preparing for the Wiring Process
Before you begin, gather your tools: a multimeter, wire strippers, screwdrivers, and heat shrink tubing. Ensure the power supply is off to avoid shorts. Check the sensor's voltage rating—common ranges are 10-30V DC. Use a 24V DC power supply for most industrial applications. Strip the wire ends carefully, about 6-8mm, to ensure a secure connection. Avoid damaging the copper strands. Label your wires if they are not color-coded. For video tutorials, mount the sensor securely on a stable surface to demonstrate clearly.
Step-by-Step Wiring of a 3-Wire Photoelectric Sensor
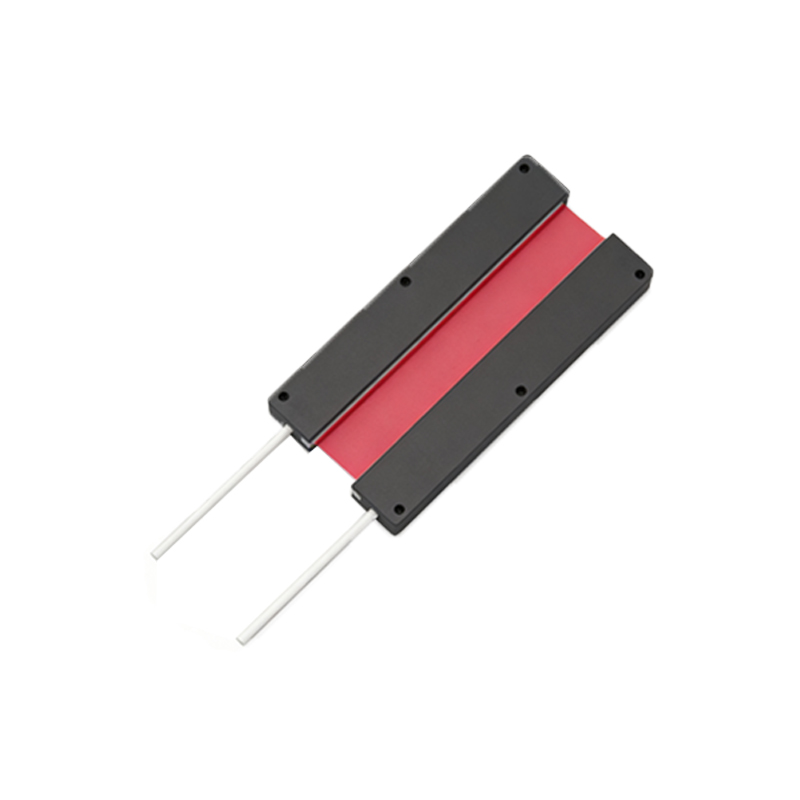
Connect the brown wire to the positive terminal of the power supply (24V DC). Connect the blue wire to the negative terminal (0V). The black wire is the signal output—connect it to the input of your PLC or relay. For an NPN sensor, the black wire will pull to 0V when a target is detected. For PNP, it will pull to 24V. Test with a multimeter: set it to DC voltage mode, probe between black and blue. When an object blocks the sensor beam, voltage should switch. If using a load like a relay, ensure its coil voltage matches your supply.
Wiring a 4-Wire Photoelectric Sensor with Light/Dark Select
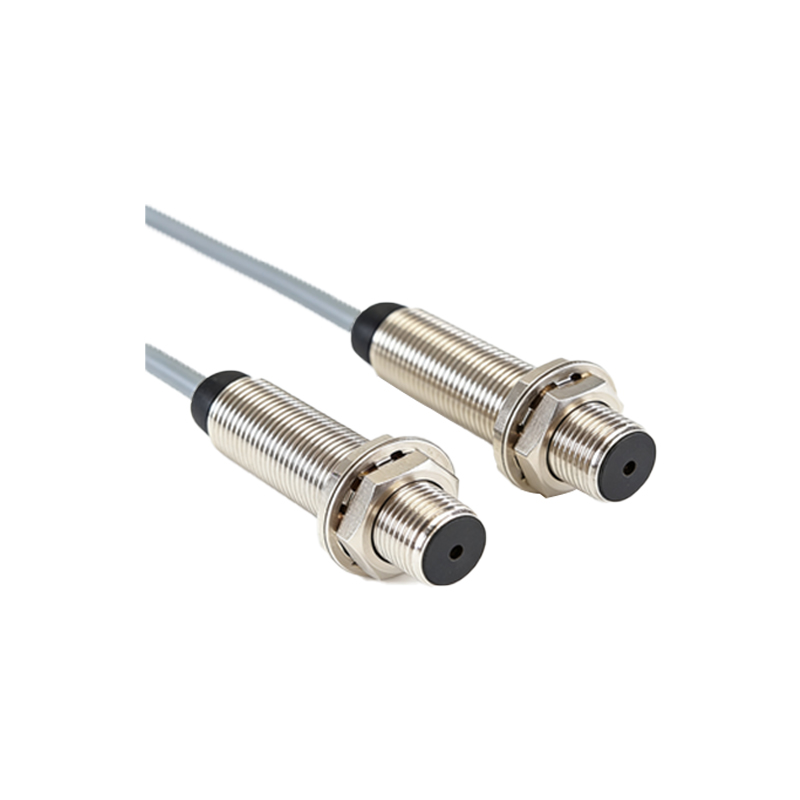
Some sensors have a fourth white wire for selecting light-on or dark-on operation. Connect brown and blue as before. For light-on mode, connect the white wire to 24V. For dark-on, connect white to 0V. The black wire remains the output. This dual functionality helps in different detection scenarios, such as clear object detection. Test by covering the sensor: in light-on mode, output is active when light is received; in dark-on, active when light is blocked. Use a switch if you need to toggle between modes.
Common Wiring Mistakes and Troubleshooting
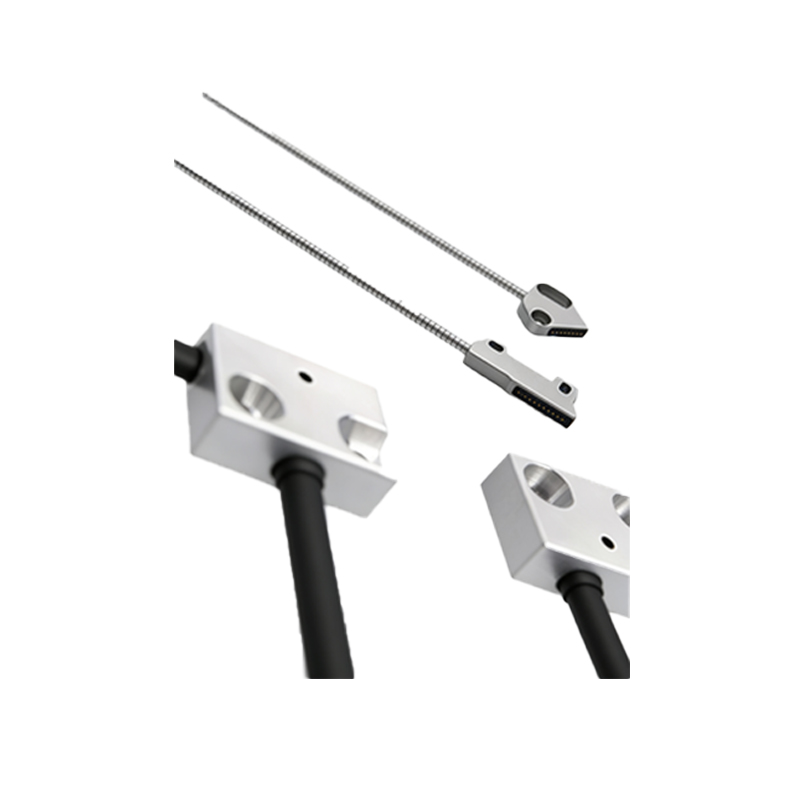
A frequent error is mixing up NPN and PNP outputs. If your sensor does not trigger a PLC input, check the wiring and sensor type. Use a multimeter to confirm voltage at the output pin. Another issue is voltage drop due to long cable runs—use thicker wires for distances over 10 meters. Also, ensure proper grounding to avoid noise interference. In a video, demonstrate checking continuity with a meter. If the sensor flickers, inspect for loose connections or reflective surfaces causing false triggers.
Final Checks and Safety Tips
After wiring, power on the system and test the sensor with a target object. Verify that the indicator LED (if present) lights up correctly. For video production, show a clear sequence from power-up to detection. Always wear safety glasses when working with live circuits. Use heat shrink or electrical tape on exposed wires. Document your wiring diagram for future maintenance. Remember, consistency in wiring color codes across systems reduces errors. A well-wired photoelectric sensor ensures smooth automation and minimal downtime.