Understanding Photoelectric Sensor Wiring Basics
Photoelectric sensors are essential components in industrial automation, detecting objects without physical contact. Their signal wires must be connected correctly to ensure reliable operation. Typically, these sensors have three or four wires: brown (power supply +), blue (power supply -), black (output signal), and sometimes white (additional output or configuration). For a standard three-wire sensor, the brown wire connects to the positive terminal of the DC power supply (e.g., 24V DC), the blue wire to the ground (0V), and the black wire to the input of a programmable logic controller (PLC) or a relay. Always verify the sensor datasheet, as polarity and voltage ratings vary by model. For AC-powered sensors, wiring differs, requiring careful attention to the manufacturer's instructions.
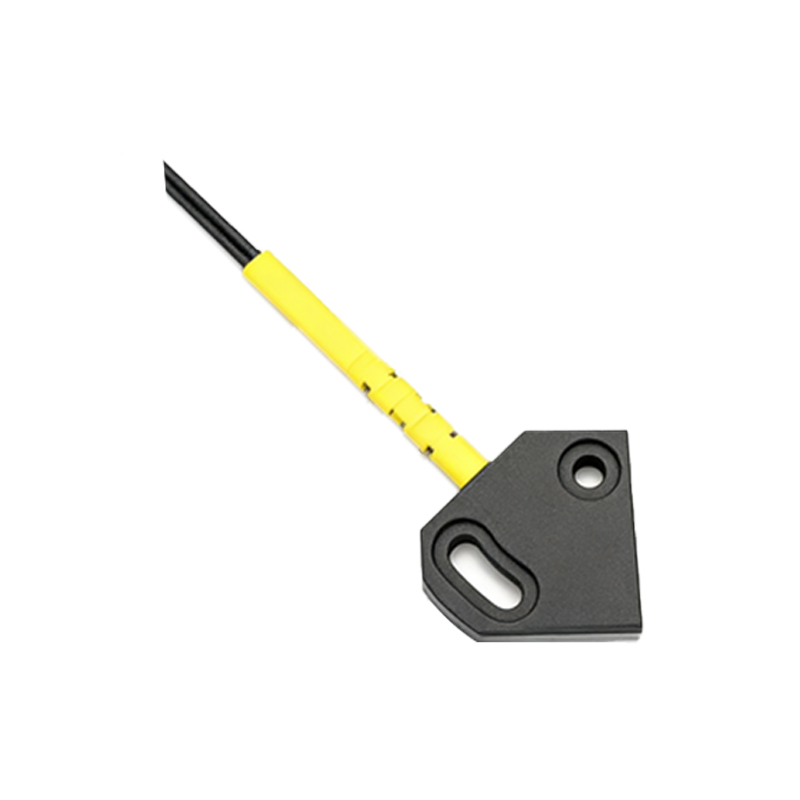
Connecting Signal Wires to PLC Input Modules
The most common destination for the signal wire (usually black) is a digital input module on a PLC. Connect the black wire to the input terminal (e.g., I0.0) of the PLC module. Ensure the PLC input is configured for the same sensor type: either sinking (NPN) or sourcing (PNP). For an NPN sensor, the output is low (0V) when triggered, so the PLC input should be set to sink mode. For a PNP sensor, the output is high (+V) when triggered, requiring the PLC input to be in source mode. Use a series resistor (e.g., 1kΩ) if the sensor current exceeds the PLC input rating. Shield the signal wire to minimize electromagnetic interference in noisy industrial environments.
Wiring to Relays and Contactors for Direct Control
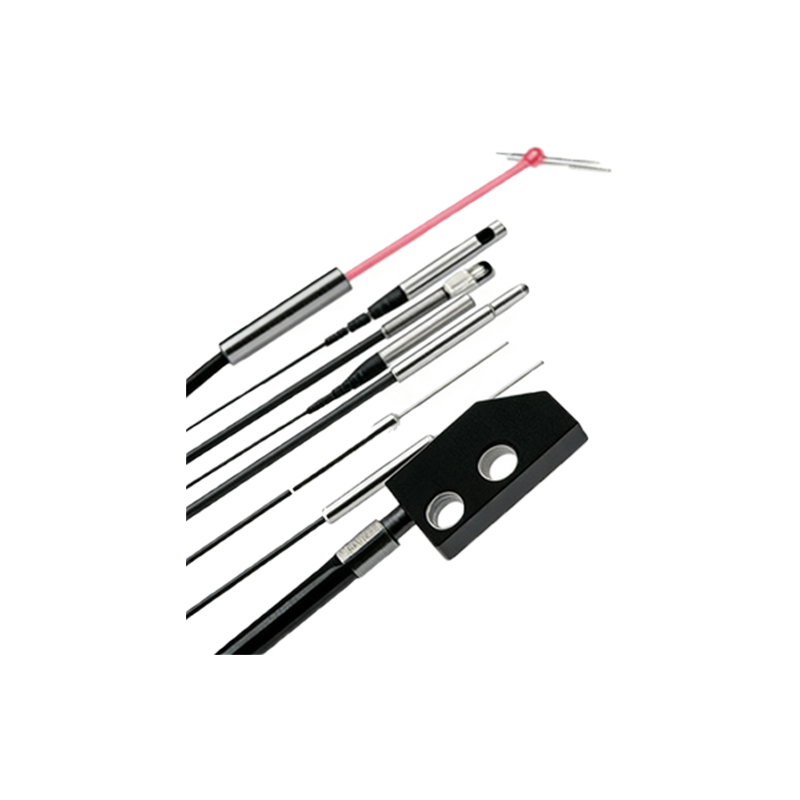
If the sensor directly controls a load like a motor or alarm, connect the signal wire to a relay coil. For a PNP sensor, the black wire goes to one coil terminal, and the other coil terminal connects to ground (0V). For an NPN sensor, the black wire goes to ground, and the other coil terminal connects to the positive supply. Include a flyback diode across the relay coil to protect the sensor from voltage spikes caused by inductive loads. Choose a relay with a coil voltage matching the sensor's supply voltage, typically 24V DC. Verify the sensor's output current can drive the relay coil; if not, use a transistor amplifier stage.
Connecting Signal Wires in Series or Parallel Configurations
For advanced applications, multiple sensors can be wired in series (and logic) or parallel (or logic). In a series connection, the output of one sensor feeds the input of the next, with the final sensor's output connected to the PLC. For parallel wiring, all sensor outputs connect to a single PLC input via diodes to prevent backfeeding. Use Schottky diodes for low voltage drop. Ensure the total load current does not exceed the sensor's maximum rating. Label all wires clearly to simplify troubleshooting, and test each connection with a multimeter before powering the system.
Troubleshooting Common Wiring Issues
Incorrect wiring can cause sensor malfunction. If the sensor does not trigger, check the power supply voltage at the brown and blue wires. If the signal wire shows no change when an object is detected, verify the wiring polarity and PLC input configuration. Use a digital multimeter to measure voltage between the black wire and ground: for PNP sensors, it should switch from 0V to +V; for NPN, from +V to 0V. For intermittent issues, inspect for loose connections or damaged cables. Replace damaged wires with shielded twisted pairs to reduce noise. Always consult the sensor's technical manual for specific wiring diagrams.