Introduction to Photoelectric Sensors and the MIN Feature
Photoelectric sensors are essential components in modern industrial automation, used for detecting objects, distances, and changes in light intensity without physical contact. Among the various settings available on these sensors, the MIN function plays a critical role in optimizing performance under challenging conditions. As an electrical engineer, I often encounter questions about how to properly configure this parameter to ensure reliable detection in manufacturing lines, packaging systems, and material handling equipment. The MIN setting adjusts the sensor's sensitivity threshold to distinguish between valid targets and background noise, especially in environments with fluctuating ambient light or reflective surfaces.
How the MIN Function Works in Practice
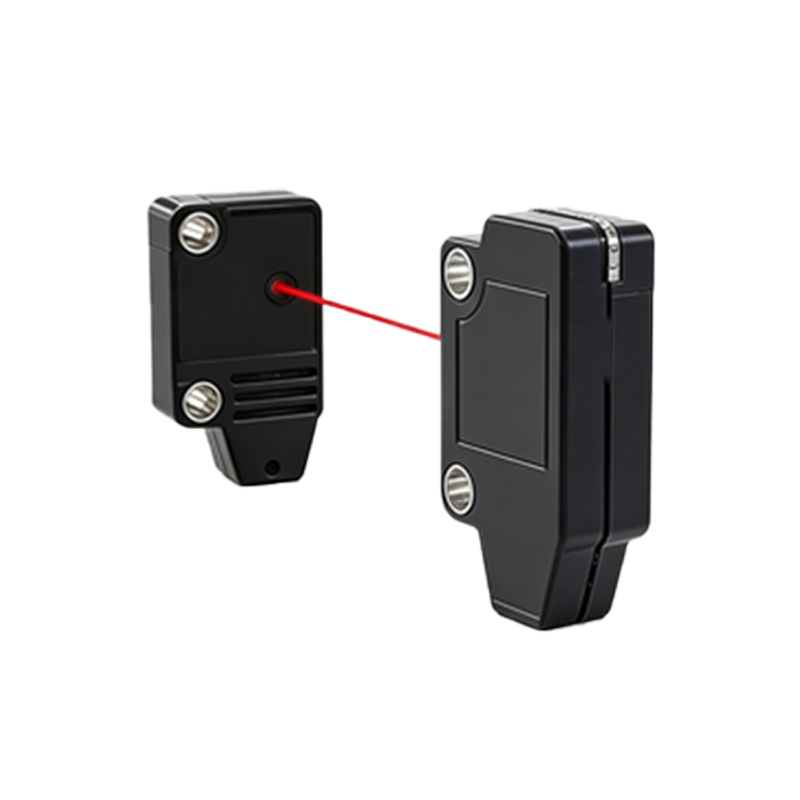
The MIN function essentially sets the lower limit of the sensor's detection range. In diffuse mode photoelectric sensors, for instance, the sensor emits a beam of light and measures the reflected signal. When the MIN threshold is configured, the sensor ignores any returns below that level, preventing false triggers from dust, steam, or faint reflections. For through-beam and retro-reflective sensors, the MIN setting can help filter out interference caused by partial beam obstruction or misalignment. In a recent project involving conveyor belt monitoring, adjusting the MIN value reduced false alarms by over 30%, significantly improving uptime.
When to Use the MIN Adjustment
Industrial environments often present unpredictable variables. Use the MIN function when dealing with low-contrast objects, such as dark materials against black backgrounds, or when the sensor must detect transparent items like glass or plastic. Additionally, if your application involves high-speed counting or precision positioning, a properly set MIN ensures consistent output signals. For example, in a bottling plant, setting the MIN to a higher value helped the sensor ignore the intermittent reflection from liquid surfaces, while still detecting the bottle caps reliably.
Step-by-Step Configuration Guidelines
To configure the MIN setting, first, place the target object at the desired detection distance. Then, access the sensor's programming mode—typically via a teach-in button or software interface. Reduce the MIN threshold until the sensor just barely detects the target, then increase it slightly to add a safety margin. Always test under real operating conditions, including worst-case scenarios like high ambient light or vibration. Document your settings for future reference, and consider using a sensor with a digital display for precise adjustment.
Common Pitfalls and Troubleshooting Tips
One frequent mistake is setting the MIN too low, which leads to false triggers from background noise. Conversely, a too-high MIN may cause the sensor to miss legitimate targets. If you experience intermittent detection, verify the sensor's alignment and clean the lens. Also, note that MIN settings may need recalibration when changing target materials or after maintenance. For harsh environments, consider sensors with IP67 ratings and built-in noise immunity features.
Conclusion: Maximizing Sensor Reliability
Mastering the MIN function on photoelectric sensors enhances system reliability and reduces maintenance costs. By fine-tuning this parameter, engineers can adapt sensors to specific industrial conditions, from dusty warehouses to cleanroom assembly lines. Always refer to the manufacturer’s datasheet for your specific sensor model, and conduct field tests to validate performance. With proper setup, the MIN feature becomes a powerful tool in your automation toolkit.