Why Cleaning Photoelectric Sensors Matters
Photoelectric sensors are critical components in automated industrial systems, used for object detection, counting, and positioning. Over time, dust, oil, moisture, and debris can accumulate on the sensor lens or reflector, leading to false triggers, reduced sensitivity, or complete failure. Regular cleaning ensures reliable operation, minimizes downtime, and extends sensor lifespan. In harsh environments like manufacturing plants, warehouses, or outdoor installations, proper maintenance is not optional—it is essential for system integrity.
Identifying Contaminants on Sensor Surfaces
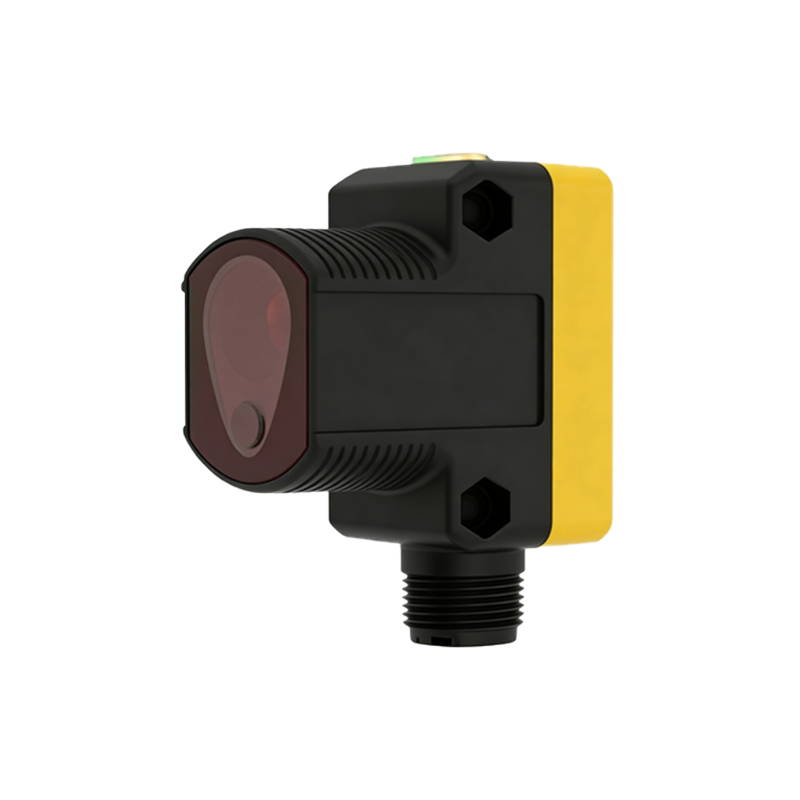
Before cleaning, assess the type of contamination. Common culprits include: dust and dry particles, which cause light scattering; oil or grease from machinery, which forms a film; moisture or condensation, leading to lens fogging; and weld splatter or chemical residues, which can cause permanent damage. Use a magnifying glass or borescope to inspect the sensor lens, emitter, and receiver. For through-beam or retro-reflective sensors, also check the reflector or target. Note any scratches or cracks, as these may require replacement rather than cleaning.
Tools and Cleaning Agents for Safe Maintenance
Select tools and agents that will not damage the sensor housing or optical surfaces. Recommended items include: lint-free microfiber cloths or optical wipes; isopropyl alcohol (99% purity) for dissolving grease; distilled water for rinsing; compressed air with a nozzle filter to blow off dust; and cotton swabs for tight spaces. Avoid abrasive cleaners, acetone, or ammonia-based products, which can etch plastic lenses or strip protective coatings. Always use clean tools to prevent cross-contamination.
Step-by-Step Cleaning Procedure
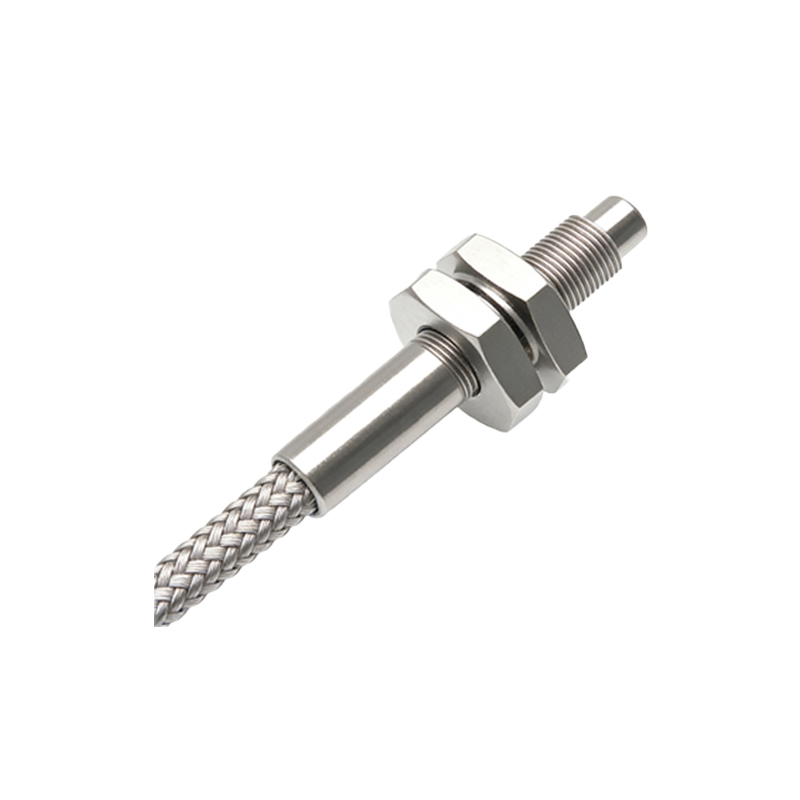
First, power off the sensor to avoid electrical hazards or accidental activation. Remove any external guards or covers if accessible. Begin by using compressed air at low pressure (below 30 psi) to blow loose particles from the lens and surrounding area—hold the nozzle at least 6 inches away to prevent moisture from the air line. Next, dampen a microfiber cloth with isopropyl alcohol (not soaking) and gently wipe the lens in a circular motion from center to edge. For stubborn residues, use a cotton swab with alcohol, but avoid pressing hard to prevent scratches. Finally, rinse with distilled water if alcohol leaves streaks, and dry with a clean, lint-free cloth. Allow the sensor to air dry for 2-3 minutes before re-powering.
Special Considerations for Different Sensor Types
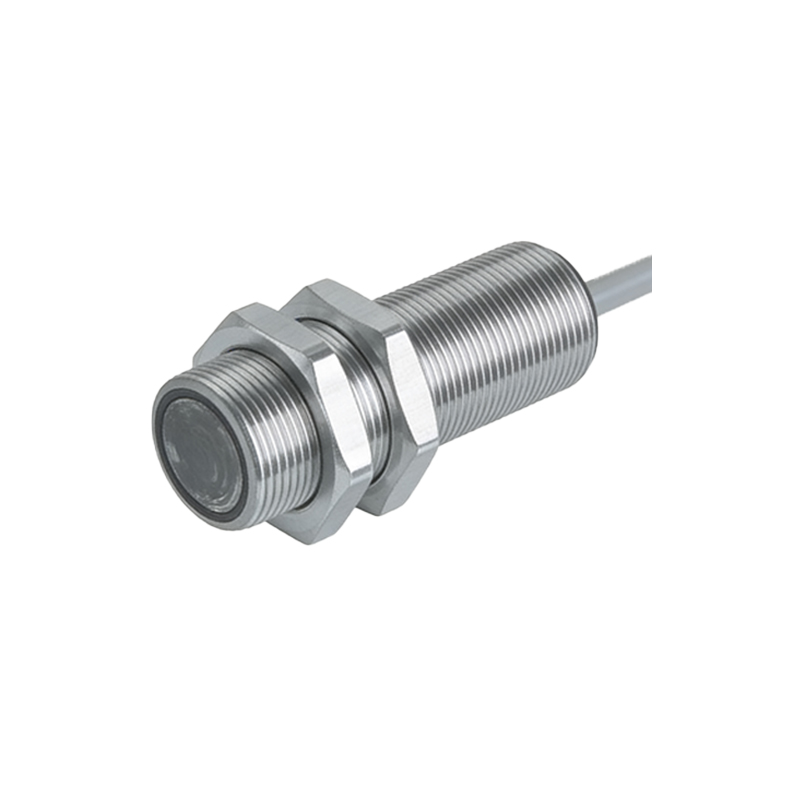
Different photoelectric sensor designs require unique care. For through-beam sensors, clean both the emitter and receiver lenses. For retro-reflective sensors, also clean the reflector—use a plastic-safe cleaner to avoid etching the reflective film. For diffuse sensors, which rely on object reflection, the lens is more exposed; inspect for scratches as they may require recalibration. For fiber optic models, never immerse the fiber tip; use a special fiber cleaning kit with alcohol and a cleaning cassette. Always consult the manufacturer’s manual for specific cleaning restrictions, especially for sensors with IP ratings (e.g., IP67 or IP69K).
Establishing a Cleaning Schedule
To prevent performance degradation, implement a routine cleaning schedule based on environment severity. In clean, climate-controlled areas (e.g., electronics assembly), clean every 3-6 months. In moderate dust or oily environments (e.g., packaging lines), clean monthly or bi-weekly. In harsh conditions (e.g., foundries, woodworking, or outdoor conveyor systems), inspect weekly and clean as needed. Document each cleaning event in a maintenance log, noting sensor condition and any anomalies. This data helps predict failures and optimize intervals.
Troubleshooting After Cleaning
If a sensor still malfunctions after cleaning, check for other issues. The lens may have micro-scratches causing light diffusion, or the internal electronics could be damaged. Test the sensor with a known target to verify its response. If output remains erratic, recalibrate the sensitivity using a potentiometer or teach function. For digital sensors, check the configuration settings and wiring. If problems persist, replace the sensor and send the faulty unit for laboratory analysis to prevent future failures.
Final Maintenance Tips for Long-Term Reliability
Always store spare sensors in a clean, dry environment. Use protective covers or shields in high-contamination areas. Train maintenance staff on proper cleaning techniques. Remember that over-cleaning can also cause wear, so avoid excessive use of solvents. By integrating these practices into your maintenance routine, you will enhance sensor accuracy, reduce downtime, and improve overall production efficiency.