Introduction to the PMF50 Photoelectric Sensor
The PMF50 is a high-performance photoelectric sensor widely used in industrial automation for object detection, positioning, and sorting. As an electrical engineer, proper installation is critical to ensure reliable operation in harsh environments, such as dusty factories or wet areas. This guide covers the key steps for mounting, wiring, and calibrating the PMF50, based on industry standards.
Pre-Installation Checklist and Safety Precautions
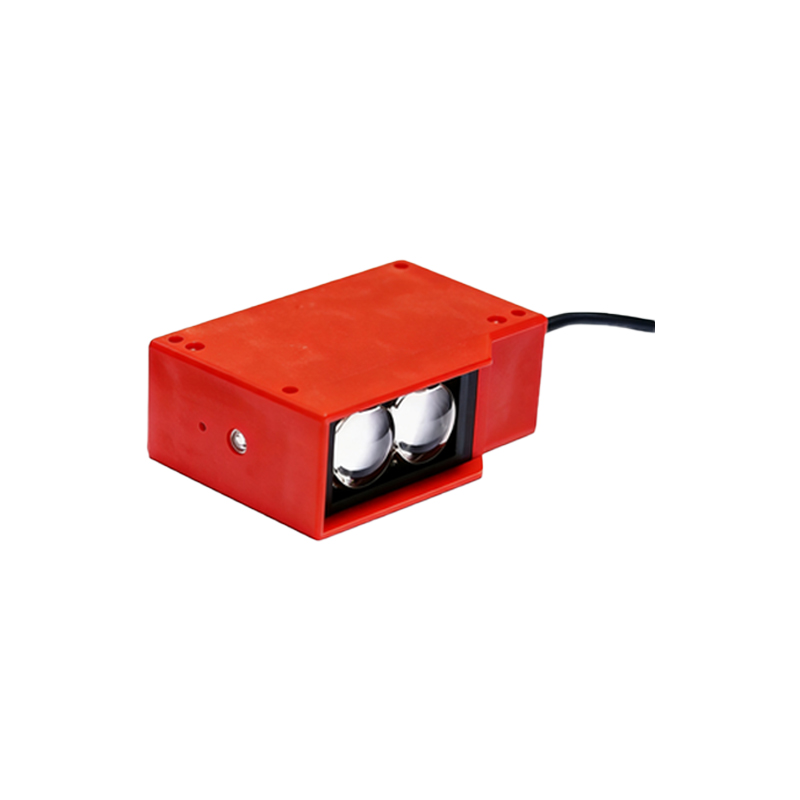
Before starting, verify that the sensor model matches your application (e.g., through-beam, retro-reflective, or diffuse type). Ensure the power supply is disconnected to avoid electrical shock. Check the mounting surface for stability and alignment with the target object. Use appropriate tools like a drill, screws, and a level for precise placement. Always refer to the manufacturer’s datasheet for specific voltage and current ratings.
Mounting the PMF50 Sensor
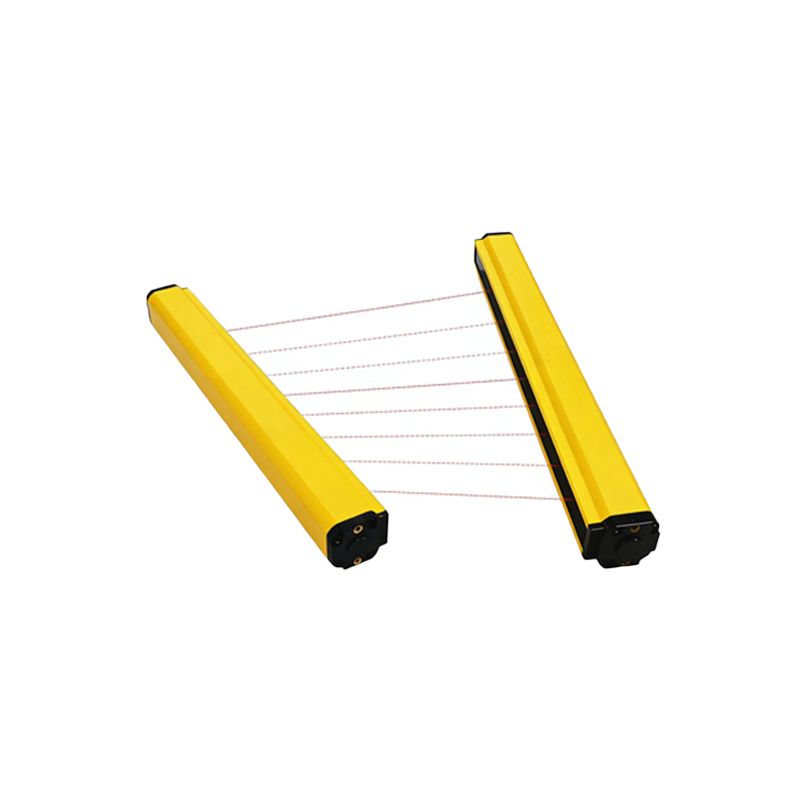
Select a location that minimizes vibration and exposure to extreme temperatures. For through-beam models, mount the emitter and receiver directly opposite each other, with a clear line of sight. Use the provided brackets to secure the sensor with M4 screws, ensuring the sensing face is perpendicular to the target path. For retro-reflective types, position the reflector at the specified distance (typically 0.1 to 10 meters) and angle it within 5 degrees of the sensor axis.
Wiring and Electrical Connections
The PMF50 typically features a 4-pin M12 connector for power and signal. Connect the brown wire to +24V DC, blue to 0V, black to the NPN or PNP output, and white for the alarm or test input, as per the wiring diagram. Use shielded cables to reduce electromagnetic interference, especially near motors or inverters. Ensure the cable length does not exceed 50 meters to prevent voltage drop. Double-check polarity before powering on.
Configuring Sensitivity and Output Mode
After mounting and wiring, adjust the sensitivity potentiometer or via the teach-in button. For diffuse models, set the sensing distance by placing the target at the desired point and turning the potentiometer until the output LED turns solid. For background suppression, use the teach-in function to ignore background objects. Select the output mode (light-on or dark-on) by toggling the DIP switch, based on whether you need detection in the presence or absence of light.
Testing and Calibration
Power on the system and test with a typical object. Observe the LED indicators: green for power, yellow for output, and red for error. If the sensor triggers inconsistently, reduce sensitivity or adjust the alignment. Use a multimeter to verify the output voltage at the signal wire (0V or 24V) when the target is present. For retro-reflective sensors, ensure the reflector is clean and free from scratches. Perform a final run with multiple objects to confirm repeatability.
Troubleshooting Common Issues
If the sensor fails to detect, check for dirty optics, loose connections, or misalignment. Intermittent false triggering may indicate electrical noise; add a ferrite core to the cable. For excessive response time, adjust the sensitivity switch to a faster setting. Always consult the PMF50 manual for advanced diagnostics, such as using the test input to simulate a target.
Maintenance and Best Practices
Regularly clean the sensor lens with a soft cloth and isopropyl alcohol to maintain accuracy. Inspect cables for wear and tighten connections quarterly. For outdoor or high-humidity installations, apply IP67-rated connectors and sealant. Document the installation parameters, such as mounting height and sensitivity settings, for future reference. Following these steps ensures the PMF50 delivers long-term, reliable performance in your automation system.