Introduction to Apple 7 Photoelectric Sensor
The Apple 7 photoelectric sensor, often referred to as a diffuse reflective sensor in industrial automation, is a compact yet powerful device used for detecting objects without physical contact. As an electrical engineer, understanding its wiring and application is critical for optimizing production lines. This sensor operates by emitting a light beam and measuring the reflected light to determine the presence or absence of an object. Key specifications include a sensing range up to 0.5 meters, a response time of 1 ms, and compatibility with 12-24 VDC power supplies.
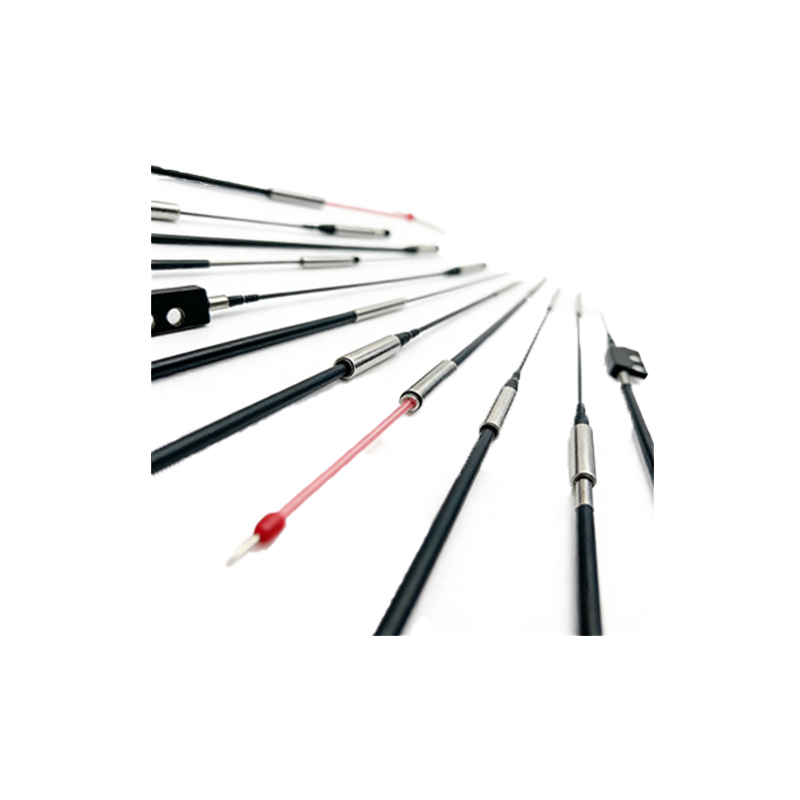
Wiring and Connection Setup
Proper wiring is essential for reliable performance. The Apple 7 sensor typically features four wires: brown (positive DC power, 12-24V), blue (negative DC ground), black (normally open output, NPN), and white (normally closed output, PNP). For most PLC systems, connect the brown wire to the positive terminal and the blue wire to the common ground. If using NPN logic, link the black wire to the input module; for PNP logic, use the white wire. Always verify the sensor's datasheet to confirm polarity and ensure no reverse current damage. Use shielded cables for long distances to minimize electromagnetic interference.
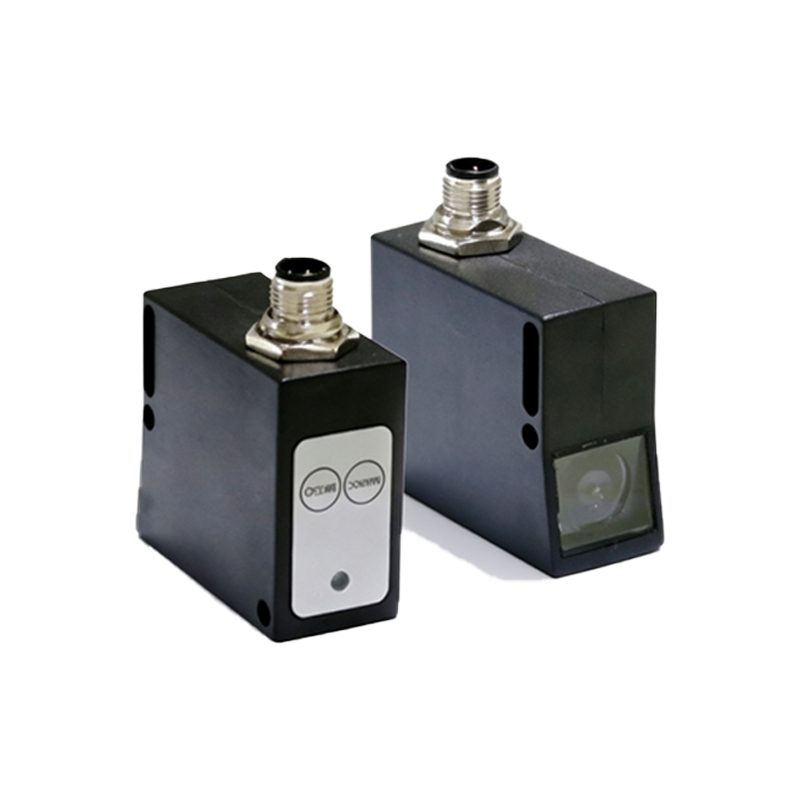
Mounting and Environmental Considerations
Mount the sensor in a stable position with the emitter and receiver aligned towards the target. Avoid direct sunlight or strong ambient light sources, as they can cause false triggers. For dusty or wet environments, install a protective housing such as an IP67-rated enclosure. The sensor's sensing range can be adjusted via a built-in potentiometer—rotate clockwise to increase sensitivity for dark objects or counterclockwise for reflective surfaces. Test with a sample target to confirm reliable detection before integration.
Calibration and Sensitivity Adjustment
Calibration is straightforward. Power on the system and place the target object at the desired sensing distance. Turn the potentiometer until the LED indicator turns solid, indicating detection. For moving targets, adjust the response time by setting the filter switch (if available) to "fast" mode for high-speed lines. Use an oscilloscope to monitor the output signal for any jitter or noise. A typical setting for metal parts detection is 0.2 seconds, while for transparent materials, increase sensitivity to 0.5 seconds.
Troubleshooting Common Issues
If the sensor fails to detect objects, first check the power supply voltage—it must be within 12-24 VDC. Next, clean the lens with a lint-free cloth, as dust accumulation reduces reflectivity. Verify that the object is within the specified sensing range and that its surface is not too dark or matte. For intermittent triggering, inspect the cable for cuts or loose connections. If the LED remains off, the sensor may be damaged—replace it and re-test the system.
Integration with PLC and Automation Systems
To integrate the Apple 7 sensor with a PLC, program the input channel to interpret the sensor's digital signal (0V or 24V). For example, in a conveyor belt system, use the normally open (NO) output to trigger a counter or stop motor when an object is detected. Implement a debounce time of 10 ms in the PLC code to avoid false counts from vibration. For advanced applications, connect multiple sensors to a multiplexer to monitor different zones. Always document the sensor parameters in the control system for future maintenance.