Introduction to Photoelectric Sensor Action Indicators
Photoelectric sensors are critical components in industrial automation, used to detect the presence, absence, or distance of objects without physical contact. The action indicator, typically an LED on the sensor body, provides immediate visual feedback on the sensor's operational status. This indicator is essential for quick diagnostics and system validation, allowing engineers to assess sensor performance at a glance. Understanding its behavior—whether it is steady, flashing, or off—can significantly reduce downtime during maintenance or installation.
Common States of the Action Indicator and Their Meanings
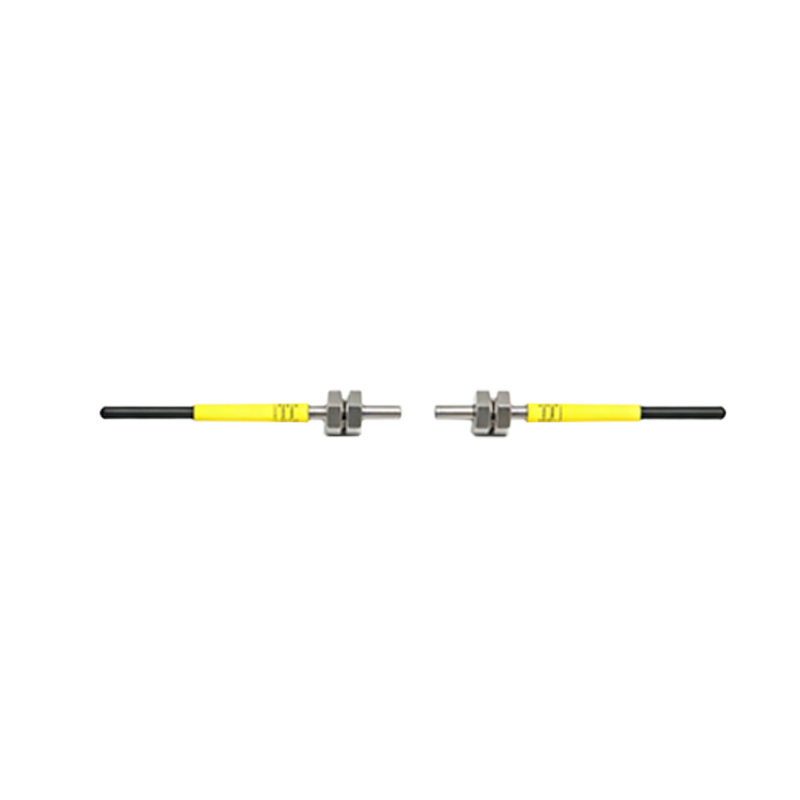
The action indicator usually displays three primary states. A steady ON light indicates that the sensor is detecting an object within its specified range, meaning the output is active. A steady OFF light suggests no target is present, or the sensor is in a normal non-detecting state. A flashing light often signals a fault condition, such as low signal strength, misalignment, or contamination on the lens. Some advanced models use color-coded LEDs (e.g., green for power, yellow for output) to provide more detailed status information. Engineers should refer to the specific manufacturer’s datasheet, as indicator logic can vary between models.
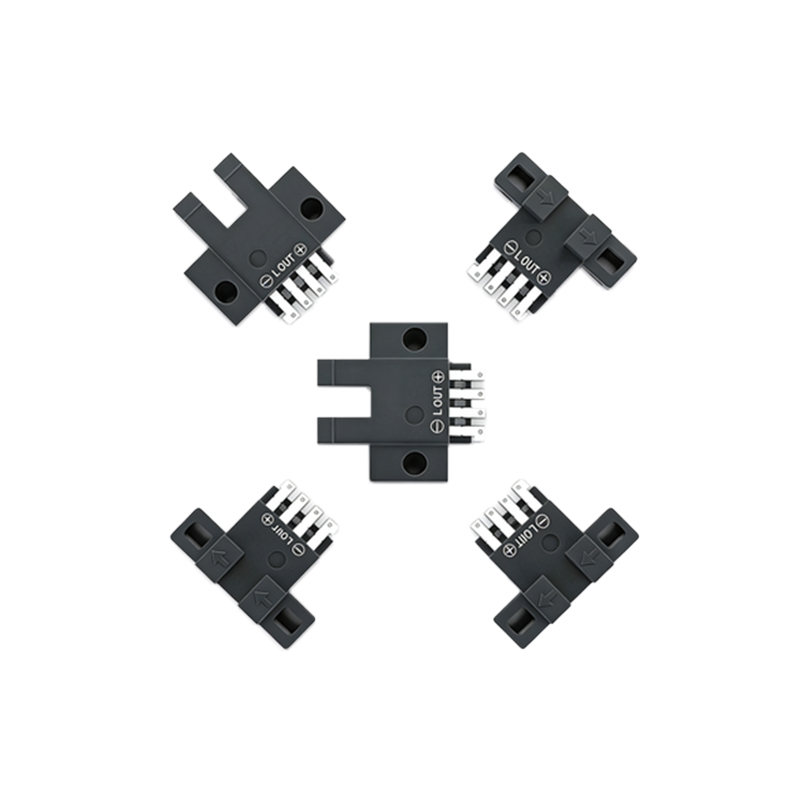
Troubleshooting Based on Indicator Behavior
When the action indicator fails to behave as expected, systematic troubleshooting is required. If the indicator remains off even with power applied, check the supply voltage and wiring connections first. A steady ON light without any target in range may indicate a misaligned sensor or a reflective background causing false detection. For a flashing indicator, clean the lens and verify that the sensing distance is within the rated specification. Environmental factors like dust, moisture, or ambient light interference can also trigger false readings. In such cases, adjusting the sensitivity pot or using a different sensing mode (e.g., through-beam vs. diffuse) may resolve the issue.
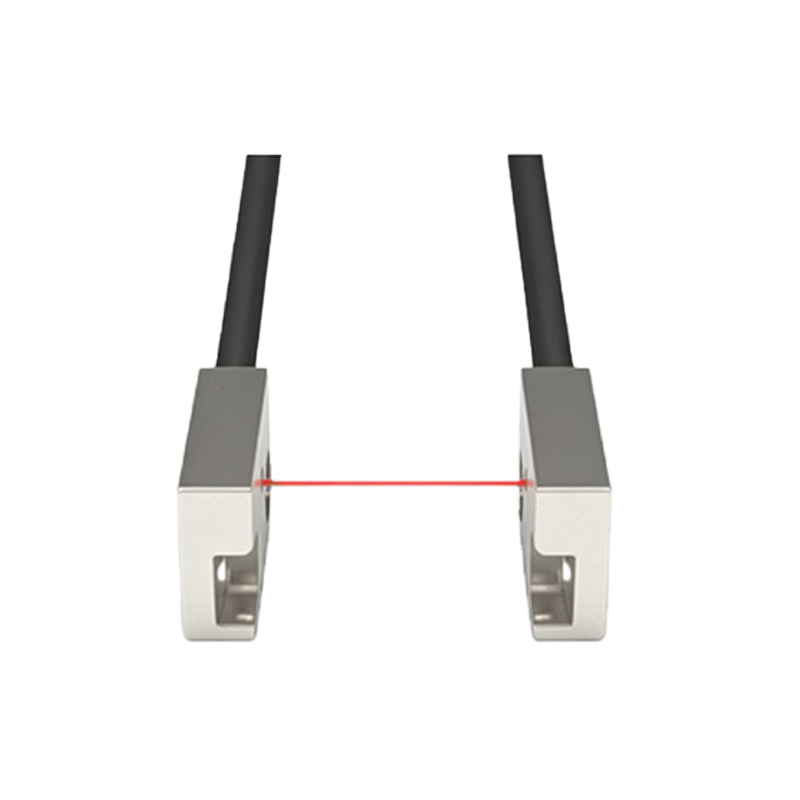
Best Practices for Maintenance and Setup
To ensure reliable operation, always mount the sensor according to the manufacturer’s guidelines, avoiding excessive vibration or temperature extremes. During initial setup, use the action indicator to confirm the correct alignment by slowly moving the target and observing the LED response. For sensors with adjustable output delay or sensitivity, fine-tune these parameters while monitoring the indicator to achieve stable detection. Regularly inspect the lens for scratches or buildup, and replace the sensor if the indicator shows intermittent faults that cannot be corrected by cleaning or re-alignment.
Conclusion and Practical Tips
The photoelectric sensor's action indicator is a simple yet powerful diagnostic tool. By interpreting its signals correctly, engineers can quickly identify issues such as electrical faults, optical interference, or mechanical misalignment. Always keep a spare sensor on hand for critical systems, and document the normal indicator behavior for each application. This proactive approach minimizes unplanned downtime and extends the lifespan of the automation system.