Understanding the Importance of Wire Numbers in Photoelectric Sensors
In industrial automation, photoelectric sensors are critical for detecting objects, distances, and positions without physical contact. Each sensor comes with a set of wires that must be correctly identified to ensure proper installation and operation. The wire number, often printed on the cable jacket or a terminal label, indicates the function of each conductor, such as power supply, signal output, or ground. Misidentification can lead to short circuits, sensor damage, or system failures. As an electrical engineer, you must know exactly where to find these markings to streamline wiring and troubleshooting.
Common Locations for Wire Numbers on Sensor Cables
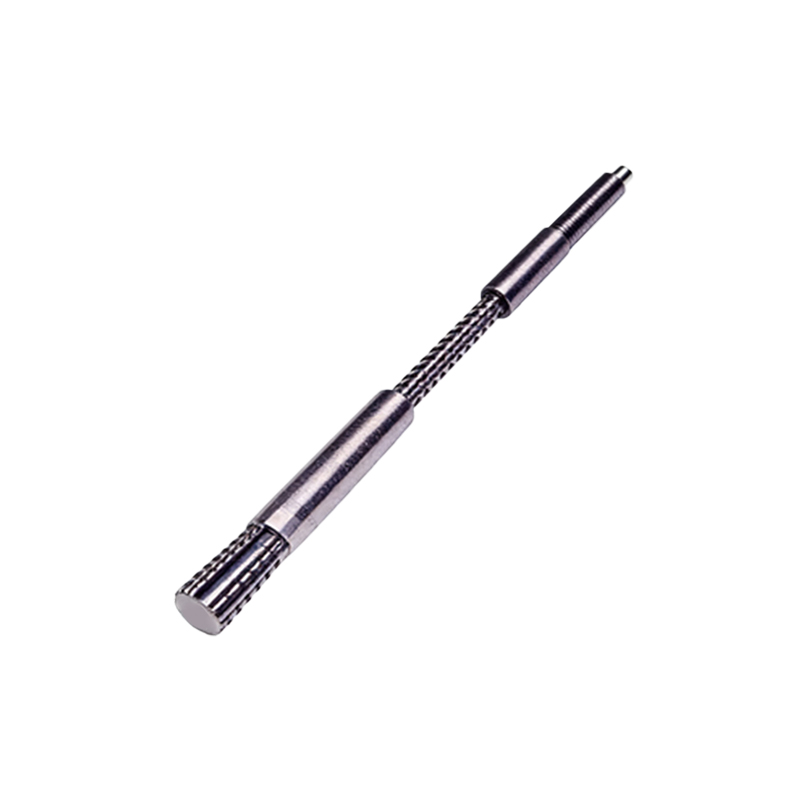
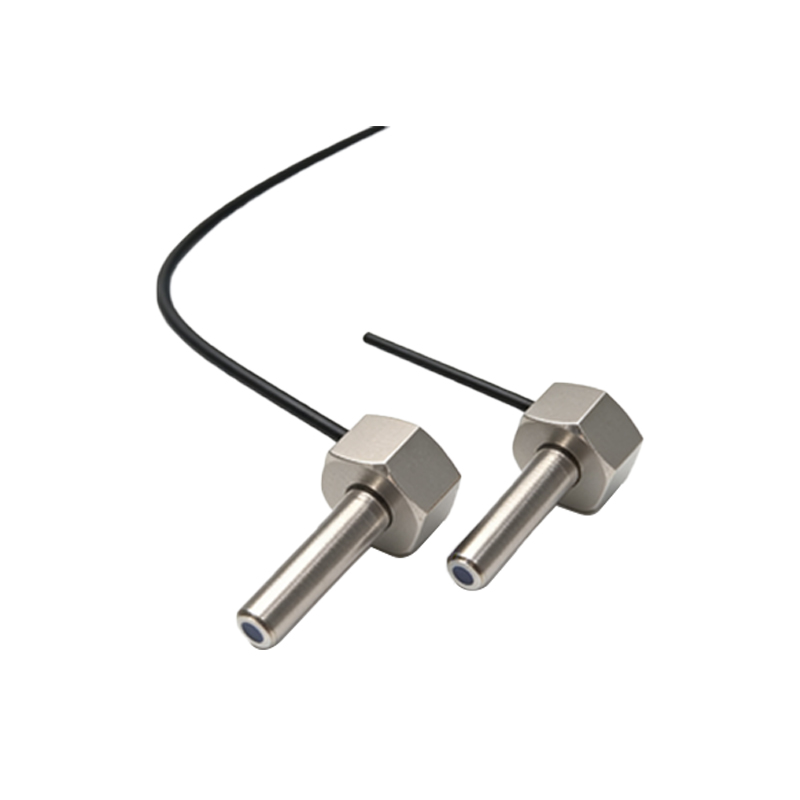
The wire number is typically located in three primary areas on a photoelectric sensor. First, check the cable jacket near the connector or the sensor body. Manufacturers often print a series of numbers or alphanumeric codes directly on the PVC or polyurethane sheath, using a durable ink or embossing. Second, look at the terminal block or plug connector if the sensor uses a quick-disconnect (QD) design. The wire numbers may be stamped on the connector housing or on a small label attached to the cable. Third, for sensors with integrated pigtail leads, the numbers are often marked on the individual conductor insulation, close to the stripped end.
Decoding Wire Number Standards and Color Codes
While wire numbers are specific to each manufacturer, many follow the IEC 61131 or NEMA standards. For example, a common 4-wire photoelectric sensor may have numbers: 1 (brown) for +24V DC, 2 (white) for output, 3 (blue) for 0V, and 4 (black) for alarm or auxiliary output. However, the wire number is more reliable than color codes because colors can vary. To decode, refer to the sensor’s datasheet or the label on the sensor body. If the cable is cut or the markings are faded, use a multimeter in continuity mode to identify each wire’s function by testing against the sensor’s internal circuit.
Step-by-Step Guide to Locate the Wire Number
To find the wire number on a new photoelectric sensor, start by inspecting the entire cable length from the sensor head to the free end. Use a flashlight to highlight any embossed or printed characters. For sensors with a molded connector, flip the connector over to check the underside, where numbers are often recess-molded. If the sensor is already installed, disconnect power first. Then, gently pull back any cable shielding or tape near the termination point. In complex systems, use a cable marker or label maker to re-number wires if the original markings are illegible.
Troubleshooting When Wire Numbers Are Missing or Damaged
Sometimes, wire numbers become illegible due to oil, heat, or physical abrasion. In such cases, consult the sensor’s part number and manufacturer documentation. Most reputable brands like Banner, SICK, or Omron provide wiring diagrams online or in the product manual. If the sensor has a serial number, you can often request a custom wiring chart. As a last resort, perform a continuity test: connect one probe of a multimeter to the sensor’s terminal (e.g., the power pin) and the other probe to each wire. The wire that shows continuity with the positive pin is likely the power wire. Document these findings for future reference.
Best Practices for Maintaining Wire Number Identification
To prevent confusion, always use heat-shrink tube labels or flag tags with the wire number when installing sensors. In retrofit projects, photograph the original wiring before disconnecting. For sensors with removable connectors, consider using a pre-wired harness that already has numbers printed on the wire. Regularly inspect cables for wear, especially in high-vibration environments. If a wire number is lost, replace the entire cable assembly rather than guessing, as this ensures safety and compliance with electrical codes.