Introduction to Photoelectric Sensor Removal
Removing a photoelectric sensor on a Volkswagen vehicle is a common procedure in automotive diagnostics and repair. These sensors, often used for functions like rain-sensing wipers, automatic headlights, or proximity detection, are typically mounted on the windshield or within the front grille area. Before beginning any work, it is crucial to understand that improper handling can damage the sensitive optical components or the windshield itself. This guide provides a systematic approach for technicians to safely and effectively remove a VW photoelectric sensor. Always consult the vehicle-specific service manual for the most accurate information, as procedures can vary between models like the Golf, Passat, or Tiguan.
Essential Tools and Safety Precautions
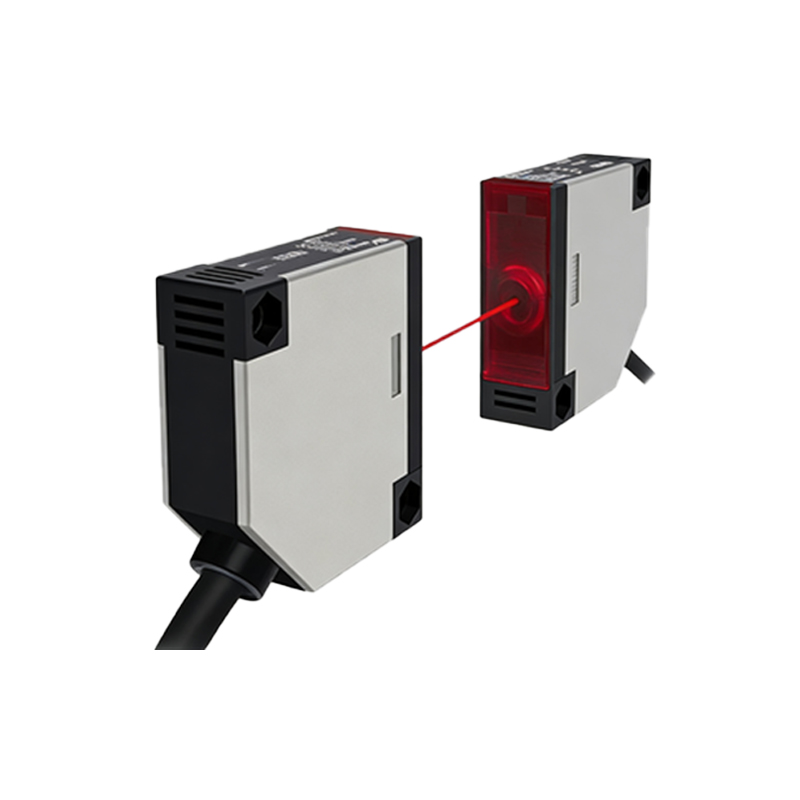
Gather the necessary tools before starting. You will typically need a set of trim removal tools, a Torx bit set (common sizes include T20 and T25), a soft cloth, and possibly a heat gun or hairdryer. For sensors bonded to the windshield, a specialized cutting tool or piano wire may be required. Safety is paramount. Disconnect the vehicle's negative battery terminal to prevent electrical shorts or accidental airbag deployment. Work in a clean, well-lit environment to avoid losing small components. Wear safety glasses to protect your eyes from glass fragments or adhesive debris. Handle the sensor module with care, avoiding contact with the lens surface.
Locating and Accessing the Sensor Housing
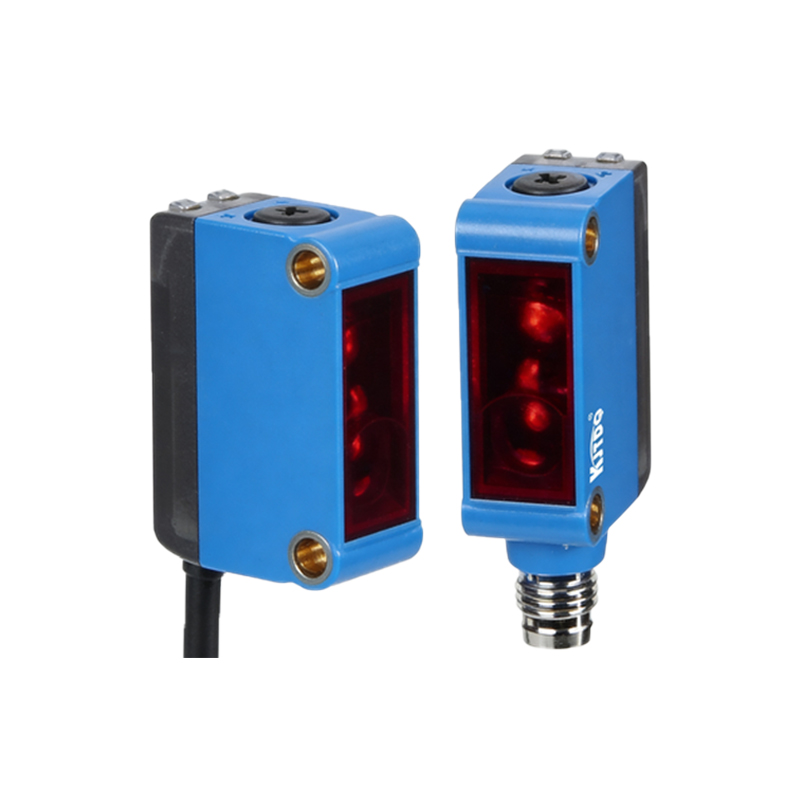
The first physical step is to locate the sensor. On most Volkswagen models with rain/light sensors, it is positioned behind the rearview mirror, attached to the windshield interior. The sensor is housed within a plastic cover or is integrated into the mirror base. Begin by carefully removing any interior trim pieces, such as the overhead console cover or the plastic shroud around the mirror mount. Use plastic pry tools to avoid scratching the headliner or windshield. For exterior sensors, like those in the front bumper for parking aids, you may need to remove the grille or bumper fascia according to the vehicle's service manual instructions.
Disconnecting the Electrical Connector
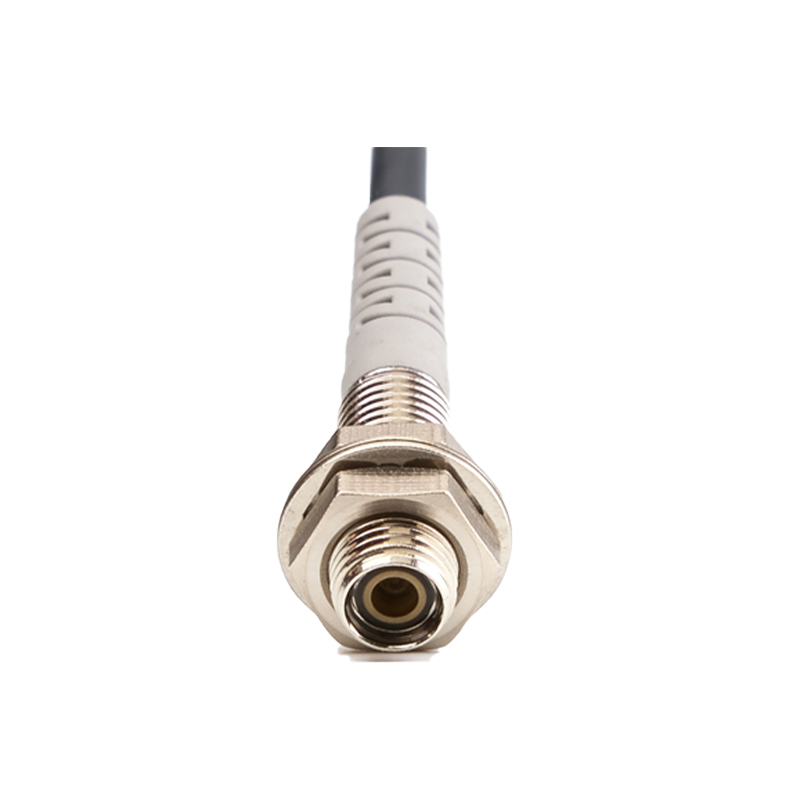
Once the sensor housing is exposed, you will see the electrical connector. This connector supplies power and facilitates data communication with the vehicle's control module. Inspect the connector for any locking tabs or levers. Depress the locking mechanism firmly and pull the connector straight out from the sensor. Do not pull on the wires themselves, as this can damage the wiring harness. If the connector is stubborn, double-check for a secondary lock that may need to be released. Place the disconnected connector in a secure spot where it will not interfere with the removal process.
Releasing the Sensor from its Mount
The method of securing the sensor varies. For interior windshield-mounted sensors, they are often held by a strong, cured adhesive pad. Applying gentle, steady heat around the sensor base with a heat gun or hairdryer on a low setting can soften the adhesive. Then, using a specialized trim tool or a length of piano wire, carefully work it behind the sensor bracket. Use a sawing motion to slowly cut through the adhesive. Patience is key here; rushing can crack the windshield. For sensors held by screws or clips, use the appropriate Torx driver to remove the fasteners or gently unclip the sensor from its bracket.
Cleaning the Mounting Surface
After the sensor is removed, thoroughly clean the mounting area on the windshield or body panel. Any residual adhesive must be removed to ensure a proper seal for the new sensor. Use a plastic scraper and an approved automotive glass cleaner or adhesive remover. Avoid using razor blades on glass if possible, as they can leave micro-scratches. For the vehicle's paint surface, use a gentle solvent. Ensure the area is completely free of oil, dust, and old adhesive. A perfectly clean surface is critical for the new sensor's adhesion and optimal performance, as debris can interfere with the optical path.
Preparing for Reinstallation or Diagnosis
With the sensor removed, inspect it carefully. Check the lens for cracks, haze, or dirt. Examine the housing for damage. This is also an opportune time to diagnose the sensor if it was faulty. Using a multimeter and diagnostic scan tool, you can perform basic checks per the service manual, though bench testing often requires specific equipment. If the sensor is to be reinstalled, you must have the correct replacement adhesive pad (usually a specific urethane or acrylic tape). Align the new pad precisely on the sensor bracket. Proper preparation at this stage ensures a successful and lasting repair.
Final Notes and Professional Tips
Reinstallation is essentially the reverse of removal, with emphasis on precise alignment and allowing new adhesive to cure fully. Remember to reconnect the battery and perform necessary system calibrations. Many advanced driver-assistance systems (ADAS) that rely on photoelectric sensors, such as lane assist or high-beam control, require calibration with specialized targets and diagnostic software after sensor removal or windshield replacement. This step is not optional for proper system function. Always clear any diagnostic trouble codes and test the system operation before returning the vehicle to the customer. Following these methodical steps ensures a professional, damage-free removal process.