Understanding the Slot Type Photoelectric Sensor Protective Cover
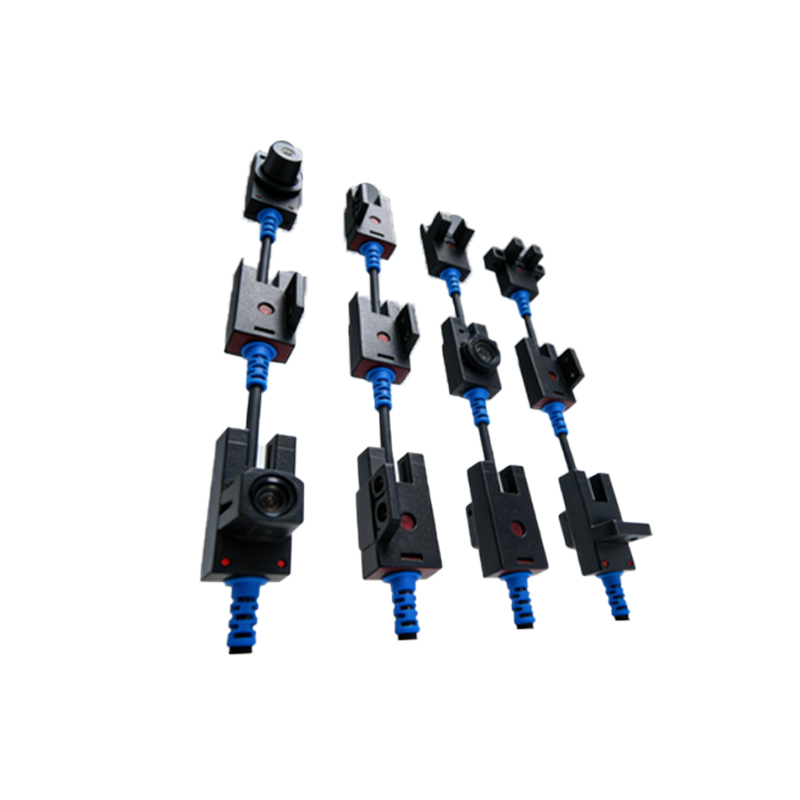
A slot type photoelectric sensor protective cover is an essential accessory designed to shield the sensor from environmental hazards such as dust, moisture, and physical impacts. These sensors are widely used in industrial automation for object detection, counting, and positioning. The protective cover ensures the sensor operates reliably in harsh conditions, extending its lifespan and maintaining accuracy. Typically made from durable materials like polycarbonate or stainless steel, the cover fits over the sensor's slot, allowing the infrared beam to pass through while blocking contaminants. Before installation, it's crucial to verify that the cover is compatible with your sensor model and rated for the specific environmental conditions of your application, such as temperature ranges and IP ratings.
Pre-Installation Preparation and Safety Measures
Proper preparation is key to a successful installation. Begin by powering off the equipment to prevent electrical hazards. Gather all necessary tools, including screwdrivers, mounting brackets, and any hardware provided with the protective cover. Inspect the sensor and cover for any defects or damage. Clean the sensor slot area to remove debris that could interfere with the beam. Review the manufacturer's manual for specific instructions, as designs may vary. Ensure the work area is well-lit and free of obstructions. Wear appropriate personal protective equipment, such as gloves and safety glasses, to avoid injuries during handling.
Step-by-Step Installation Process
Start by aligning the protective cover with the sensor's slot. Most covers feature a snap-on or screw-on design. For screw-on types, use the provided screws to secure the cover firmly, but avoid over-tightening to prevent cracking. Ensure the cover's aperture is centered over the sensor's emitter and receiver to maintain beam alignment. If the cover includes a sealing gasket, check that it sits properly to enhance protection against moisture and dust. Once attached, verify that the cover does not obstruct the sensor's field of view or cause false triggers. For sensors in high-vibration environments, consider adding thread-locking adhesive to screws for added stability.
Testing and Calibration After Installation
After installing the protective cover, power on the sensor and conduct thorough testing. Use a test object, such as a small piece of material, to pass through the slot and confirm detection. Observe the sensor's indicator lights or output signals to ensure it responds correctly. If the sensor fails to detect objects, recheck the cover alignment and cleanliness. In some cases, recalibration may be necessary—adjust the sensor's sensitivity settings as per the manual. Perform long-term monitoring to ensure consistent performance under operational conditions, checking for any signs of fogging or debris accumulation inside the cover.
Maintenance and Troubleshooting Tips
Regular maintenance is vital for optimal sensor function. Periodically inspect the protective cover for cracks, scratches, or dirt buildup. Clean the cover with a soft cloth and mild solvent if needed, avoiding abrasive materials that could damage the surface. If the sensor experiences intermittent failures, remove the cover to check for internal condensation or blockages. Replace damaged covers immediately to prevent sensor degradation. Common issues like false readings often stem from misalignment or environmental factors—ensure the cover remains securely fastened and suited to the application's demands. Consult the manufacturer for troubleshooting guides if problems persist.