Understanding Photoelectric Sensor Fundamentals
Photoelectric sensors are indispensable components in modern industrial automation, providing non-contact detection of objects based on light beam interruption or reflection. The core principle involves an emitter that projects a light beam—often infrared, visible red, or laser—and a receiver that detects changes in the received light intensity. The sensor triggers an output signal when the target object alters this light path. For effective installation and troubleshooting, visual documentation through video is crucial. However, a static video angle may not adequately reveal alignment issues, wiring connections, or mounting orientation, necessitating the ability to rotate the video perspective for a comprehensive analysis. This process is not about physically rotating the sensor itself, but about manipulating the video feed to inspect the setup from multiple virtual angles.
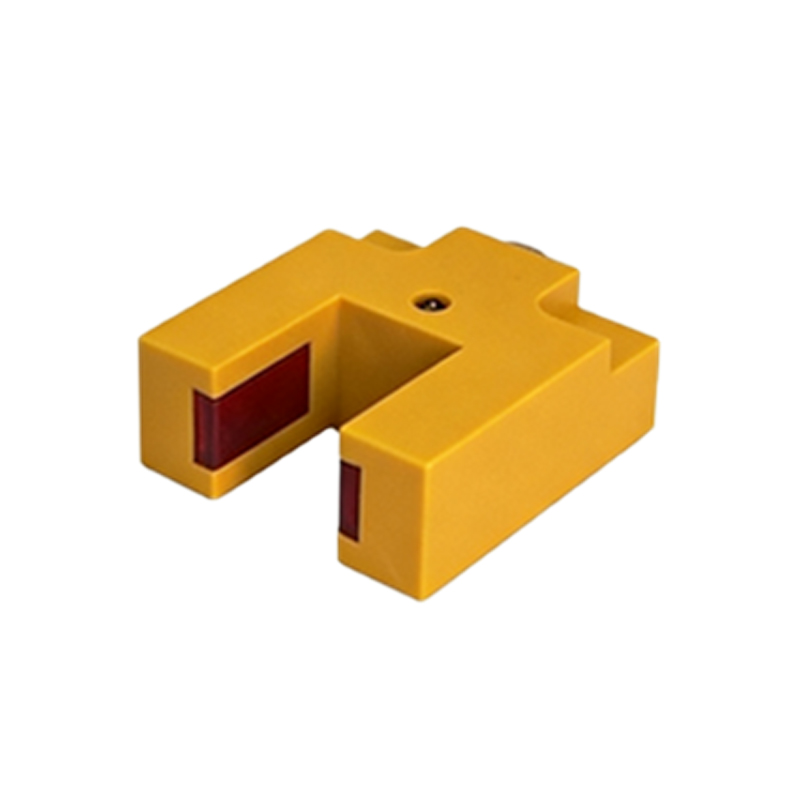
Prerequisites for Video Capture and Rotation
Before attempting to rotate a video, ensure you have captured high-quality footage. Use a stable camera or smartphone to record the sensor in its operational environment. Focus on key areas: the alignment between the emitter and receiver (for through-beam types), the sensing face and target (for diffuse and retro-reflective types), the indicator LEDs, the cable conduit, and the mounting bracket. Good lighting is essential, but avoid pointing bright lights directly at the sensor's lens to prevent glare. Record a sequence showing the sensor at rest, during object detection, and during a fault state if possible. This raw footage will be the source material for rotation. Having the sensor's datasheet and installation manual on hand for reference is also recommended to understand its specific field of view and alignment tolerances.
Software Tools for Video Rotation and Analysis
Several software tools enable precise video rotation. For basic 90-degree increments, built-in video players like VLC Media Player or simple editing software like Windows Video Editor or iMovie are sufficient. For industrial diagnostic purposes, more advanced software is preferred. Applications such as Adobe Premiere Pro, DaVinci Resolve, or even technical video analysis tools like Kinovea allow for frame-by-frame rotation to any arbitrary angle. These professional tools let you zoom in on specific components, add graphical overlays like alignment grids or angle protractors, and compare rotated views side-by-side. Some Computerized Maintenance Management System (CMMS) or industrial IoT platforms also feature integrated video annotation tools that support rotation for documenting asset conditions.
Step-by-Step Guide to Rotating Your Sensor Video
First, import your recorded video file into your chosen editing software. Locate the transform or effects controls, which typically include parameters for rotation, position, and scale. To analyze mounting bracket levelness, you might rotate the video slightly along the Z-axis (roll) to see if the sensor is tilted. To check horizontal alignment between a through-beam pair, a rotation around the Y-axis (tilt) can simulate a top-down view. It is critical to rotate in small increments (e.g., 1-5 degrees) and use the software's grid overlay to maintain a frame of reference. Always duplicate your original video track before applying rotations to preserve the source. After rotation, scrub through the timeline frame-by-frame to observe the sensor's LED response or mechanical actuator movement in relation to the passing object from this new perspective.
Interpreting the Rotated Video for Alignment Diagnostics
A rotated video can reveal hidden issues. A slight roll rotation might show that a supposedly vertical sensor is actually leaning, causing its beam to miss the receiver. A tilted view could expose an obstacle in the background that intermittently reflects light back to a diffuse sensor, causing false triggers. By virtually "looking" along the axis of a mounting bolt, you can check if it is secured squarely. Pay close attention to the sensor's indicator LEDs in the rotated video; their visibility and color can confirm power status and output state from an angle not visible in the original shot. Compare the rotated view with alignment diagrams from the manual. This virtual multi-angle inspection helps diagnose problems like beam walk-off in long-range sensors or misaligned polarizing filters in retro-reflective models.
Best Practices and Safety Considerations
Always adhere to lockout-tagout (LOTO) procedures before recording videos near operational machinery. Ensure the video recording and subsequent rotation analysis do not introduce safety risks. When sharing rotated diagnostic videos with colleagues or vendors, clearly label the applied rotation angle and direction to avoid misinterpretation. Maintain a library of both original and rotated videos for critical sensors as part of your preventive maintenance records. Remember, video rotation is a diagnostic aid, not a substitute for physical inspection. After a virtual diagnosis via rotated video, always verify findings with physical tools like alignment lasers, spirit levels, and multimeters before adjusting the actual sensor.
Integrating Rotated Analysis into Maintenance Workflows
Incorporate video rotation into standard troubleshooting protocols. When a photoelectric sensor fault is reported, technicians can be trained to capture a short video and perform a quick multi-angle rotation analysis as a first step. This can often differentiate between alignment issues, lens contamination, electrical faults, or controller problems, leading to faster resolution. The rotated clips can be attached to work orders in your CMMS, providing clear visual evidence for the diagnosed issue and the corrective action taken. This enhances knowledge sharing and training for less experienced personnel, who can learn to "see" alignment problems by studying examples of good and bad setups from various rotated viewpoints.