Proximity sensors are ubiquitous in modern technology, silently working behind the scenes in our smartphones, industrial machinery, and automotive systems. When they fail, it can lead to frustrating issues like a phone screen not turning off during a call or a machine failing to detect an object. While replacement is often the quickest solution, understanding how to diagnose and potentially repair a proximity sensor can save time and money. This guide outlines a systematic approach to troubleshooting and fixing common proximity sensor problems.
Before attempting any repair, safety is paramount. Always power off and disconnect the device from any energy source. For complex industrial equipment, consult the manufacturer's manual and consider certified technicians. For consumer electronics, gather the necessary tools: precision screwdrivers, plastic spudgers, tweezers, and, if needed, a multimeter for electrical testing. A clean, static-free workspace is essential to prevent electrostatic discharge damage to sensitive components.
The first step is accurate diagnosis. Symptoms of a faulty proximity sensor vary. In a smartphone, it may manifest as a screen that remains on during calls, preventing accidental touches, or one that turns off and won't come back on. In industrial settings, a sensor might fail to trigger, causing production line errors. Begin with software troubleshooting. Restart the device. Check for and install any pending operating system or firmware updates, as bugs can sometimes cause sensor malfunctions. For phones, boot into safe mode to rule out third-party app interference. Some devices have built-in hardware diagnostic tools accessible through secret codes or settings menus; use these to test the sensor specifically.
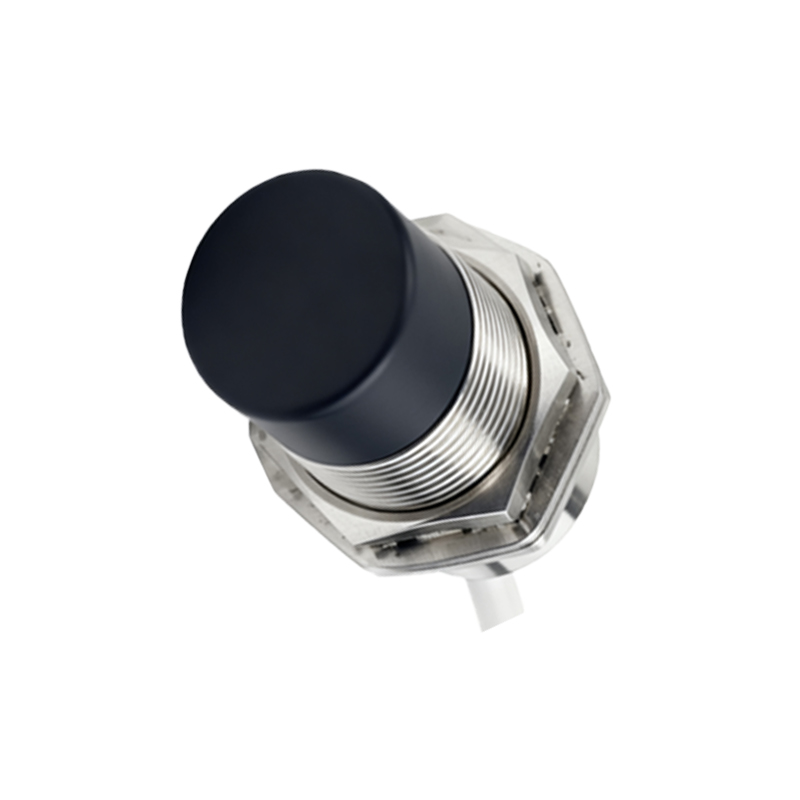
If software is ruled out, the issue is likely hardware-related. The most common causes are physical obstruction, loose connections, or component failure. For devices like phones, a dirty screen protector or accumulated debris around the sensor area (usually near the earpiece) is a frequent culprit. Carefully clean the area with a soft, dry microfiber cloth. Compressed air can be used gently to dislodge dust from grilles.
When cleaning fails, internal inspection is necessary. Carefully disassemble the device following a reputable teardown guide or service manual for your specific model. Once inside, locate the proximity sensor module. It is typically a small, independent component or part of a front camera/sensor flex cable assembly. Visually inspect it for obvious signs of damage, corrosion, or disconnection. Check the connector where the sensor's flex cable attaches to the main logic board. Ensure it is seated firmly and that the locking mechanism is engaged. A loose connection is a common and easily remedied fault. Use a plastic tool to reseat the connector.
If the connection is secure, further testing requires a multimeter. Refer to the component's datasheet or schematic for your device to identify the pinout. Typically, a proximity sensor will have pins for power (VCC), ground (GND), and a signal output. Set your multimeter to measure voltage. With the device powered on (if safe to do so during testing), check that VCC is receiving the correct voltage. Next, test the sensor's functionality. In a dark environment, the output signal might read one voltage. When you bring your finger or an object close to the sensor, the output voltage should change. No change indicates a dead sensor. For infrared-based sensors, you can sometimes see a faint red glow in a completely dark room using a phone camera; its absence suggests the IR emitter is faulty.
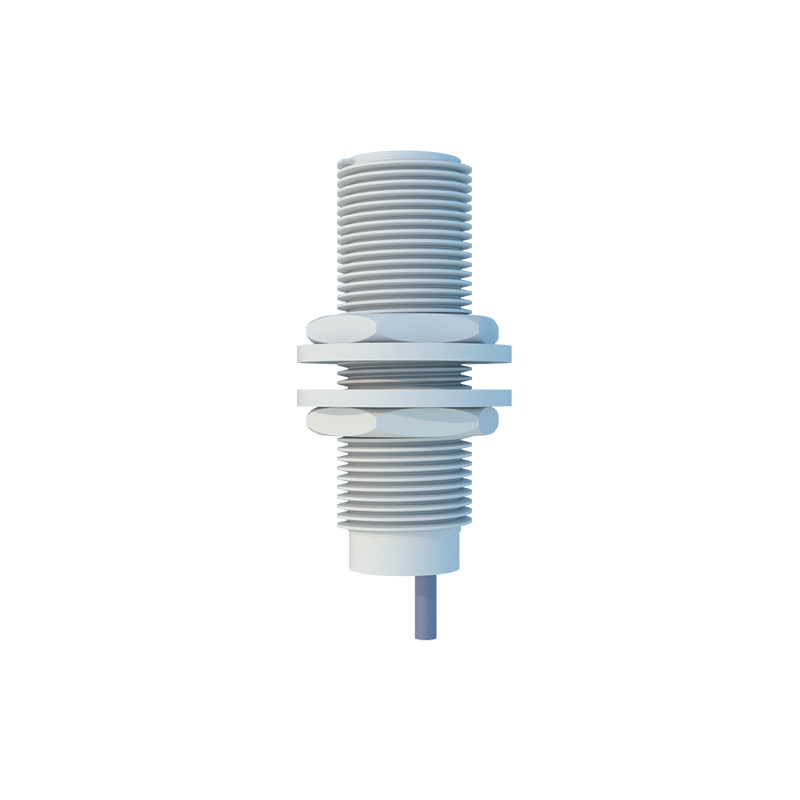
Repair options at the component level are limited. For integrated modules, the only practical fix is replacement. Source a genuine or high-quality replacement part specific to your device model. Using a spudger and tweezers, carefully disconnect the old sensor and install the new one. Reassemble the device with care, ensuring no cables are pinched. For industrial sensors, the process is similar: isolate the sensor, check wiring and power supply with a multimeter, and replace the sensor unit if diagnostics point to its failure. Always recalibrate the sensor after replacement if the system requires it, following the manufacturer's procedures.
Prevention is key to longevity. Keep sensor apertures clean. Use cases and screen protectors that do not cover the sensor area. Avoid exposing devices to excessive moisture, dust, or physical impacts. For industrial environments, adhere to recommended cleaning schedules and environmental specifications (temperature, humidity).
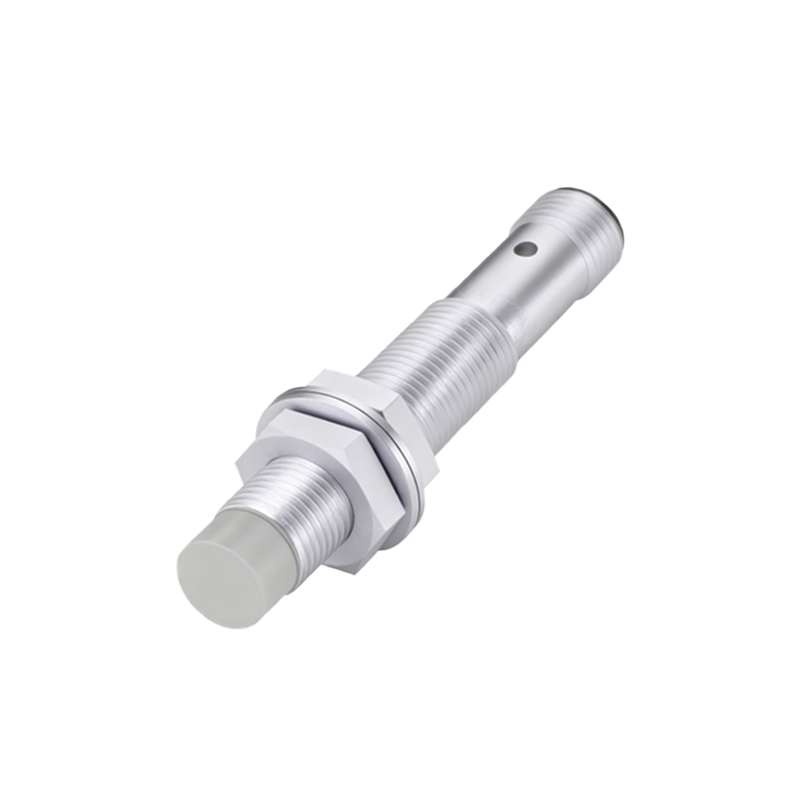
While not every sensor failure is repairable by a non-specialist, a methodical approach of diagnosis—ruling out software, checking for obstructions, inspecting connections, and performing basic electrical tests—can resolve many common issues. For intricate surface-mount components or devices under warranty, seeking professional repair services remains the most prudent choice. Understanding the process, however, empowers you to make informed decisions and communicate effectively with technicians.