Introduction to Photoelectric Sensor Maintenance
Proper maintenance is crucial for the reliable operation of photoelectric sensors in industrial automation. These devices, which detect the presence, absence, or distance of objects using a light transmitter and receiver, are susceptible to performance degradation due to contamination. Dust, oil mist, coolant, and other particulates can accumulate on the lens, leading to false readings, reduced sensing range, or complete failure. This guide, based on common industry practices, outlines effective cleaning techniques to ensure optimal sensor performance and longevity. Regular cleaning should be a scheduled part of preventive maintenance programs.
Essential Safety Precautions Before Cleaning
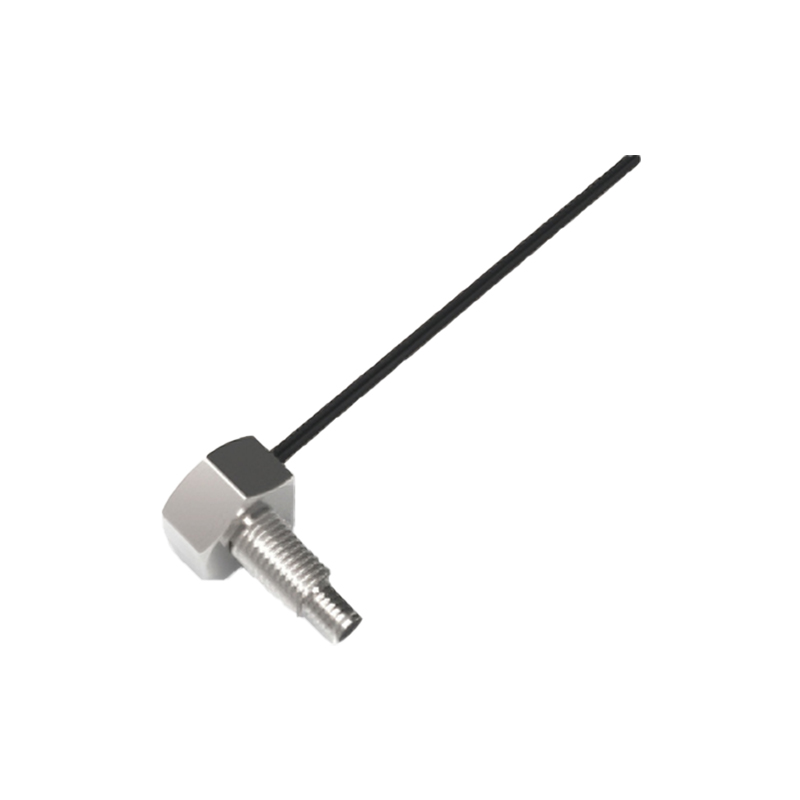
Always prioritize safety before initiating any cleaning procedure. First, lock out and tag out (LOTO) the equipment to ensure all energy sources are isolated and the machine cannot be accidentally energized. Consult the sensor's specific datasheet or manual from manufacturers like Omron, Sick, or Banner for any unique warnings or chemical compatibility notes. Allow the sensor and surrounding area to cool if it operates in a high-temperature environment. Wear appropriate personal protective equipment (PPE), such as safety glasses and gloves, to protect against chemical cleaners and debris.
Recommended Cleaning Tools and Materials
Using the correct tools is essential to avoid damaging the sensitive optical components. Gather lint-free wipes, such as those made from microfiber or specialized lens tissue. For cleaning solutions, isopropyl alcohol (IPA) with a concentration of 90% or higher is highly recommended for its effectiveness and fast evaporation. Avoid using standard window cleaners, abrasive cloths, or compressed air from shop lines, which may contain oil or moisture. A soft-bristled brush can be used to dislodge loose dry debris gently. For hard-to-reach sensors, consider using cotton swabs with wooden or plastic sticks.
Step-by-Step Cleaning Procedure
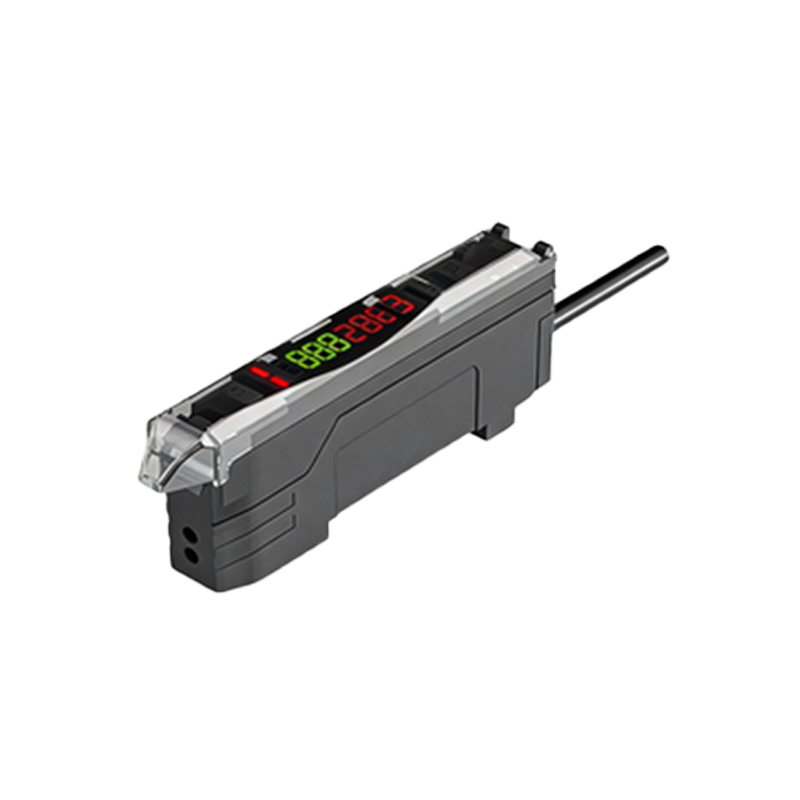
Begin by gently removing any loose dust or chips using the soft-bristled brush. Blow away the loosened debris using a can of dry, oil-free compressed air, holding it upright to prevent propellant discharge. Moisten a corner of the lint-free wipe with a small amount of isopropyl alcohol. Wipe the sensor's lens gently in a single direction, applying minimal pressure. Use a dry section of the wipe to remove any remaining residue or streaks. For stubborn contaminants like grease or adhesive, you may need to hold the alcohol-moistened wipe against the spot for a few seconds to soften it before wiping. Never spray cleaner directly onto the sensor.
Special Considerations for Different Sensor Types
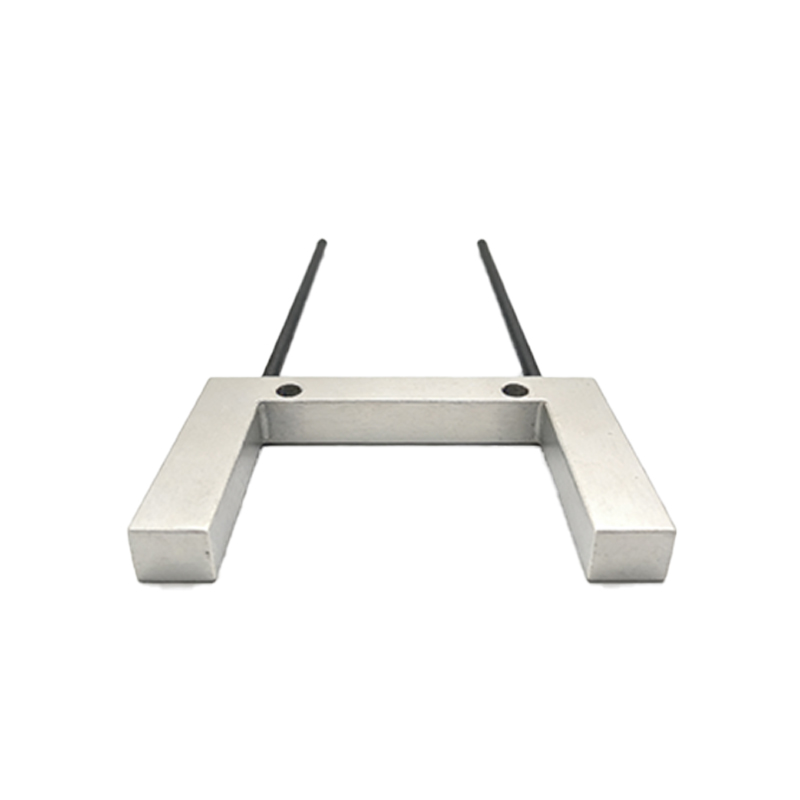
The cleaning approach may vary slightly depending on the sensor's housing and design. For through-beam sensors, both the separate transmitter and receiver lenses must be cleaned meticulously. Retro-reflective sensors require cleaning of the sensor lens and the reflector target. Diffuse reflective sensors only need the single unit cleaned. Pay close attention to sensors with built-in air blast nozzles; ensure these purge ports are not clogged. For sensors with plastic lenses, confirm the chemical compatibility of IPA with the housing material to prevent crazing or clouding.
Verification and Testing Post-Cleaning
After cleaning, do not immediately restore power. First, perform a visual inspection under good lighting to confirm the lens is clear and free of fibers or smudges. Once power is safely restored, conduct a functional test. Use a test object to verify the sensor's sensing range and repeatability. Observe the sensor's indicator LED (if present) for stable operation. For programmable sensors, you may need to check and potentially readjust the sensitivity setting, as a clean lens often requires less gain. Document the cleaning activity in your maintenance log for traceability.
Developing a Preventive Maintenance Schedule
Reactive cleaning after a fault occurs leads to downtime. Instead, implement a proactive schedule based on the sensor's environmental severity. Sensors in clean rooms may only need quarterly inspection, while those in machining, woodworking, or packaging environments might require weekly or even daily attention. Factors like high humidity, oil mist, or paper dust accelerate contamination. Integrate sensor inspection into regular machine cleaning cycles. Keeping a log of failures can help optimize the maintenance interval, ensuring reliability without unnecessary labor.
Common Mistakes to Avoid
Several common errors can render cleaning ineffective or cause damage. Avoid using paper towels or shop rags, as they can scratch lenses and leave lint. Do not oversaturate the lens with liquid, as it can seep into the housing and damage internal electronics. Never use sharp objects like screwdrivers or knives to scrape off debris. Ignoring the manufacturer's guidelines for chemical use can void warranties and cause permanent damage. Finally, do not skip the final testing phase; a visually clean lens does not always guarantee restored electrical functionality.