Introduction to Photoelectric Sensor Power Systems
Photoelectric sensors are critical components in industrial automation, providing reliable object detection for machinery control, packaging lines, and safety systems. Most modern industrial photoelectric sensors are powered by DC voltage supplied via connected cabling. However, a significant subset, particularly self-contained or battery-powered units used in mobile applications, remote locations, or for backup purposes, relies on internal batteries. These batteries, often lithium-based for long life, eventually deplete and require replacement to prevent system downtime and false detection errors. Understanding the correct replacement procedure is essential for maintaining operational integrity and sensor longevity.
Pre-Replacement Safety and Preparation Protocol
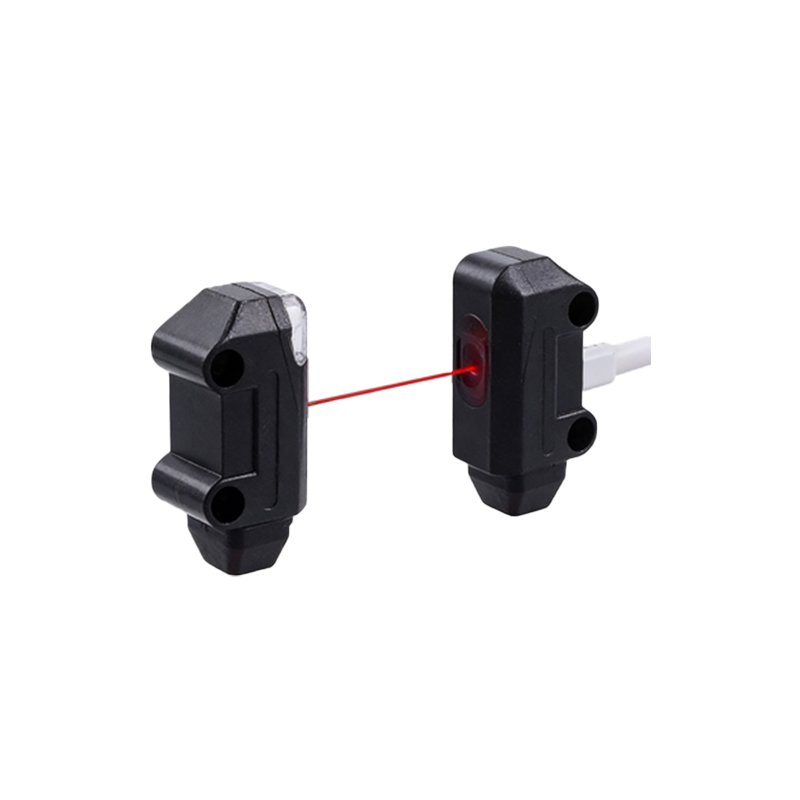
Before initiating any maintenance procedure, strict adherence to safety protocols is non-negotiable. First, consult the sensor's specific technical data sheet or user manual from the manufacturer. This document contains vital information regarding the exact battery model, voltage, and capacity. Next, implement a Lockout/Tagout (LOTO) procedure for the associated machinery or production line to ensure zero energy flow and prevent accidental activation. Gather all necessary tools, which typically include appropriate screwdrivers, the correct replacement battery (confirmed to be the same specification as the original), and anti-static precautions if handling circuit boards. Ensure the work area is clean and well-lit to avoid contaminating the sensor's optical components.
Accessing the Battery Compartment
The method for accessing the battery compartment varies by sensor model and housing design. Common designs include a threaded end cap, a slide-out tray, or a housing secured by screws. For a cylindrical sensor, you may need to unscrew the rear cap counterclockwise. For rectangular housing types, locate and remove the fastening screws on the designated cover panel. Use controlled force to avoid stripping screw heads or damaging O-rings that provide environmental sealing. Carefully set aside all removed components in a secure location. Once opened, visually inspect the internal compartment for any signs of corrosion, leakage from the old battery, or damage to electrical contacts.
Removing the Depleted Battery
Identify the old battery within its holder. Note its orientation: the positive (+) and negative (-) terminals are typically marked on the holder or the sensor's PCB. Using non-conductive tools, such as plastic tweezers or wearing anti-static gloves, gently disengage the battery from its contacts or clip. If the battery is held by a strap or clip, carefully release the tension to pop the battery free. Avoid using excessive metallic force that could short-circuit the terminals or damage the holder. If you encounter a battery that is glued or secured with adhesive, proceed with extra caution to avoid bending the contacts. Immediately place the depleted battery in proper disposal container according to local regulations for lithium or industrial batteries.
Installing the New Replacement Battery
Unpack the new battery, ensuring it is the exact match for voltage (e.g., 3.6V, 6V) and form factor (e.g., CR123A, 2/3AA Lithium). Verify the battery's manufacturing date to ensure freshness and maximum shelf life. Before insertion, use a clean, dry cloth to wipe the battery compartment contacts if any dust or residue is present. Align the new battery precisely with the marked polarity in the holder. The positive terminal of the battery must connect to the positive contact in the sensor. Gently press the battery into place until it seats firmly and you hear or feel a secure click from the retaining clip. Do not force it. An incorrect installation can lead to immediate failure or damage to the sensor's internal circuitry.
Reassembly and Functional Testing
Once the new battery is securely installed, begin the reassembly process in reverse order of disassembly. For sensors with environmental seals, ensure that any O-rings or gaskets are properly seated in their grooves and are free of debris. Reattach covers or end caps, tightening screws or caps evenly and to the torque specification if provided by the manufacturer—overtightening can crack housings or compromise seals. After physical reassembly, remove the LOTO devices and restore power to the system if applicable. Initiate a functional test. Activate the sensor's test mode via its teach button or by introducing a target object into its detection field. Observe the indicator LED (if present) for correct on/off or blinking patterns as per the manual. Verify the output signal on the connected controller (PLC) to confirm proper switching operation.
Post-Replacement Documentation and Best Practices
Document the battery replacement in the equipment maintenance log. Record the date, sensor identification number, old battery removal, and new battery part number installed. This record is crucial for predictive maintenance and warranty tracking. For optimal performance, establish a preventive maintenance schedule based on the sensor's rated battery life and operational duty cycle. Consider purchasing batteries from authorized distributors to guarantee authenticity and performance. Store spare batteries in a cool, dry environment. Regularly inspect battery-powered sensors as part of routine system checks to preemptively identify units nearing end-of-battery life, indicated often by a warning LED pattern, before a complete failure occurs.