Understanding Photoelectric Sensor Types
Before beginning any installation, it is crucial to identify the specific type of photoelectric sensor being used. The three primary categories are through-beam, retro-reflective, and diffuse reflective sensors. Through-beam sensors consist of separate emitter and receiver units, offering the longest sensing range and highest reliability. Retro-reflective sensors use a single housing containing both emitter and receiver, which detects light reflected from a dedicated reflector. Diffuse reflective sensors, also known as proximity-mode sensors, detect light reflected directly from the target object itself. Each type has distinct mounting, alignment, and environmental considerations that directly impact the installation procedure and subsequent performance.
Pre-Installation Planning and Site Assessment
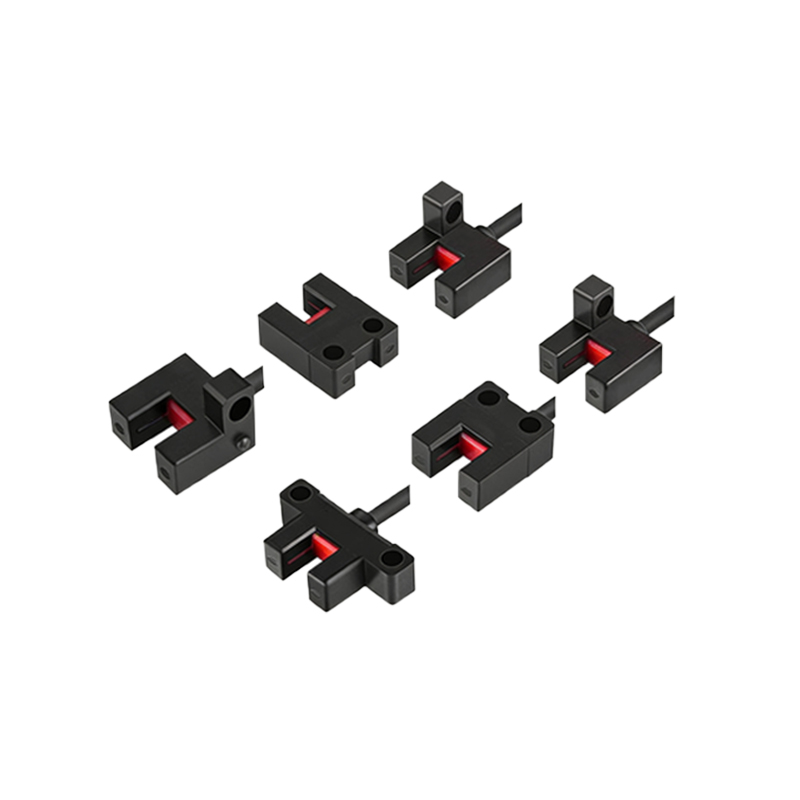
Thorough planning is the foundation of a successful installation. First, review the sensor's datasheet for critical specifications such as sensing range, required supply voltage, output type (PNP/NPN, NO/NC), and environmental ratings (IP, NEMA). Conduct a detailed site assessment. Evaluate the mounting location for potential obstructions, ambient light sources (sunlight, welding arcs, strobe lights), and environmental hazards like dust, moisture, steam, or chemical vapors. Ensure the selected location provides a clear, stable path for the light beam and allows for secure mounting of the sensor, reflector (if applicable), and any necessary mounting brackets or hardware.
Mounting and Mechanical Alignment
Secure mounting is essential to prevent misalignment from vibration or accidental impact. Use the recommended brackets and hardware. For through-beam sensors, begin by securely mounting the emitter unit. Then, mount the receiver unit, ensuring it is precisely aligned to face the emitter. Many sensors feature built-in alignment indicators (like LED lights) that signal optimal reception. For retro-reflective sensors, mount the sensor and then position the reflector so its surface is perpendicular to the sensor's beam. The alignment of diffuse sensors is less critical but must still be positioned at the correct distance and angle to reliably detect the target. Always tighten all fasteners to the manufacturer's specified torque.
Electrical Wiring and Connection
Disconnect all power sources before making any electrical connections. Carefully follow the wiring diagram provided in the sensor's manual. Typically, connections include a positive supply voltage (brown wire), ground (blue wire), and the output signal (black wire). For DC sensors, observe correct polarity. For sensors with programmable functions or teach-in capabilities, additional wires may be present. Use appropriate gauge wire and ensure all connections are tight and secure in terminal blocks or connectors. Implement proper cable management, using conduits or cable carriers in high-flex or harsh environments to protect wires from damage, stress, and electromagnetic interference.
Configuration and Sensitivity Adjustment
After mechanical mounting and electrical connection, power on the system. Most modern photoelectric sensors feature a sensitivity potentiometer or push-button configuration. Adjust the sensitivity to suit the specific application. The goal is to set the threshold so the sensor reliably detects the target object while ignoring background interference or non-target objects. For through-beam and retro-reflective sensors, this often involves ensuring a strong, stable received signal. For diffuse sensors, careful adjustment is needed to detect the desired target at the required distance without being triggered by background objects. Use any built-in stability or timing functions to filter out transient signals.
Testing and Operational Verification
Conduct comprehensive testing under actual or simulated operating conditions. Introduce the target object repeatedly at various speeds and positions within the specified sensing window. Verify the sensor's output triggers consistently and without false positives. Test for potential failure modes: block the beam of a through-beam sensor to simulate a fault condition, or test a diffuse sensor with a highly reflective or absorbent non-target object. Monitor the sensor's performance over an extended period to ensure stability. Document the final sensitivity setting and mounting position for future maintenance reference.
Troubleshooting Common Installation Issues
Common post-installation problems include inconsistent detection, no output signal, or false triggering. First, verify power supply voltage and polarity. Check all electrical connections for integrity. For alignment issues, re-check the mechanical alignment using the sensor's indicator LEDs. For false triggers, assess the environment for sources of optical interference like ambient light; consider using sensors with modulated light or installing physical shrouds. For diffuse sensors detecting the background, reduce the sensitivity or adjust the mounting angle. Contamination on the lens or reflector is a frequent cause of performance degradation and requires regular cleaning as part of preventive maintenance.
Implementing Best Practices for Long-Term Reliability
To ensure sustained performance, adhere to industry best practices. Select a sensor with an environmental rating exceeding the application's requirements. Use mounting brackets that provide rigidity and allow for fine adjustment. Protect the sensor's lens from direct exposure to contaminants with air purge fittings or protective shrouds if necessary. Establish a routine maintenance schedule to clean lenses and reflectors, check mounting stability, and verify operational performance. Keep a log of sensor settings and maintenance activities. By following a meticulous installation and maintenance regimen, photoelectric sensors will deliver reliable, long-term service in demanding industrial automation environments.