Introduction to Three-Button Digital Photoelectric Sensors
Modern industrial automation relies heavily on precise and reliable sensing technology. Among the most versatile and user-friendly devices are three-button digital photoelectric sensors. These sensors, featuring through-beam, retro-reflective, and diffuse sensing modes, have become a staple on factory floors. Their defining characteristic is the intuitive three-button interface, which typically includes a SET button, an UP/INCREMENT button, and a DOWN/DECREMENT button. This design eliminates the need for potentiometers or complex programming tools, allowing for rapid on-site configuration. The digital display provides clear feedback on operational status, sensitivity levels, and diagnostic messages, making them accessible even to operators with limited technical expertise. Their robustness, combined with advanced features like background suppression and teach-in functionality, makes them suitable for a wide array of applications, from packaging and material handling to assembly and robotics.
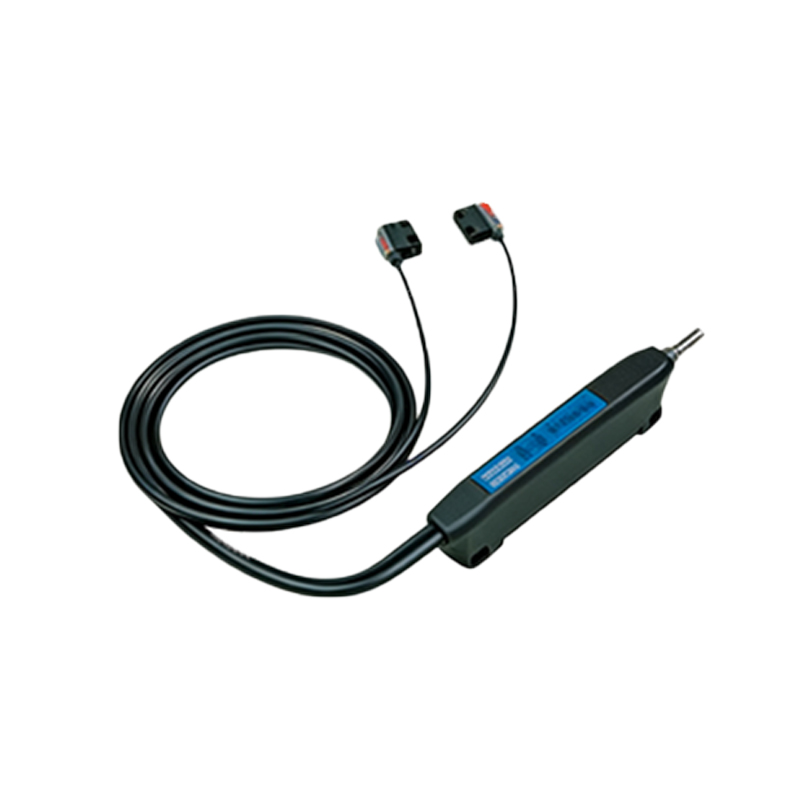
Core Functions of the Three-Button Interface
The simplicity of the three-button interface belies its powerful functionality. The primary mode of operation is the "Teach-In" or "Setting" mode, activated by pressing and holding the SET button. In this mode, the sensor learns the reference conditions. For instance, in a standard diffuse mode application, the operator presents the target object at the desired detection distance and presses the SET button. The sensor captures the received light intensity as the ON threshold. The UP and DOWN buttons are then used to fine-tune the sensitivity or hysteresis. This allows for precise adjustment to ignore non-target objects or compensate for environmental factors like dust or varying surface colors. Beyond basic teaching, the buttons are used to navigate menus for configuring output logic (light/dark ON), switching between operating modes, setting timers (ON-delay, OFF-delay), and accessing diagnostic information such as signal strength or operating hours.
Configuration and Calibration Procedures
Proper configuration is critical for optimal sensor performance. The process begins with mounting the sensor securely and connecting the power supply. The first step is often to select the operating mode via the button sequence. Once the correct mode (e.g., diffuse with background suppression) is selected, the teach-in procedure is executed. A best practice is to teach the sensor with a representative "good" target and then use the UP/DOWN buttons to adjust the threshold to a safe margin above any potential background or interfering object signal. For challenging applications, such as detecting transparent bottles or shiny metal parts, multiple teach points might be necessary. The buttons allow for storing different setpoints. Calibration also involves configuring the output type (PNP/NPN) and function. Many advanced models feature an "Auto-Setup" function, where the sensor automatically analyzes the environment and sets an optimal threshold, which can then be manually fine-tuned using the three buttons.
Advanced Features Accessible via the Buttons
The three-button system provides a gateway to sophisticated features that enhance reliability. One key feature is the "Window Mode" or "Dual Teach-In," where both a minimum and a maximum threshold are set. This is invaluable for applications requiring detection within a specific range, such as checking fill levels or verifying component presence without false triggers from overly distant objects. Another critical feature is the programmable timer function. Using the button sequence, engineers can set precise delays for the output signal, which is essential for synchronizing with machinery or debouncing signals. Diagnostic functions are also paramount. By holding specific button combinations, maintenance personnel can access a live signal strength indicator, view the current operating temperature, or check for error codes like persistent overload or short-circuit conditions, enabling predictive maintenance and minimizing downtime.
Application Examples in Industrial Settings
The practicality of three-button photoelectric sensors is best demonstrated through real-world applications. In conveyor belt systems, they are used for precise object counting and position verification. The teach-in function allows quick adaptation to different product sizes running on the same line. In robotic cell safety, they serve as non-contact presence sensors for tool verification or part positioning before a gripper closes. Their background suppression capability, easily configured with the buttons, makes them ideal for detecting objects on a conveyor regardless of the belt's color or material. In packaging machinery, they ensure correct flap positioning on cartons or verify the presence of a label. The timer functions are extensively used in automated assembly to create precise sequences, such as delaying a signal to a pneumatic actuator until a part is fully seated.
Troubleshooting and Maintenance Tips
Despite their reliability, sensors can encounter issues. The three-button interface is the first line of defense in troubleshooting. A common problem is unstable detection, often indicated by a flickering output LED. Accessing the real-time signal strength display via the buttons can reveal if the received signal is marginal. The solution is often to re-teach the sensor and increase the hysteresis using the UP button to create a more stable detection window. If the sensor fails to detect, checking the alignment (for through-beam types), cleaning the lens, and verifying the taught threshold are essential steps. The diagnostic menu can reveal environmental issues, such as excessive ambient light interference, prompting the installation of a shade or a filter. Regular maintenance involves periodic re-calibration in environments with significant temperature swings or accumulating contamination, a process streamlined by the simple button controls.