Understanding Through-Beam Photoelectric Sensors
Through-beam photoelectric sensors, also known as opposed-mode sensors, consist of two separate units: a transmitter and a receiver. The transmitter emits a continuous beam of light, typically infrared or visible red, which is detected by the receiver positioned directly opposite. When an object interrupts this beam, the sensor triggers a signal change, indicating the presence or absence of the object. These sensors are widely used in industrial automation for tasks such as object detection, counting, and safety applications due to their high reliability and long sensing ranges. Understanding their basic operation is crucial before proceeding with testing, as it helps in identifying potential failure points and ensuring accurate diagnostics.
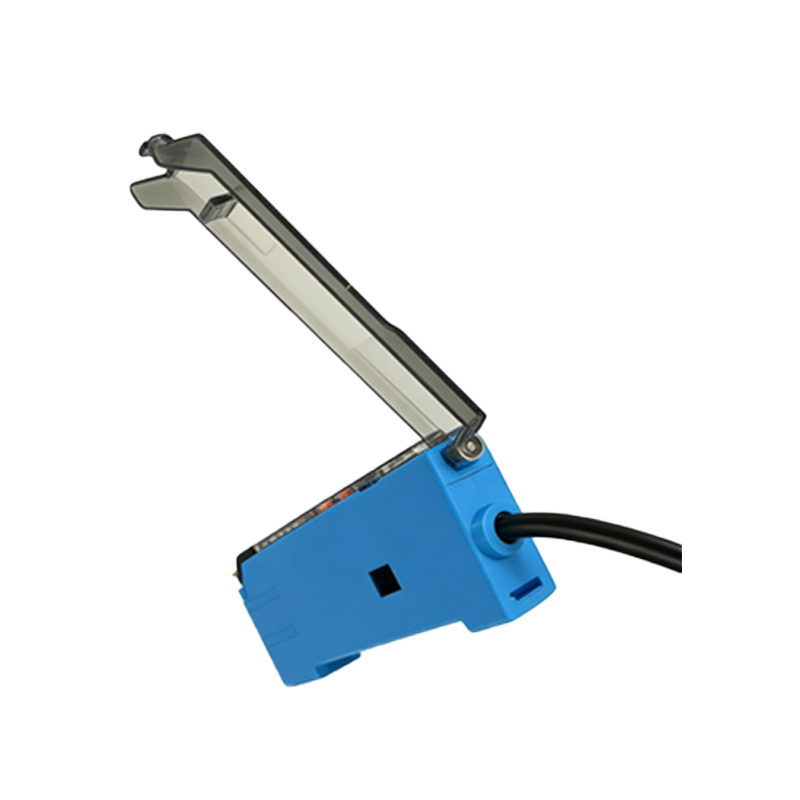
Essential Tools for Testing
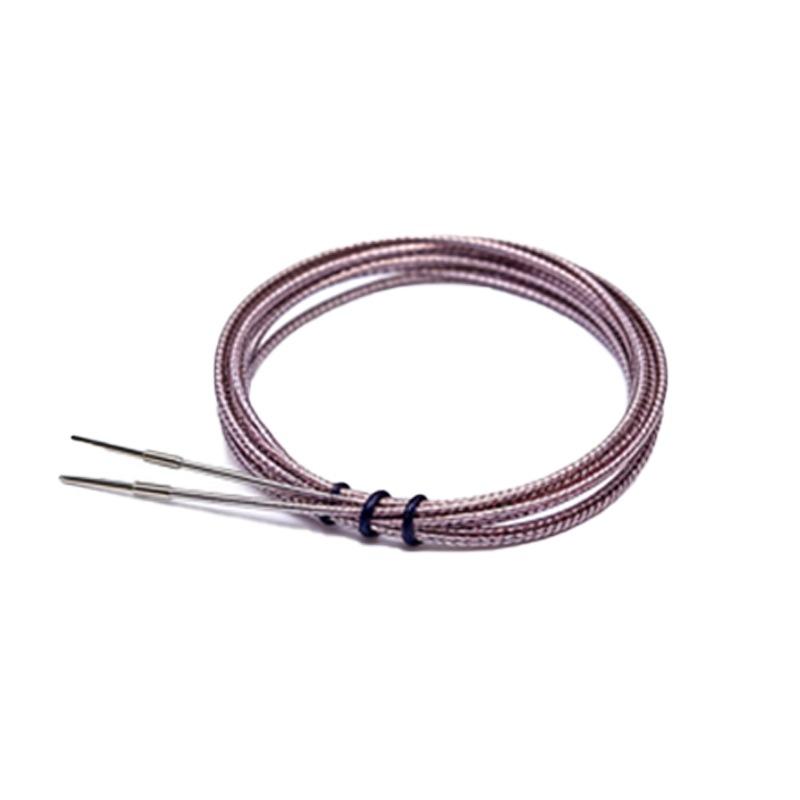
To effectively test through-beam photoelectric sensors, you will need a set of basic tools. A digital multimeter is indispensable for measuring voltage, current, and continuity. Additionally, an oscilloscope can be useful for analyzing signal waveforms, especially in complex setups. For power supply verification, a stable DC power source matching the sensor's specifications (commonly 12-24V DC) is required. Don't forget appropriate screwdrivers and wrenches for physical adjustments, along with a clean cloth for lens maintenance. Having these tools on hand ensures a systematic approach to testing, minimizing downtime in industrial environments.
Visual Inspection and Physical Check
Begin with a thorough visual inspection of both the transmitter and receiver units. Look for any signs of physical damage, such as cracks in the housing or lenses, which could affect performance. Ensure that the mounting brackets are secure and properly aligned, as misalignment is a common cause of sensor failure. Check the wiring connections for corrosion, loose terminals, or frayed cables. Clean the lenses gently with a lint-free cloth to remove dust, dirt, or oil buildup that might obstruct the light beam. This preliminary step can often resolve issues without further testing, saving time and effort.
Power Supply Verification
A stable power supply is critical for sensor operation. Using a digital multimeter, measure the voltage at the sensor's power terminals while connected to the circuit. Compare the reading with the manufacturer's specified range (e.g., 10-30V DC). Fluctuations or voltages outside this range can lead to erratic behavior or complete failure. Also, check the current draw; excessive current may indicate internal shorts, while insufficient current could point to open circuits. If the power supply is inadequate, troubleshoot the power source or wiring before proceeding to functional tests.
Testing Beam Alignment and Signal Strength
Proper alignment between the transmitter and receiver is essential for reliable detection. Use the sensor's alignment indicators, if available, or manually adjust the units until the beam is centered. Many modern sensors feature LED indicators that show signal strength: a steady green light typically indicates good alignment, while a flashing or red light suggests issues. For quantitative measurement, an oscilloscope can monitor the receiver's output signal. A clean, stable waveform confirms strong beam reception, whereas noise or dropouts signal misalignment or obstructions. Re-align the sensors as needed and retest until optimal signal strength is achieved.
Functional Testing with Object Interruption
Simulate real-world conditions by passing an object through the beam path. Observe the sensor's response via its output indicator or connected control system. The output should switch states (e.g., from high to low voltage) promptly and consistently upon beam interruption. Inconsistent triggering may indicate sensitivity problems or environmental interference. Test with objects of different sizes and materials to ensure the sensor can detect various targets. Additionally, verify the response time; delays beyond the sensor's specifications could impact automation processes. Document any anomalies for further analysis.
Environmental Interference Assessment
Through-beam sensors can be affected by environmental factors such as ambient light, dust, humidity, or temperature extremes. To test for interference, expose the sensor to conditions similar to its operating environment. For instance, shine a bright light near the receiver to check for false triggering from external sources. In dusty areas, ensure the lenses remain clean during operation. High humidity or temperature swings might cause condensation or component drift. If issues arise, consider using sensors with protective housings, filters, or higher ingress protection (IP) ratings. Mitigating environmental impacts enhances long-term reliability.
Output Signal and Wiring Validation
Validate the sensor's output signal using a multimeter or oscilloscope. For digital outputs, measure the voltage levels in both "beam received" and "beam blocked" states, ensuring they match the specified logic (e.g., 0V for low, 24V for high). Analog outputs should provide a smooth, proportional signal without spikes. Next, inspect the wiring between the sensor and the control system for continuity, shorts, or ground faults. Poor connections can cause signal loss or electrical noise. Replace damaged cables and secure all terminals. Finally, integrate the sensor back into the system and monitor its performance over time to confirm stability.
Preventive Maintenance Tips
Regular maintenance extends the lifespan of through-beam photoelectric sensors. Schedule periodic visual inspections and lens cleaning to prevent buildup. Verify alignment annually or after mechanical vibrations that might shift components. Keep environmental conditions within specified limits, using enclosures or cooling systems if necessary. Log sensor performance data to identify trends or gradual degradation. Train personnel on basic troubleshooting to address minor issues promptly. By adopting a proactive maintenance routine, you can reduce unexpected failures and maintain high efficiency in automated processes.