Understanding Tailgate Proximity Sensor Function
The tailgate proximity sensor, often integrated into the latch assembly or mounted separately, is a critical component in modern vehicle access systems. Primarily utilizing Hall-effect or inductive sensing technology, it detects the presence of an object—typically the tailgate itself—in close range. Its core function is to communicate the open or closed status to the vehicle's body control module (BCM) or a dedicated tailgate control unit. This data is essential for enabling features like hands-free liftgate operation, power closing mechanisms, and accurate status indication on the vehicle's dashboard. A failure in this sensor can disable these convenience features and may trigger warning lights, such as "Tailgate Ajar" or "Service Power Liftgate," even when the tailgate is securely closed. Understanding its role as a simple binary switch (open/closed) within a complex network is the first step in effective troubleshooting.
Common Symptoms of a Failing Sensor
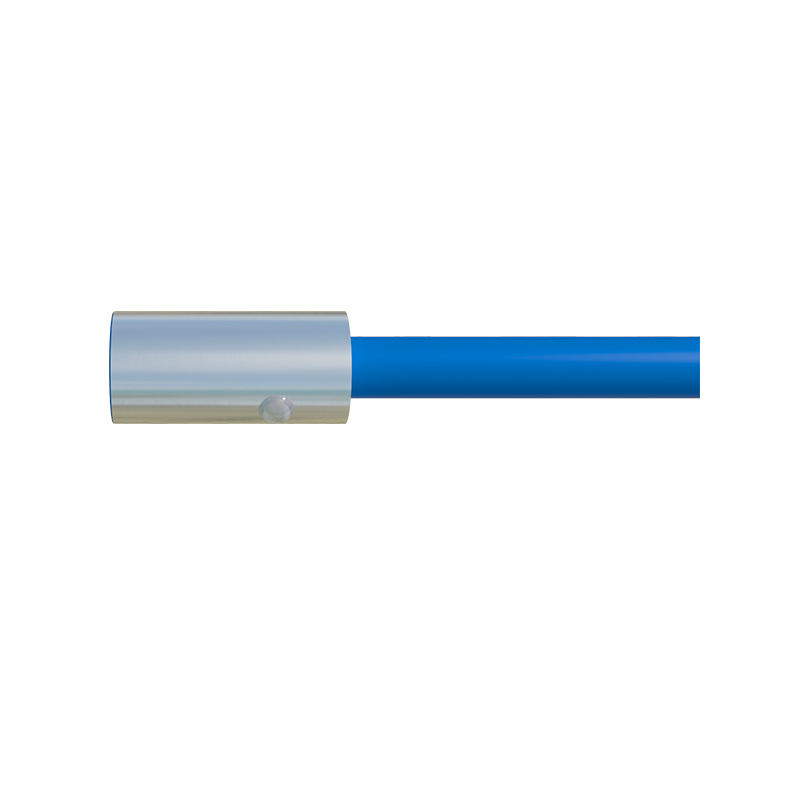
Recognizing the signs of a malfunctioning tailgate proximity sensor is crucial for accurate diagnosis. The most frequent symptom is the illumination of a "Tailgate Open" or "Liftgate Ajar" warning light on the instrument cluster when the tailgate is physically confirmed to be fully closed and latched. Conversely, the system may fail to recognize when the tailgate is actually open. Hands-free kick-to-open functionality may become unresponsive or erratic. For vehicles with power-operated tailgates, the system may refuse to open or close automatically, often defaulting to manual operation only. In some cases, you might hear repeated attempts by the power latch motor to seek a closed position. Intermittent operation, where the warning light or feature functionality comes and goes, is also a classic indicator of a sensor or wiring issue, often related to vibration or moisture ingress.
Step-by-Step Diagnostic Procedure
Begin diagnosis with a thorough visual inspection of the sensor area, latch mechanism, and surrounding wiring harness. Look for obvious physical damage, corrosion, or debris obstructing the sensor's detection path. Next, using a professional-grade automotive scan tool, access the relevant control module (BCM, Liftgate Module). Check for stored Diagnostic Trouble Codes (DTCs). Codes like B124E, B1283, or manufacturer-specific codes related to "liftgate/luggage compartment ajar switch" directly implicate the sensor circuit. If no conclusive codes are present, proceed to live data monitoring. Observe the sensor status parameter while manually operating the tailgate latch with a tool. The status should switch instantly between "Open" and "Closed." A delayed change or no change indicates a fault. The next step is electrical testing. Consult the vehicle's service manual for the specific wiring diagram. Typically, you will check for reference voltage (often 5V or 12V) at the sensor connector, a good ground, and the signal wire's voltage change when the tailgate status is altered. A multimeter is essential here.
Electrical Testing and Component Verification
Disconnect the sensor's electrical connector. With the ignition in the "ON" position (engine may be off), verify the supply voltage pin using a digital multimeter (DMM). It should match the specification, usually 5V for Hall-effect sensors or battery voltage for simpler switches. Check the ground circuit for continuity to a known good chassis ground. If power and ground are confirmed, the focus shifts to the sensor itself. For a simple switch-type sensor, use the DMM's continuity/ohms function. The resistance should change from open circuit to short circuit (or vice versa) when the sensor is actuated (e.g., by inserting a screwdriver into the latch strike). For a Hall-effect sensor, the signal voltage on the output pin should toggle between high and low (e.g., 0V to 5V) when a ferrous metal object is moved near its face. If the sensor fails these bench tests, it is defective. Always ensure the mating surfaces of the sensor and its target (the striker plate) are clean and properly aligned, as misalignment can cause false readings.
Repair and Replacement Guidelines
Once a faulty tailgate proximity sensor is confirmed, replacement is typically the only repair. Note that the sensor is often sold as part of the complete latch assembly or striker bolt assembly, rarely as a standalone component. Before replacement, obtain the correct part number from the vehicle's VIN. The repair process generally involves removing interior trim panels to access the latch mechanism. Carefully disconnect the electrical connector and remove the mounting bolts or rivets. Install the new assembly, ensuring all mechanical adjustments for proper latching are per factory specification—this is critical. Torque fast