Understanding Photoelectric Sensor Mounting
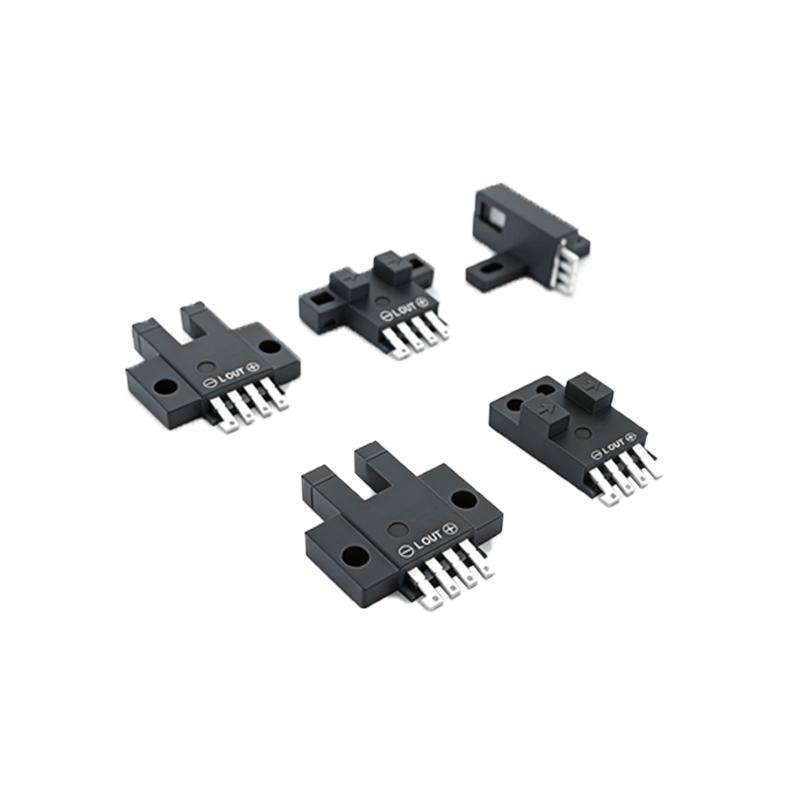
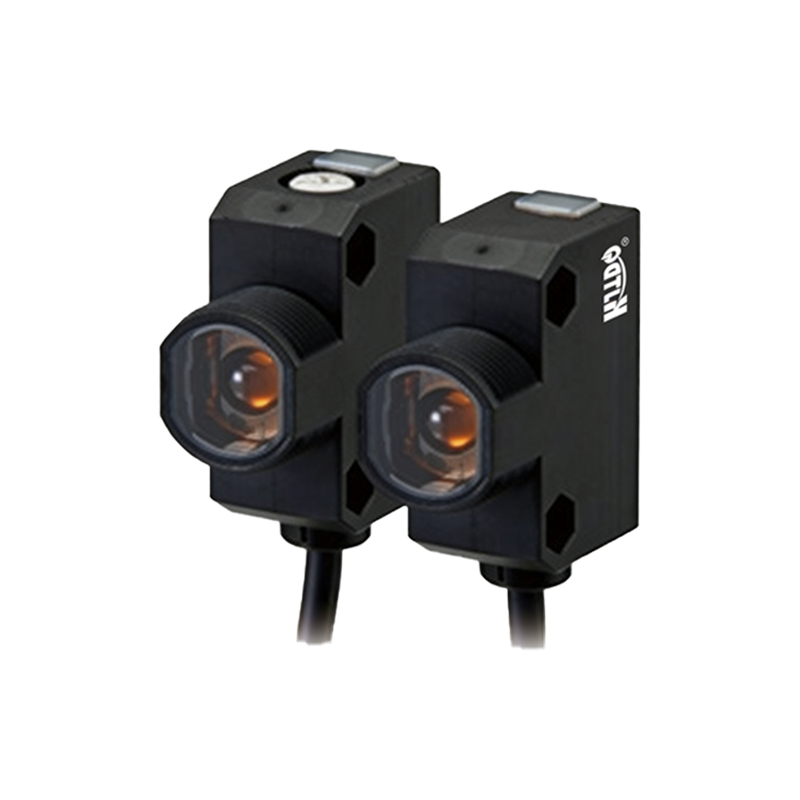
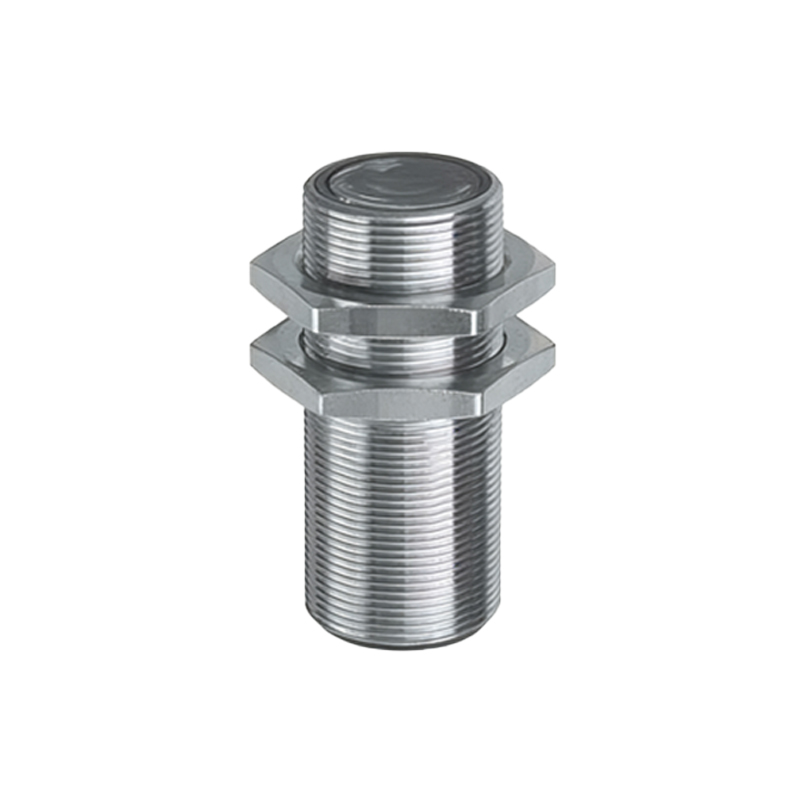
Before attempting to remove a photoelectric sensor, it is crucial to understand its mounting and connection setup. Photoelectric sensors are typically secured in place using mounting brackets, nuts, or integrated housing clips. Common industrial models, such as through-beam, retro-reflective, or diffuse sensors, may be mounted on DIN rails, directly onto machinery via threaded barrels, or within custom enclosures. The first step is always to consult the specific sensor's datasheet or installation manual provided by the manufacturer (e.g., Omron, Sick, Keyence). This document will detail the exact disassembly procedure, locking mechanisms, and any special tools required. Never assume all sensors are removed the same way; a cylindrical sensor with an M18 thread is handled differently than a rectangular sensor snapped onto a rail.
Prioritizing Safety and Power Isolation
Safety is the paramount concern when working with industrial electrical components. The absolute first action is to completely isolate power to the sensor and the associated control system. This involves locking out and tagging out (LOTO) the main power source to prevent accidental re-energization. Verify that the power is off using a properly rated multimeter at the sensor's connection points. Remember that some photoelectric sensors, especially those with diagnostic LEDs, may have residual energy in the circuit. Allow a few minutes for any capacitors to discharge. Always wear appropriate personal protective equipment (PPE), such as safety glasses and insulated gloves, especially when working in panels with other live circuits nearby.
Disconnecting Electrical Wiring
Once safety is ensured, proceed to disconnect the electrical wiring. Most industrial photoelectric sensors utilize quick-disconnect (QD) connectors or pre-wired cables with M12 or M8 connectors. For sensors with QD connectors, firmly grasp the connector body (not the cable) and depress the locking tab, pulling it straight off the sensor's base. For sensors with integrated cables or hardwired connections, you will need to access the terminal block. Using the correct screwdriver size, carefully loosen the terminal screws (usually Phillips or flat-head) and remove each wire one by one. It is highly recommended to label each wire with its corresponding terminal number or function (e.g., Brown: +V, Blue: 0V, Black: Output) using tape or a label maker. This simplifies reinstallation or replacement.
Releasing the Sensor from its Mount
With the wiring disconnected, you can now focus on the physical mount. For DIN rail mounted sensors, locate the spring-loaded clip or locking lever on the bottom or back of the sensor. Use a small flat-head screwdriver to gently pry and release this clip while simultaneously pulling the sensor upward and off the rail. For threaded barrel sensors (e.g., M12, M18, M30), you must hold the sensor body firmly and unscrew the locking nut that secures it to the mounting bracket. In some designs, the sensor itself screws directly into a tapped hole. Use an appropriately sized wrench or spanner on the sensor's hex flats, taking care not to crush or twist the housing. For adhesive or bracket-mounted sensors, remove the securing screws or bolts from the bracket.
Handling and Inspection Post-Removal
After the sensor is free, handle it carefully. Inspect the sensor's lens for any accumulation of dust, grease, or damage that might have been the cause of malfunction. Also, inspect the disconnected connector or wiring terminals for signs of corrosion, bent pins, or wear. This is an opportune time to clean the lens with a soft, lint-free cloth and an appropriate cleaner if needed. If the sensor is being removed for replacement, ensure you have the correct model number and specifications for the new unit. Store the removed sensor in an anti-static bag if it is to be reused or sent for diagnostics, protecting it from electrostatic discharge and physical impact.
Troubleshooting Common Removal Challenges
Occasionally, sensors can be stubborn to remove due to environmental factors. If a threaded sensor is seized due to corrosion, apply a small amount of penetrating oil to the threads and allow it to sit for several minutes before attempting to turn it again. Avoid excessive force to prevent breakage. For sensors stuck on a DIN rail because of dirt or paint, gently tap the side of the sensor with a plastic mallet to loosen it before operating the release clip. If the quick-disconnect connector will not release, double-check that the locking tab is fully depressed; sometimes debris can obstruct the mechanism. Never use tools to pry apart a connector, as this will damage the sealing and locking features.