Proximity sensors are widely used in industrial automation, consumer electronics, and safety systems to detect the presence or absence of objects without physical contact. Knowing how to test whether a proximity sensor is functioning properly is crucial for maintenance, troubleshooting, and ensuring operational reliability. This guide provides practical methods to evaluate sensor performance, identify common issues, and verify results.
First, understand the basic working principle. Most proximity sensors operate by emitting an electromagnetic field or beam and detecting changes in the field when an object enters its range. Common types include inductive, capacitive, and photoelectric sensors. Each type has specific testing considerations, but general steps apply broadly.
Begin with a visual inspection. Check for physical damage such as cracks, dents, or corrosion on the sensor body and wiring. Ensure connections are secure and cables are not frayed. Environmental factors like dust, moisture, or metal shavings can interfere with sensor operation, so clean the sensing face gently with a soft cloth if needed.
Next, verify power supply and wiring. Use a multimeter to measure the voltage at the sensor terminals according to the manufacturer’s specifications. For example, many DC sensors require 10-30 VDC. Incorrect voltage can lead to failure or erratic behavior. Confirm that wiring matches the sensor’s configuration (e.g., NPN vs. PNP for DC sensors) and that the load (such as a PLC input or relay) is correctly connected.
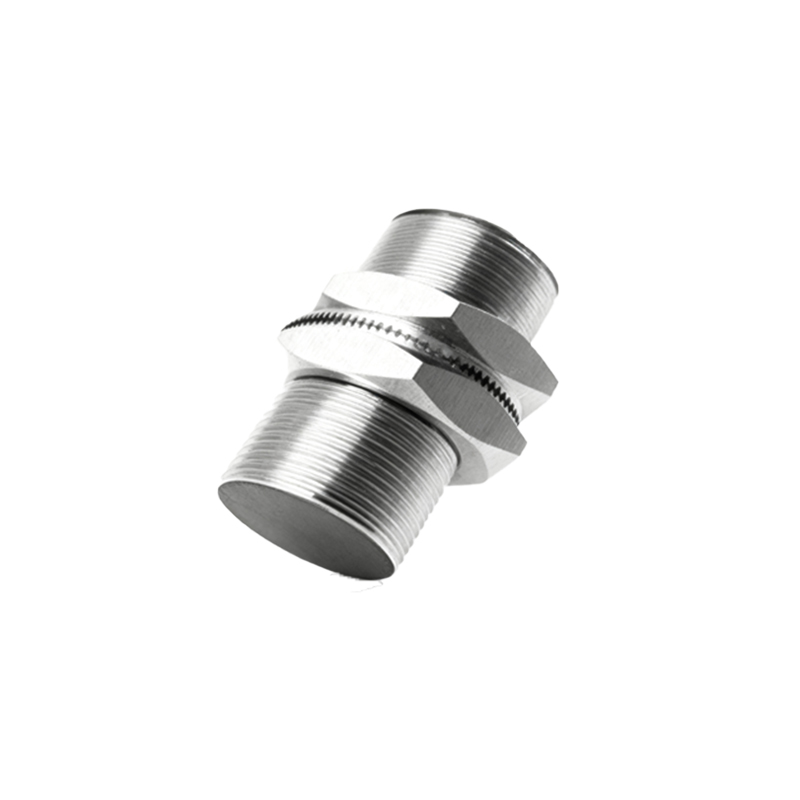
To test functionality, simulate the sensing condition. For an inductive sensor designed to detect metal, bring a standard target (like a piece of iron) within the specified sensing distance. Observe the sensor’s output indicator LED, which typically lights up when activated. Simultaneously, use a multimeter or oscilloscope to check the output signal. In a normally open sensor, the output voltage should switch from low to high (or high to low, depending on design) when the target is present. Repeat tests at different distances to ensure the sensor triggers consistently within its rated range.
For capacitive sensors, which can detect non-metallic materials, use a suitable target such as plastic or liquid. Note that environmental changes like humidity or temperature might affect sensitivity, so adjust if necessary. Photoelectric sensors require alignment checks; ensure the emitter and receiver are clean and unobstructed, and test with an object that reflects or interrupts the light beam appropriately.
Common problems include false triggering, failure to detect, or reduced sensing range. False triggers may stem from electrical noise, nearby metal objects, or incorrect sensitivity settings. Shield the sensor from interference and adjust settings per the manual. If the sensor does not detect, double-check wiring, power, and target suitability. Reduced range often indicates wear, contamination, or aging components; compare performance to the sensor’s datasheet specifications.
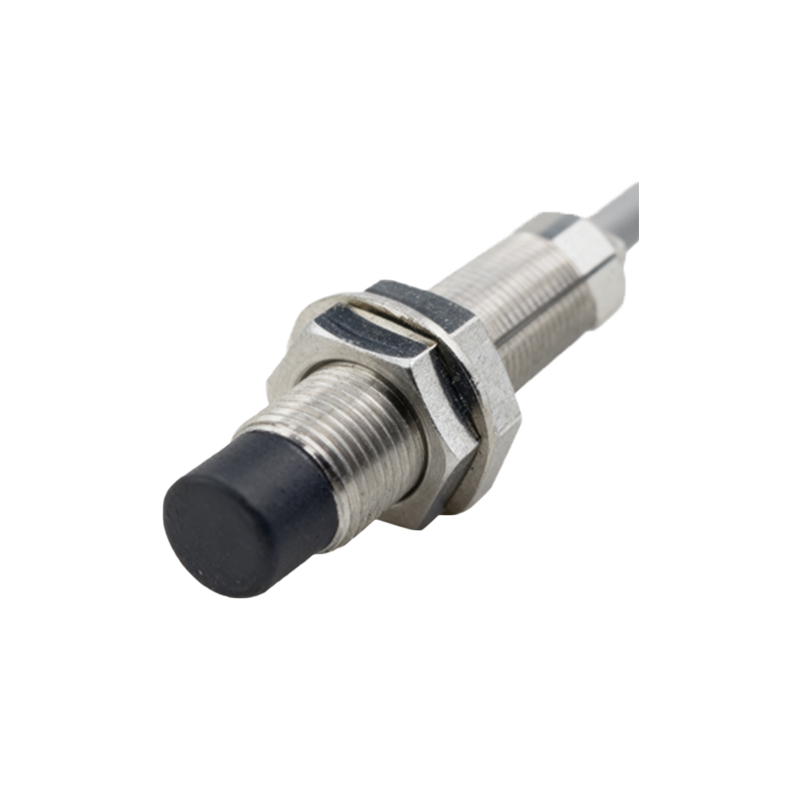
Advanced testing involves measuring response time and repeatability. Use a programmable target mover to cycle objects in and out of the sensing area, and monitor the output with a high-speed recorder. Response time should fall within the sensor’s rated limits. Repeatability tests ensure the sensor activates at the same distance consistently, which is vital for precision applications.
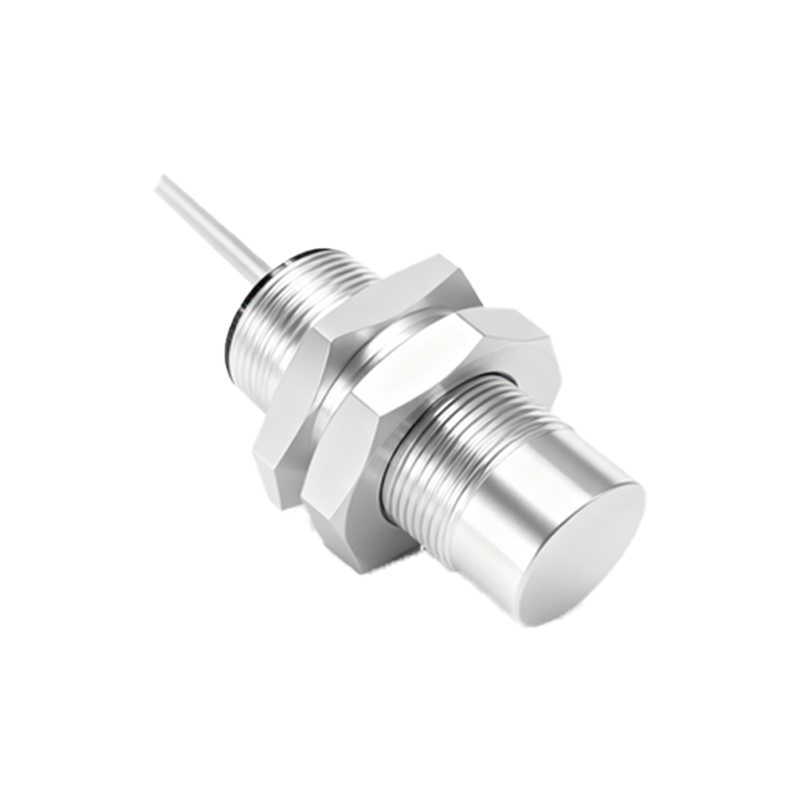
Finally, document your findings. Record test conditions, measurements, and any adjustments made. If a sensor fails basic tests after troubleshooting, replacement may be necessary. Regular preventive maintenance, including periodic testing, can extend sensor life and prevent system downtime.
In summary, testing a proximity sensor involves inspection, electrical verification, functional simulation, and performance validation. By following systematic steps, you can reliably determine if a sensor is good or bad, ensuring optimal system performance and safety.