Understanding Photoelectric Sensor Fundamentals
Photoelectric sensors operate on a simple principle: they emit a beam of light (visible, infrared, or laser) and detect changes in the received light to sense an object's presence, absence, or distance. The core components are the emitter, the receiver, and the control circuitry. The accuracy of these sensors—encompassing repeatability, resolution, and linearity—is paramount for reliable automation. Factors influencing accuracy include the target object's properties (color, material, surface finish), environmental conditions (ambient light, dust, temperature), and the sensor's own internal calibration. A deep understanding of these fundamentals is the first step toward precise adjustment. Without this baseline knowledge, tuning efforts may be ineffective or even counterproductive, leading to false triggers, missed detections, and system downtime.
Initial Setup and Mounting Considerations
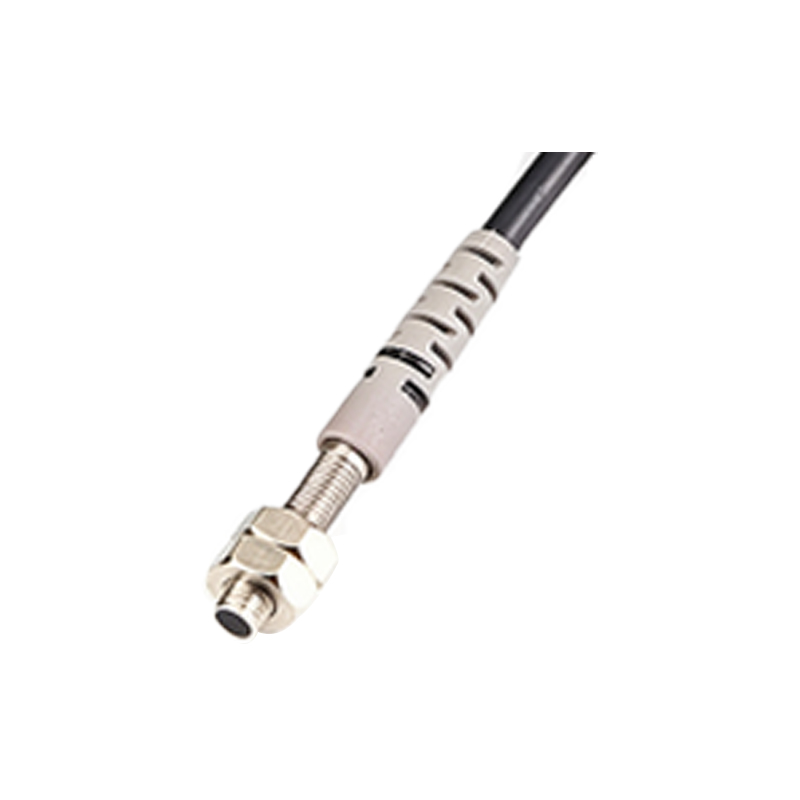
Before delving into electronic adjustments, ensure the sensor is correctly installed. Mounting stability is critical; any vibration or movement of the sensor body will directly translate to measurement error. Use rigid brackets and secure fasteners. Precisely align the emitter and receiver for through-beam sensors, or align the sensor perpendicular to the target for reflective types. Maintain the recommended sensing distance, typically within the "sweet spot" specified in the datasheet. Ensure the optical path is free from obstructions, condensation, or buildup of contaminants. For diffuse-reflective sensors, the background material and distance should be considered to prevent interference. A meticulous physical setup eliminates many variables that could later be mistaken for electronic calibration issues.
Utilizing Sensitivity Adjustment Mechanisms
Most modern photoelectric sensors feature a sensitivity potentiometer or digital interface for fine-tuning. This adjustment controls the threshold at which the receiver's signal triggers an output. To adjust, introduce your standard target object into the sensing field. Slowly rotate the potentiometer or navigate the digital menu until the sensor's output indicator (often an LED) changes state precisely at the desired detection point. For maximum stability, a common technique is to set the sensitivity so that the indicator triggers reliably with the target present, then back off the adjustment slightly until it just turns off when the target is removed. This establishes a robust midpoint, providing a buffer against minor signal fluctuations caused by dirt, slight object color variations, or power supply noise.
Countering Environmental Light Interference
Ambient light from fixtures, sunlight, or other machinery can saturate the receiver or create false signals. To mitigate this, first consider using a sensor with a modulated light source. These sensors emit pulsed light, and their receivers are tuned to recognize only that specific frequency, effectively filtering out constant ambient light. If interference persists, employ physical shielding such as tubes or shrouds around the sensor head to block stray light. Adjusting the mounting angle can also help avoid direct glare. For critical applications, select sensors with high ambient light resistance ratings (often in lux). In digital sensors, you may find a specific function to set a "background suppression" level, which helps distinguish the target from a more distant, reflective background.
Calibration for Different Target Materials
The reflectivity of the target object is a major variable. A glossy white surface reflects much more light than a matte black one. For diffuse sensors, this requires significant sensitivity adjustment. A best practice is to calibrate the sensor using the actual production object or a perfect representative sample. For through-beam sensors, transparency can be an issue; you may need to adjust sensitivity to detect a clear glass bottle, for instance. Some advanced sensors offer "teach-in" functions. This involves presenting the sensor with two states—target present and target absent—and letting the sensor automatically calculate and store the optimal threshold. This is highly effective for handling varied or complex materials and simplifies changeover procedures in flexible manufacturing.
Maintaining Long-Term Accuracy and Stability
Calibration is not a one-time event. Schedule regular maintenance checks to ensure sustained accuracy. Periodically clean the lens of the emitter and receiver with a soft, lint-free cloth to prevent attenuation from dust, oil, or debris. Verify the mounting integrity and alignment. Monitor the operating environment for changes in temperature or the introduction of new light sources. Log the sensitivity settings for different applications to facilitate quick recovery after a power cycle or sensor replacement. Implementing a preventive maintenance routine that includes these steps will drastically reduce unscheduled stoppages and maintain the high level of system precision required in modern industrial automation, ensuring your photoelectric sensors perform reliably over their entire service life.