Proximity sensors are critical components in automation, robotics, and safety systems, detecting the presence or absence of objects without physical contact. However, like any electronic device, they can malfunction or deliver inaccurate readings. Debugging a proximity sensor involves systematic checks to identify and resolve issues, ensuring reliable operation. This guide provides a practical, step-by-step approach to troubleshooting common problems.
First, verify the power supply. Ensure the sensor is receiving the correct voltage as specified in its datasheet. Use a multimeter to measure voltage at the sensor's terminals. Incorrect voltage can lead to erratic behavior or complete failure. Check for loose connections, corrosion, or damaged wiring that might cause voltage drops. If the power source is unstable, consider using a regulated power supply or adding filtering capacitors to smooth out fluctuations.
Next, inspect the sensor's installation. Misalignment is a frequent cause of poor performance. The sensor must be positioned correctly relative to the target object. Refer to the manufacturer's guidelines for mounting distance, orientation, and allowable target materials. For inductive sensors, ensure the target is metallic and within the sensing range. For capacitive sensors, avoid interference from non-target materials like dust or moisture. Adjust the sensor's position gradually while monitoring its output to find the optimal setup.
Evaluate environmental factors. Proximity sensors can be affected by temperature extremes, humidity, vibration, or electromagnetic interference (EMI). High temperatures may cause drift in sensing distance, while EMI from nearby motors or cables can trigger false signals. Shield the sensor or relocate it away from noise sources. In dusty or wet environments, choose sensors with appropriate IP ratings and clean the sensing face regularly to prevent false triggers.
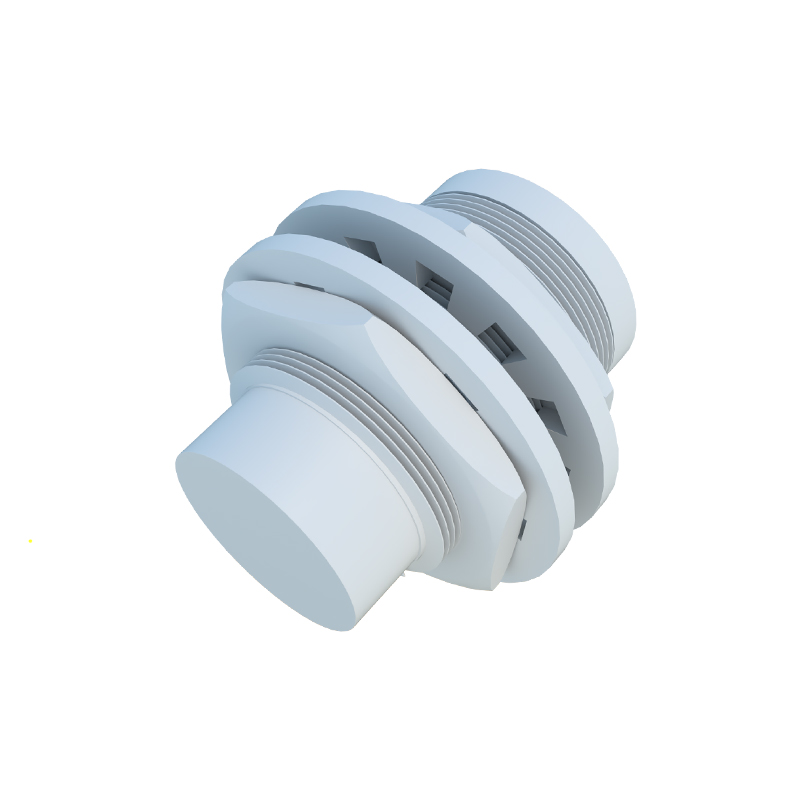
Test the sensor's output. Most proximity sensors provide a digital (ON/OFF) or analog output. Connect the output to a PLC, microcontroller, or indicator light to observe its behavior. If the output is inconsistent, use an oscilloscope to check for signal noise or delay. For analog sensors, verify that the output signal scales linearly with distance. Calibrate the sensor if necessary, following the manufacturer's instructions. Some sensors feature adjustable sensitivity or hysteresis settings—tweak these parameters to fine-tune performance.
Check for mechanical issues. Physical damage, such as cracks in the housing or a dirty lens, can impair functionality. Inspect the sensor for signs of wear or impact. Clean the sensing surface with a soft cloth and appropriate cleaner, avoiding abrasives. Ensure that moving parts, like actuator arms in automated systems, are not obstructing the sensor's field.
Utilize diagnostic tools. Many modern sensors come with built-in diagnostics via LED indicators or communication protocols like IO-Link. LEDs typically show power status, output activation, or fault conditions—consult the manual to interpret these signals. For smart sensors, use software tools to monitor real-time data, log events, or adjust parameters remotely. This can quickly pinpoint issues like short circuits or overloads.
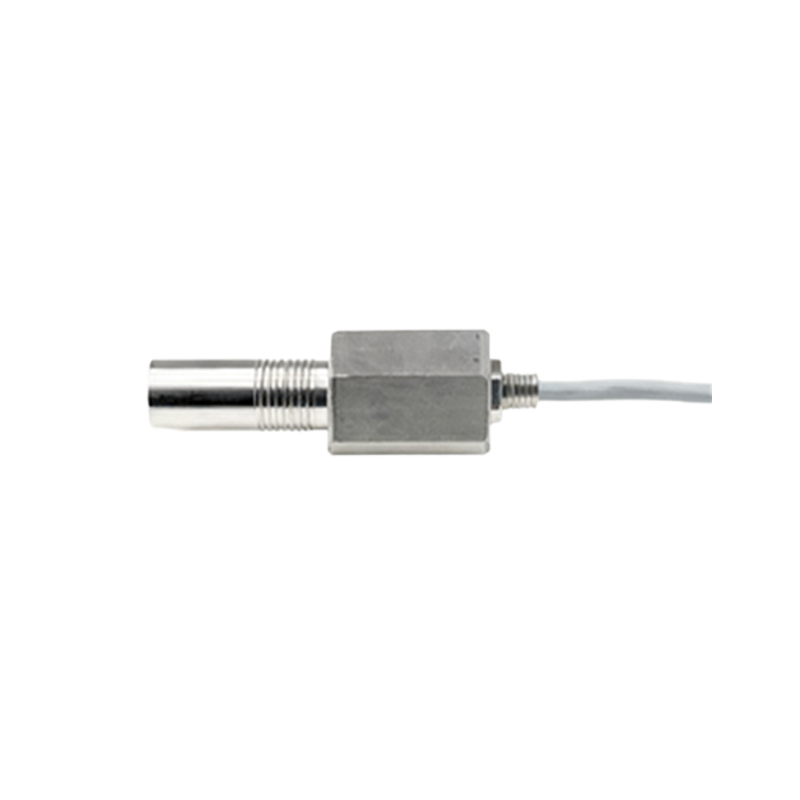
Finally, consider the load and wiring. Overloading the sensor's output can damage internal circuits. Verify that the connected load (e.g., relay, solenoid) matches the sensor's maximum current rating. For two-wire sensors, ensure the residual current when OFF is low enough to prevent accidental activation. For three-wire or four-wire sensors, double-check wiring against diagrams (sourcing vs. sinking configurations). Incorrect wiring is a common mistake that leads to permanent failure.
If problems persist, consult the sensor's documentation or contact technical support. Provide details like model number, symptoms, and environmental conditions. Sometimes, replacing the sensor is the most cost-effective solution, especially if it's outdated or has sustained irreversible damage. Regular maintenance and periodic recalibration can prevent future issues, extending the sensor's lifespan.
In summary, debugging proximity sensors requires a methodical approach: check power, installation, environment, output, mechanics, and wiring. By addressing each factor sequentially, you can restore accurate detection and maintain system efficiency. Whether in industrial machinery or consumer electronics, well-functioning sensors are key to seamless automation.