Understanding the E18-D80NK Photoelectric Sensor
The E18-D80NK is a popular diffuse reflective infrared photoelectric sensor widely used in automation, robotics, and object detection. Its compact design, adjustable sensing range (typically up to 80cm), and digital output make it a versatile component. Normally, the sensor's indicator light provides crucial operational feedback: it may blink during object detection or remain off when idle. A common malfunction reported by engineers and hobbyists is the sensor's LED remaining constantly illuminated, regardless of the presence or absence of a target object. This persistent light indicates an output signal that is stuck in a triggered state, which can disrupt entire system logic, such as causing a conveyor to stop indefinitely or a counter to register false readings.
Primary Causes of a Continuously Lit Indicator
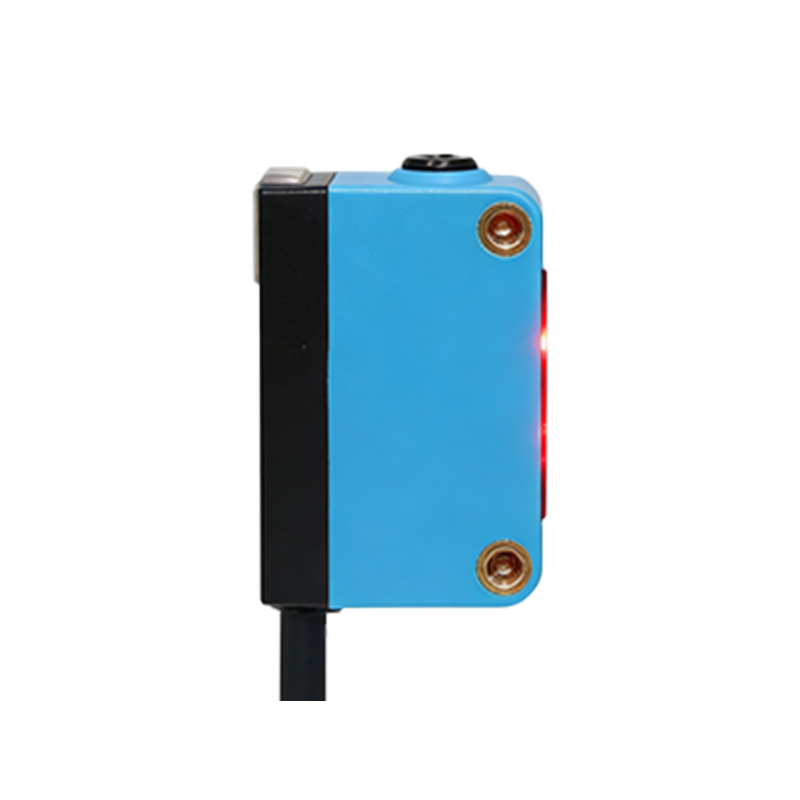
Several factors can cause the E18-D80NK's light to stay on. The most frequent cause is incorrect or unstable power supply. This sensor requires a stable DC voltage, commonly 5V. Voltage that is too low, too high, or noisy can cause the internal circuitry to behave erratically, locking the output. Environmental interference is another major culprit. Strong ambient light, especially direct sunlight or infrared sources, can flood the receiver, mimicking a constant reflected signal. Physical obstruction or contamination, such as dust, oil, or debris on the sensor lens, can scatter light and cause permanent activation. Finally, internal component failure, though less common, is possible. Damage to the infrared emitter, receiver, or the processing IC due to electrical surges, physical shock, or prolonged heat can lead to this fault.
Systematic Troubleshooting Procedure
Begin troubleshooting with a thorough visual inspection. Power down the system and examine the sensor lens for any dirt, scratches, or obstructions. Clean the lens gently with a soft, lint-free cloth. Next, verify the electrical connections. Ensure the wiring is correct (VCC, GND, OUT) and secure. Loose connections can create intermittent contact leading to constant ON signals. Use a multimeter to check the power supply at the sensor's terminals. It should be a clean, steady voltage within the specified range (e.g., 5V ±5%). Test under load to rule out voltage drops. Then, assess the environment. Temporarily shield the sensor from ambient light or move it to a different location to see if the condition changes. This helps isolate optical interference.
Diagnostic Testing and Isolation
To isolate the problem, perform a controlled test. Disconnect the sensor's output wire from your microcontroller or PLC. With the sensor powered and no object in its sensing range, use a multimeter to measure the voltage between the OUT pin and GND. A properly functioning sensor should output a HIGH voltage (near VCC) when no object is detected (light off) and switch to LOW (~0V) when an object is within range (light on). If the output pin is permanently LOW (causing the light to stay on), the fault is confirmed in the sensor or its immediate environment. You can also test by connecting the output directly to an LED with a resistor; if the external LED also stays lit, it corroborates the stuck output.
Solutions and Corrective Actions
Based on the diagnosis, apply targeted solutions. For power issues, implement a dedicated regulated power supply or add filtering capacitors (e.g., a 100µF electrolytic and a 0.1µF ceramic capacitor) across the VCC and GND pins near the sensor to smooth out noise. For environmental light interference, install a physical shade or hood around the sensor. Consider using sensors with modulated infrared light (like the E18-D80NK itself) which are more immune to ambient light, but ensure the interfering source is not of the same frequency. Adjusting the sensor's potentiometer can sometimes resolve the issue; slowly turn it to increase or decrease the sensitivity until the light behaves normally in a clean test environment. If internal damage is suspected, replacement is the most cost-effective solution given the sensor's low price point.
Preventive Measures for Reliable Operation
Preventing recurrence is key to maintaining system uptime. Ensure proper electrical installation by using shielded cables in electrically noisy environments and keeping power lines separate from signal lines. Provide adequate mechanical protection to prevent physical damage and lens soiling. Regularly schedule maintenance checks to clean lenses and verify operational parameters. When integrating the sensor, always include software debouncing or a delay in your control code to ignore brief signal anomalies, though this won't fix a hardware-level constant ON state. For critical applications, consider implementing a sensor health-check routine in your program that monitors for implausibly long continuous signals.
When to Consider Replacement
If all troubleshooting steps—verifying clean power, a stable environment, correct wiring, and sensitivity adjustment—fail to restore normal operation, the sensor is likely irreparably damaged. Internal failure of the phototransistor or IC is not user-serviceable. Given the relatively low cost of the E18-D80NK module, prolonged diagnostic efforts beyond the standard procedure are often not economically justified. Replacing the faulty unit with a new one is the most efficient way to resume operations. Always keep spare sensors on hand for production environments to minimize downtime associated with such common failures.