Introduction to Photoelectric Sensors in Button Sewing Machines
Photoelectric sensors are critical components in modern button sewing machines, enabling precise detection and automation. These sensors use light beams to identify the presence, position, or movement of objects, such as buttons or fabric, ensuring accurate stitching and operational efficiency. In industrial settings, proper installation of photoelectric sensors directly impacts machine performance, reducing errors and downtime. This article provides a detailed guide on optimal installation locations for photoelectric sensors in button sewing machines, based on engineering principles and practical experience.
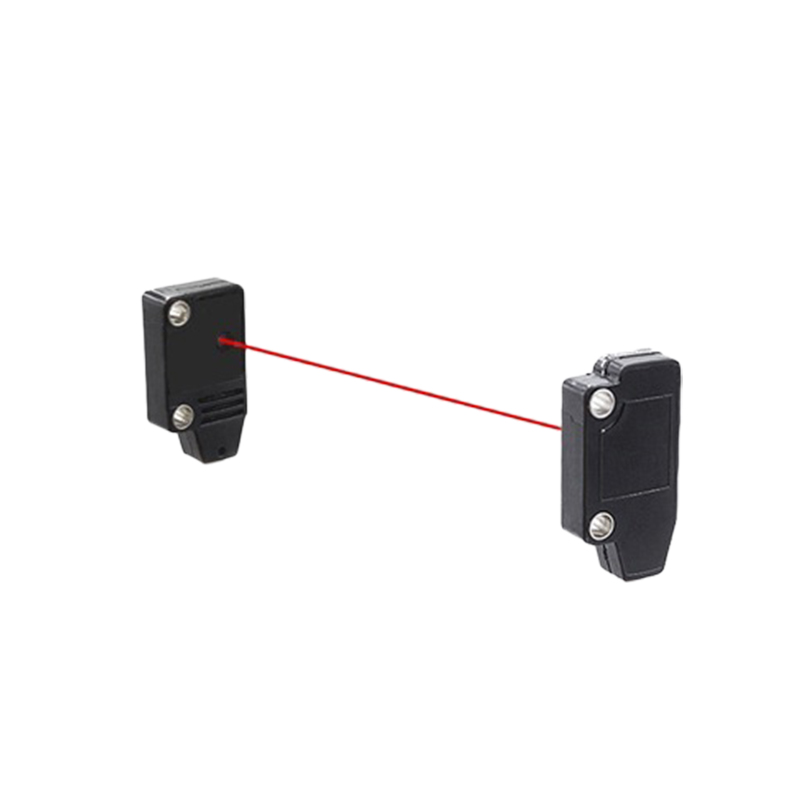
Key Functions of Photoelectric Sensors
Photoelectric sensors in button sewing machines serve multiple functions, including detecting button presence, monitoring fabric alignment, and controlling thread tension. By emitting and receiving light signals, these sensors can trigger machine actions, such as starting or stopping stitches, based on real-time feedback. For instance, a sensor might detect when a button is correctly placed, preventing misalignment that could lead to defective products. Understanding these functions is essential for determining where to install sensors to maximize their effectiveness and ensure seamless integration with the machine's control system.
Installation at the Button Feeding Mechanism
One of the most common installation points for photoelectric sensors is near the button feeding mechanism. Here, sensors are typically mounted to detect buttons as they are fed into the sewing area. Position the sensor so that its light beam crosses the path of the buttons, allowing it to register each button's arrival. This setup helps in verifying button supply and preventing jams. Ensure the sensor is aligned perpendicular to the button flow for accurate detection, and protect it from dust or debris that could interfere with light transmission, using covers or regular maintenance as needed.
Placement in the Fabric Positioning Area
Another crucial location is the fabric positioning area, where photoelectric sensors monitor fabric placement and alignment. Install sensors along the edges or specific markers on the machine bed to detect fabric edges or reference points. This allows the machine to adjust stitching patterns based on fabric position, ensuring consistent quality. For example, a sensor might signal if fabric is misaligned, prompting automatic correction or halting the operation. Mount sensors at a height that avoids obstruction while maintaining a clear line of sight to the fabric surface, and calibrate them regularly to account for variations in material thickness or color.
Integration with the Thread Monitoring System
Photoelectric sensors are also integrated into the thread monitoring system to prevent thread breaks or run-outs. Install sensors near the thread spools or along the thread path to detect thread movement or absence. When the sensor identifies a break or low thread, it can alert operators or stop the machine to avoid defects. Position these sensors close to the thread without touching it, ensuring the light beam can detect subtle movements. Use reflective or through-beam sensors depending on the setup, and test them under different lighting conditions to avoid false triggers from ambient light.
Mounting Near the Stitching Head
The stitching head area benefits from photoelectric sensors that monitor needle position or button hold-down mechanisms. Mount sensors to detect the needle's up/down cycle or the presence of buttons under the presser foot. This ensures stitches are only made when buttons are correctly positioned, reducing damage to needles or fabric. Install sensors with sturdy brackets to withstand vibrations from the sewing head, and align them precisely to avoid interference with moving parts. Regular checks are recommended to maintain accuracy, as misalignment can lead to operational failures.
Considerations for Environmental Factors
When installing photoelectric sensors, consider environmental factors like lighting, dust, and humidity. Industrial environments may have fluctuating light or airborne particles that affect sensor performance. Choose sensors with appropriate ingress protection (IP) ratings for dust and moisture resistance. Position sensors away from direct sunlight or bright overhead lights to prevent false readings, and use shielded cables to reduce electrical interference. Additionally, implement routine cleaning schedules to keep sensor lenses clear, ensuring reliable operation over time.
Calibration and Testing Procedures
After installation, calibrate and test photoelectric sensors to verify their functionality. Follow the manufacturer's guidelines for calibration, adjusting sensitivity and response time based on the specific application. Conduct tests with actual buttons and fabric to simulate real-world conditions, checking for consistent detection and response. Document calibration settings and perform periodic re-tests to account for wear or environmental changes. Proper calibration not only enhances accuracy but also extends the sensor's lifespan, contributing to overall machine efficiency.
Conclusion and Best Practices
In summary, installing photoelectric sensors in button sewing machines requires careful planning at key points like the feeding mechanism, fabric area, thread system, and stitching head. By focusing on precise alignment, environmental protection, and regular maintenance, engineers can optimize sensor performance for improved automation and quality control. Always refer to machine manuals and sensor specifications during installation, and consider consulting with manufacturers for tailored solutions. Implementing these best practices ensures reliable operation, reducing downtime and enhancing productivity in industrial sewing applications.