Laser sensors are critical components in modern industrial automation, quality control, and measurement systems. Their precision and reliability make them indispensable, yet like all sophisticated equipment, they require proper maintenance and can encounter operational issues. Understanding common failure modes and implementing a systematic maintenance approach can significantly extend sensor lifespan and ensure consistent performance. This guide outlines practical steps for maintaining and troubleshooting laser sensors.
Regular maintenance is the first line of defense against sensor failure. The primary maintenance task is keeping the optical components clean. The laser emitter and receiver lenses are susceptible to contamination from dust, oil mist, coolant, or other airborne particles present in industrial environments. Even a thin layer of buildup can scatter or attenuate the laser beam, leading to inaccurate readings or complete signal loss. Cleaning should be performed using appropriate tools: use compressed air to blow away loose debris first, then gently wipe the lens with a lint-free cloth or a swab moistened with isopropyl alcohol. Avoid using abrasive materials or harsh chemicals that could scratch or damage optical coatings. Always follow the manufacturer's specific cleaning recommendations.
The sensor's housing and mounting should also be inspected periodically. Ensure all mounting bolts are tight, as vibration can loosen them over time, potentially misaligning the sensor. Check the housing for cracks, dents, or signs of ingress, especially if the sensor is rated for washdown or harsh environments. The integrity of the cable and its connection to the sensor and controller is another common point of failure. Inspect the cable for cuts, abrasions, or pinch points. Ensure the connector is securely fastened and free from corrosion.
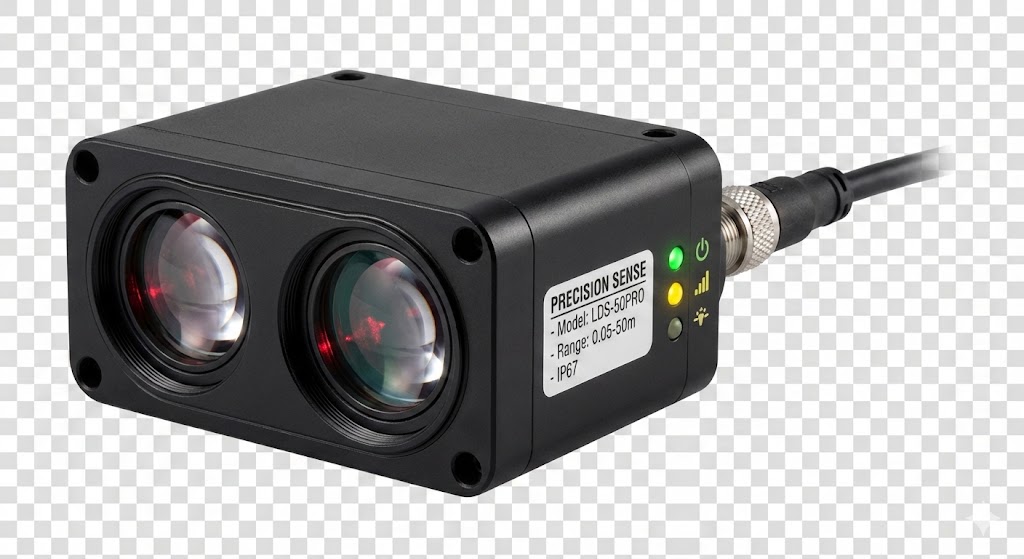
Environmental factors play a huge role in sensor performance and longevity. Most laser sensors have specified operating temperature ranges. Exceeding these limits, either through ambient conditions or proximity to heat sources, can cause internal electronic components to drift or fail. Similarly, excessive humidity can lead to condensation on internal optics or cause electrical shorts. Ensure the sensor is operating within its specified environmental ratings. For challenging environments, consider sensors with higher IP (Ingress Protection) ratings or additional protective housings.
Electrical issues are a frequent culprit in sensor malfunctions. Always verify the power supply. Use a multimeter to confirm that the voltage and current supplied to the sensor match its requirements. Voltage spikes, surges, or noise on the power line can damage sensitive electronics. Implementing a stable, regulated power supply and, in some cases, surge protection devices is a wise investment. Also, check for proper grounding, as poor grounding can introduce electrical noise that interferes with signal integrity.
When a laser sensor malfunctions, a logical troubleshooting sequence is essential. Begin with the simplest checks: Is the sensor powered on? Are the indicator lights (if present) behaving as described in the manual? Next, verify the target. Is the object within the sensor's specified sensing range? Is the target surface suitable? Highly reflective, transparent, or dark, absorbent surfaces can adversely affect the sensor's ability to detect or measure accurately. Test with a standard, neutral target if possible.
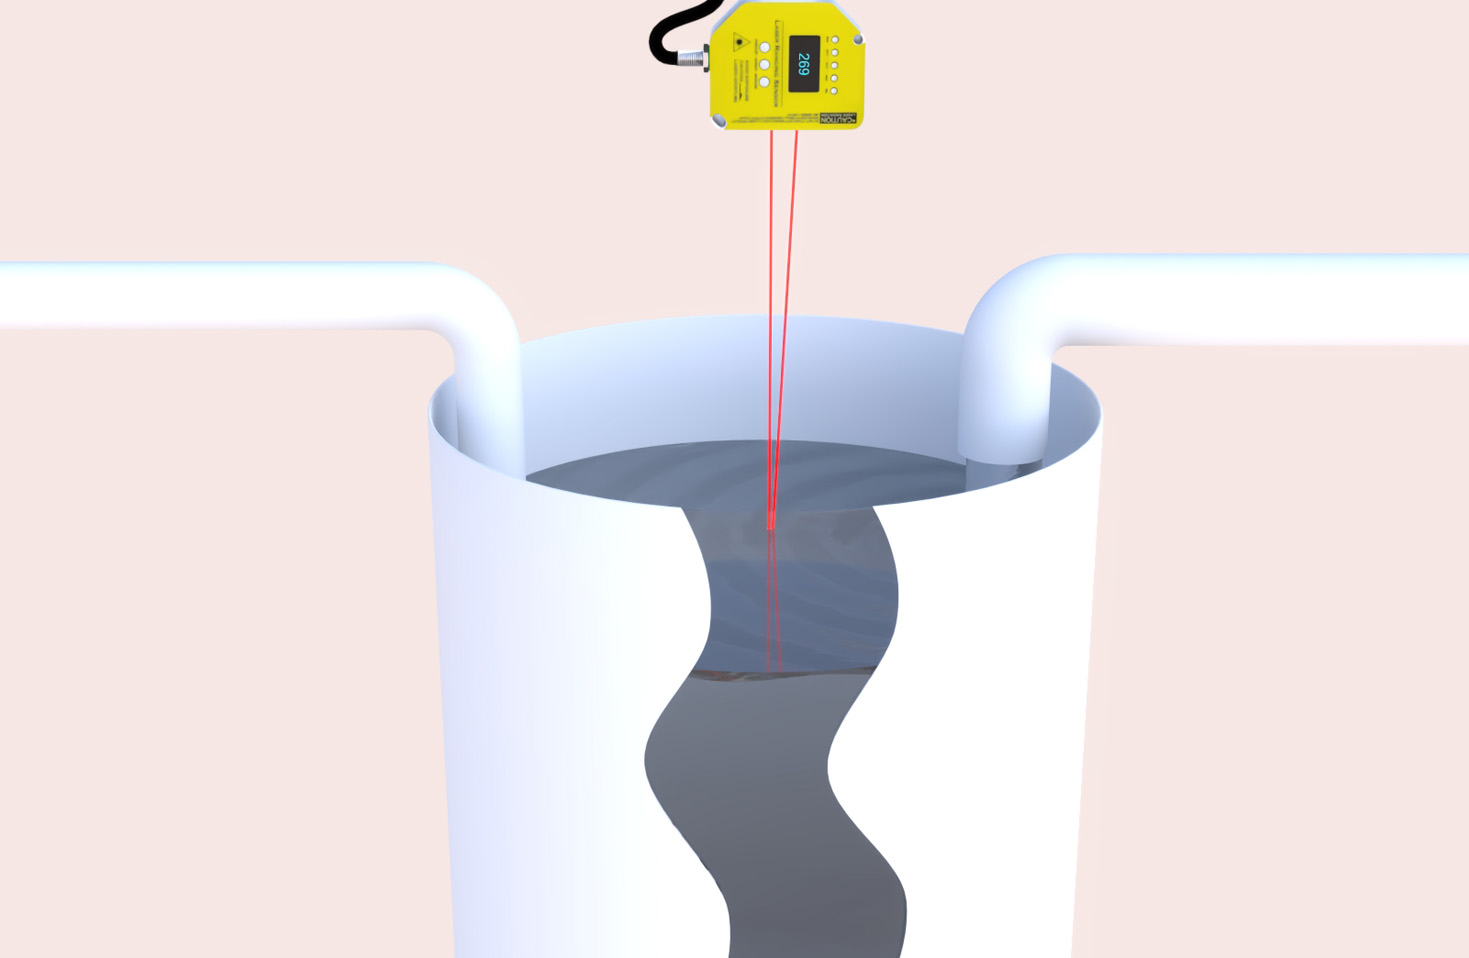
If basic checks pass, proceed to inspect the output. Connect the sensor to a controller or a simple test circuit and monitor its output signal. Does it change state when a target is introduced and removed? A lack of change could indicate a problem with the sensor's internal processing or output circuit. If the sensor has adjustable settings (e.g., sensitivity, response time), consult the manual. Sometimes, a simple recalibration or adjustment of the sensing threshold can resolve the issue. Many modern sensors come with teach-in functions or software for configuration; ensure these settings have not been inadvertently changed.
Internal failures are more complex. If the laser diode itself fails, the sensor will emit no light or very weak light. This can sometimes be verified (with extreme caution) by observing the laser spot on a surface, though never look directly into the beam. Diode failure can be due to age, thermal stress, or current overload. The photodetector on the receiving end can also degrade or fail. Internal circuitry, including amplifiers and microprocessors, can be damaged by electrical transients. Diagnosing these internal issues often requires specialized equipment. Before concluding an internal failure, double-check all external factors: wiring, power, environment, and target properties.
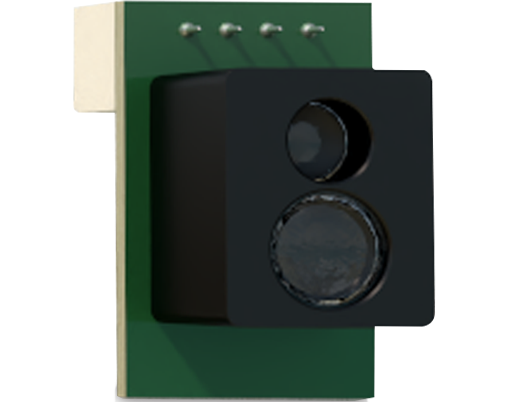
For complex or persistent problems, consulting the sensor's documentation is crucial. Manufacturer manuals typically include detailed troubleshooting flowcharts, error code explanations, and wiring diagrams. If the sensor is under warranty or a service contract, contact the manufacturer's technical support. They can provide model-specific advice and may offer repair or replacement services. In many cases, especially with major internal component failure, professional repair or complete sensor replacement is the most cost-effective and reliable solution.
Preventive maintenance, combined with a structured troubleshooting methodology, minimizes unplanned downtime. Keeping a log of maintenance activities and any intermittent issues can help identify patterns or predict failures. By understanding the fundamentals of laser sensor operation and dedicating time to their care, users can ensure these precise instruments continue to deliver accurate and reliable service for their intended lifespan.