Understanding the Importance of Regular Checks
In industrial automation, photoelectric sensors are critical components for detecting objects, measuring distances, and ensuring process continuity. Their reliability directly impacts production efficiency, safety, and cost-effectiveness. Daily inspections are not merely routine tasks but proactive measures to prevent unexpected downtime, reduce maintenance costs, and extend sensor lifespan. Given the harsh environments—such as dust, vibration, temperature fluctuations, and exposure to chemicals—these sensors operate in, even minor issues can escalate into major failures. A structured daily check helps identify early signs of wear, misalignment, or contamination, allowing for timely interventions before they disrupt operations. By integrating these checks into standard operating procedures, facilities can maintain optimal performance and avoid costly repairs or replacements.
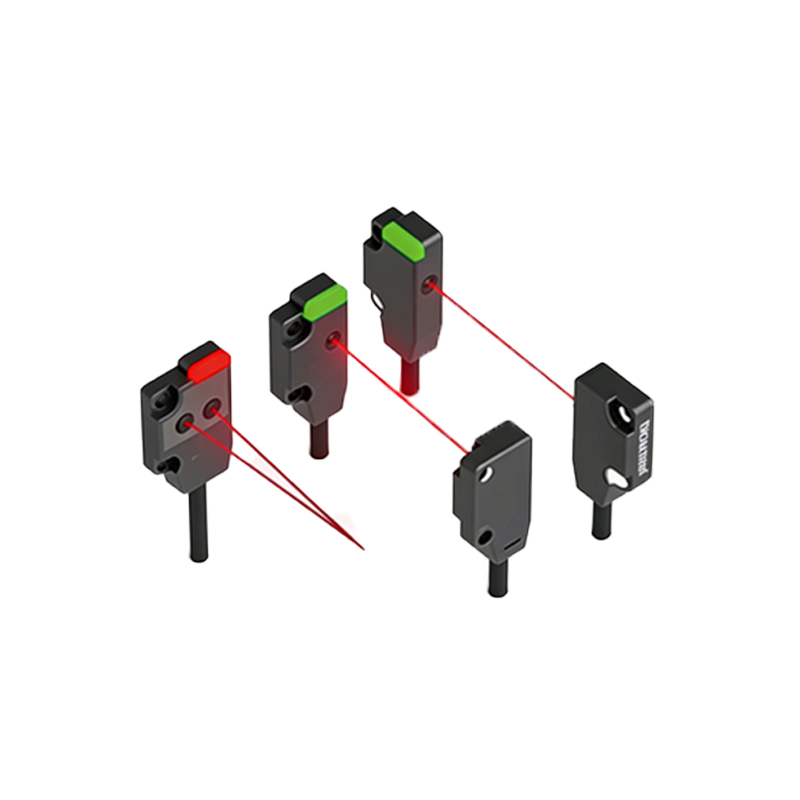
Visual Inspection and Physical Condition Assessment
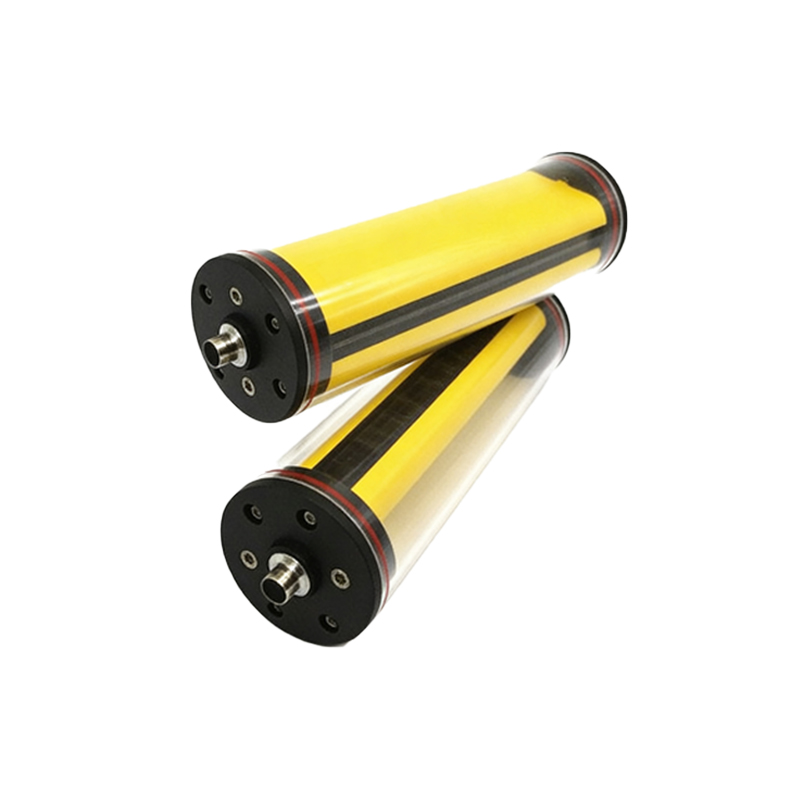
Begin each inspection with a thorough visual examination. Look for obvious physical damage, such as cracks in the sensor housing, loose mounting brackets, or bent connectors. Check the lens or emitter/receiver windows for dust, oil, or debris accumulation, which can scatter or block light beams, leading to false readings. Ensure that cables and wiring are intact, without cuts, fraying, or signs of overheating. Verify that mounting hardware is secure, as vibrations from machinery can cause sensors to shift out of alignment. If the sensor is in a washdown area, inspect for water ingress or corrosion on metal parts. Document any anomalies, such as discoloration or moisture, which might indicate environmental stress. This step is quick but vital, as many failures stem from visible, preventable issues.
Testing Functional Performance and Alignment
After visual checks, proceed to functional testing. Power on the sensor and observe its indicator lights—typically, a stable green light signifies normal operation, while blinking or red lights may indicate faults or detection issues. Use a test object, such as a standard target provided by the manufacturer, to verify detection consistency. Move the target through the sensor’s sensing range, noting any missed detections or erratic responses. For through-beam sensors, ensure the emitter and receiver are perfectly aligned; misalignment can cause intermittent signals. For reflective or diffuse sensors, check the sensing distance and adjust if necessary, considering factors like target color or reflectivity changes. Record response times and compare them to baseline values from the sensor’s datasheet. If performance deviates, recalibrate according to the manufacturer’s guidelines.
Cleaning and Environmental Considerations
Contamination is a common cause of photoelectric sensor failure. Daily cleaning should focus on the optical components. Use a soft, lint-free cloth and approved cleaning solutions—like isopropyl alcohol—to gently wipe the lens and housing. Avoid abrasive materials that could scratch surfaces. For sensors in dusty or humid environments, consider inspecting more frequently or installing protective covers. Monitor ambient conditions: extreme temperatures can affect electronic components, while strong ambient light might interfere with infrared beams. Ensure the sensor’s operating environment stays within specified ranges for temperature, humidity, and light exposure. If sensors are near sources of electrical noise, such as motors or frequency drives, check for electromagnetic interference by temporarily shielding cables or repositioning equipment.
Documentation and Preventive Maintenance Logs
Maintain detailed records of each inspection. Log findings, including any adjustments made, cleaning performed, or parts replaced. Note environmental conditions and sensor performance metrics. This documentation helps track trends over time, such as gradual sensitivity loss or increasing error rates, enabling predictive maintenance. Use the logs to schedule deeper inspections or part replacements before failures occur. Share reports with maintenance teams to coordinate efforts and standardize procedures across the facility. By keeping accurate records, you not only comply with industry standards but also build a knowledge base for troubleshooting recurring issues, ultimately enhancing system reliability and reducing operational risks.
Common Troubleshooting Tips for Daily Issues
During daily checks, you might encounter minor problems. If a sensor fails to detect objects, first recheck alignment and clean the lens. Ensure the power supply voltage matches specifications, as low voltage can cause weak signals. For false triggers, inspect for reflective surfaces or background interference, and adjust the sensitivity setting. If indicator lights are off, verify wiring connections and circuit integrity. In cases of persistent issues, consult the sensor’s manual for error codes or reset procedures. Avoid makeshift repairs; instead, use manufacturer-recommended spare parts. By addressing these small issues promptly, you prevent them from escalating, keeping production lines running smoothly and minimizing downtime.