Understanding the Need for Potting in Proximity Sensors
Potting, or encapsulating, a proximity switch sensor is a critical process in electrical and industrial engineering. This procedure involves filling the sensor's housing with a protective compound to shield its internal electronic components from harsh environmental factors. Proximity sensors, which detect the presence or absence of objects without physical contact, are often deployed in demanding settings. These include manufacturing floors with constant vibration, outdoor applications exposed to moisture and temperature extremes, and washdown areas in food processing where chemicals and water jets are prevalent. Without proper protection, contaminants like dust, oil, coolant, and humidity can infiltrate the sensor, leading to electrical shorts, corrosion, signal drift, and ultimately, premature failure. Potting provides a robust barrier, ensuring long-term reliability, maintaining signal integrity, and often enhancing the sensor's mechanical strength by securing internal components against shock and vibration.
Selecting the Appropriate Potting Compound
The success of the potting process hinges entirely on selecting the right compound. Not all materials are created equal, and the choice must align with the sensor's operating environment and performance requirements. The primary categories are epoxy resins, polyurethanes, and silicones. Epoxy resins offer excellent hardness, high chemical resistance, and superior adhesion, making them ideal for sensors in rigid, high-stress environments. However, they can be brittle and may crack under extreme thermal cycling. Polyurethane compounds provide a good balance, with decent moisture resistance, flexibility, and reduced stress on components, suitable for applications with moderate temperature swings. Silicone-based potting materials excel in extreme temperature ranges, offering outstanding flexibility, excellent moisture resistance, and high dielectric strength. They are often the go-to choice for sensors requiring thermal stability or operating in damp conditions. Key selection parameters include viscosity for proper flow, cure time for production efficiency, thermal conductivity for heat dissipation, and, crucially, the compound's compatibility with the sensor's internal materials like wires, PCBs, and plastics to avoid degradation.
Pre-Potting Preparation and Sensor Readiness
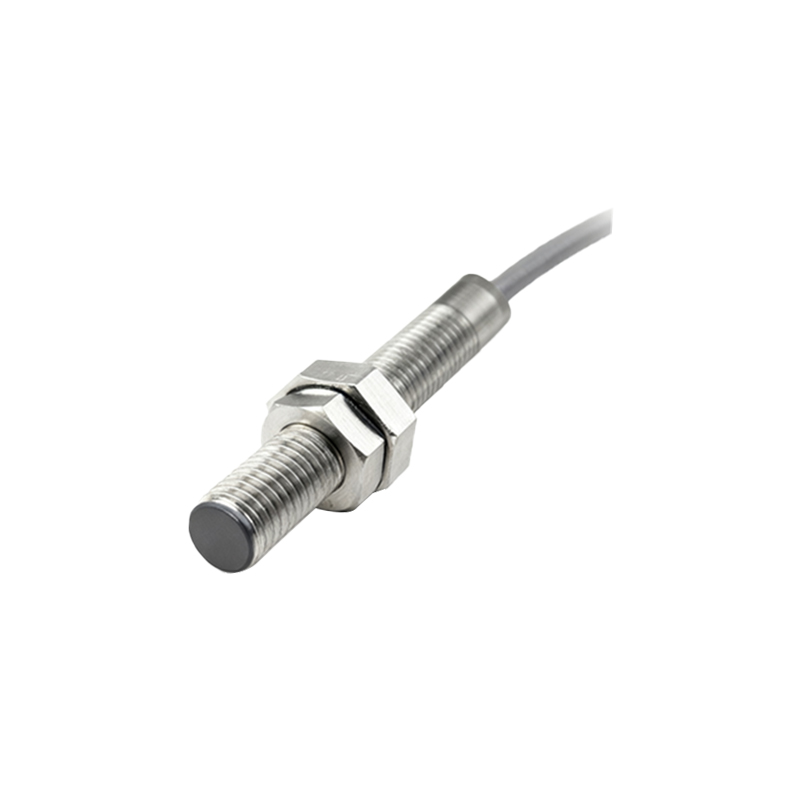
Thorough preparation is non-negotiable for a successful potting job. Begin by ensuring the proximity sensor is completely clean, dry, and free of any contaminants like oil, dust, or flux residues. Use appropriate solvents and lint-free wipes. Next, meticulously inspect the housing for any cracks or imperfections in the seals. The housing must be fully sealed except for the designated potting port and vent hole. It is often necessary to create these openings if they are not pre-existing. The potting port allows for compound injection, while the vent hole permits air to escape, preventing void formation. All cable entries and housing joints must be securely sealed using grommets or permanent seals. For sensors with adjustable components, such as potentiometers for sensitivity, it is vital to set and secure these adjustments before potting, as they will become inaccessible afterward. Finally, mix the potting compound precisely according to the manufacturer's instructions, paying close attention to the mix ratio and ensuring a homogeneous blend to achieve full cure and specified properties.
The Step-by-Step Potting Procedure
Execute the potting process in a controlled, clean environment. First, securely position the sensor with the potting port facing upward. If using a two-part compound, ensure it is mixed thoroughly but gently to minimize air entrapment. Degassing the mixed compound in a vacuum chamber is a recommended best practice to remove air bubbles, which can create weak points and thermal insulation pockets. Using a syringe, pressure pot, or automated dispensing equipment, slowly inject the compound into the potting port. The key is a slow, steady fill to allow air to escape through the vent hole. Avoid rapid injection, which can trap air or cause spillage. Continue filling until the compound begins to seep out of the vent hole. Once a steady bead of material exits the vent, stop injection. Do not overfill, as this can cause excessive pressure during curing. Carefully clean any excess compound from the port and vent immediately using a suitable solvent before it begins to cure.
Curing, Post-Processing, and Quality Verification
After filling, the sensor must remain undisturbed in its proper orientation during the initial cure phase, as specified by the compound datasheet. This prevents the compound from settling unevenly or leaking from the vents. Curing conditions—whether room temperature or accelerated with an oven—must be strictly adhered to. A full cure may take several hours to days. Once fully cured, the temporary plugs or seals on the ports can be permanently closed. The final step is rigorous quality testing. Perform a visual inspection for any voids, cracks, or incomplete filling. Electrical testing is paramount: verify the sensor's switching function, check for any electrical leakage