Understanding Photoelectric Sensors
Photoelectric sensors are widely used in industrial automation, robotics, and IoT projects for detecting objects, measuring distances, or counting items. These sensors operate by emitting a light beam (usually infrared or visible light) and detecting changes in the received light intensity. Common types include through-beam, retro-reflective, and diffuse reflective sensors. For Raspberry Pi integration, diffuse reflective sensors are often preferred due to their simplicity and cost-effectiveness. They consist of an infrared LED and a phototransistor, which work together to sense proximity or presence. Understanding the basic working principle is essential before connecting the sensor to ensure proper functionality and avoid damage to the Raspberry Pi's GPIO pins.
Required Components and Tools
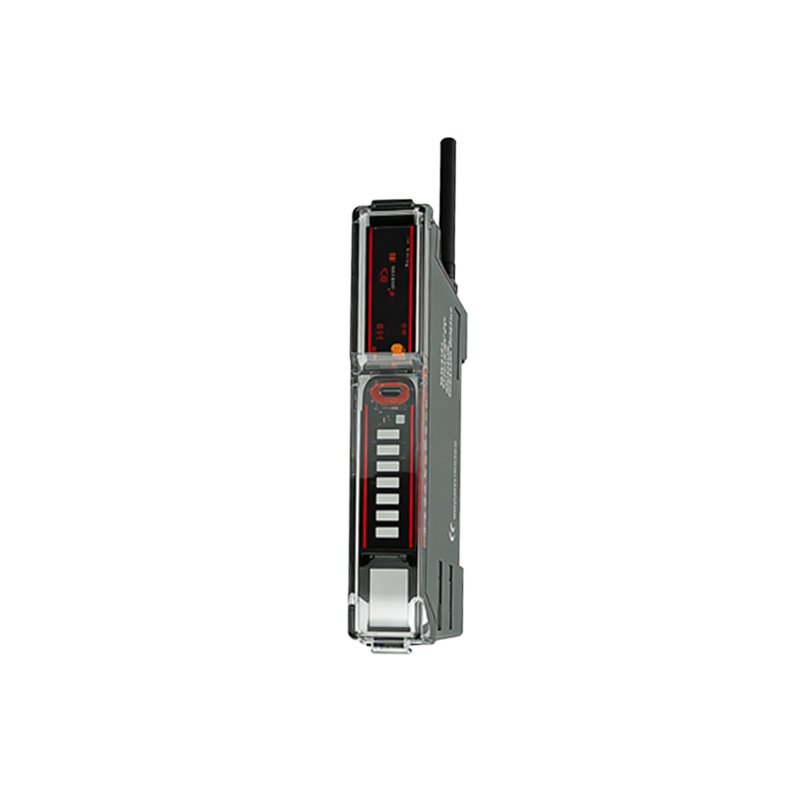
To connect a photoelectric sensor to a Raspberry Pi, you'll need specific components and tools. First, ensure you have a Raspberry Pi board (such as Raspberry Pi 4 or 3 Model B+), a photoelectric sensor module (like the E18-D80NK or similar), jumper wires (male-to-female for easy connection), a breadboard for prototyping, and a power supply for the Raspberry Pi. Additionally, have a multimeter handy to check voltages and connections if issues arise. The sensor module typically includes three pins: VCC (power supply), GND (ground), and OUT (signal output). Verify the sensor's voltage requirements—most operate at 5V, but the Raspberry Pi GPIO pins are 3.3V tolerant, so a voltage divider or level shifter might be necessary to prevent damage.
Wiring the Sensor to Raspberry Pi GPIO
Proper wiring is crucial for a successful connection. Start by powering off the Raspberry Pi to avoid short circuits. Connect the sensor's VCC pin to a 5V pin on the Raspberry Pi (e.g., physical pin 2 or 4), and the GND pin to a ground pin (e.g., physical pin 6). For the OUT pin, link it to a GPIO input pin on the Raspberry Pi, such as GPIO 17 (physical pin 11). If the sensor outputs a 5V signal, use a voltage divider with resistors to step it down to 3.3V. For example, connect a 1kΩ resistor between the sensor OUT and the GPIO pin, and a 2kΩ resistor from the GPIO pin to ground. Double-check all connections with a diagram to ensure accuracy before powering on the Raspberry Pi.
Configuring Raspberry Pi Software
Once the hardware is set up, configure the Raspberry Pi software to read sensor data. Boot up the Raspberry Pi and open a terminal. First, update the package list with "sudo apt update" and install Python libraries if needed using "sudo apt install python3-gpiozero" or "pip install RPi.GPIO". Create a Python script to interface with the sensor. For instance, using the gpiozero library, write a simple script that imports the DigitalInputDevice class, sets up the GPIO pin, and reads the sensor state. The sensor typically outputs a low signal when an object is detected and high otherwise. Test the script by running it and observing the output when an object passes in front of the sensor.
Testing and Calibration
After wiring and software configuration, test the sensor to ensure it works correctly. Place an object within the sensor's detection range and check the Python script output for changes. If the sensor doesn't respond, verify the wiring, power supply, and GPIO pin assignments. Use a multimeter to measure the voltage at the OUT pin—it should drop when an object is detected. For calibration, adjust the sensor's potentiometer (if available) to set the detection sensitivity. Some sensors have a trimmer to fine-tune the range, so turn it slowly while testing until the desired response is achieved. Keep the sensor away from direct sunlight or other light sources to avoid interference.
Applications and Troubleshooting
Connected photoelectric sensors can be used in various applications, such as object detection in conveyor belts, liquid level sensing, or people counters. For advanced projects, integrate the sensor with other components like relays or motors via the Raspberry Pi. If issues arise, common troubleshooting steps include checking for loose connections, ensuring the Raspberry Pi is properly grounded, and verifying the sensor's compatibility with 3.3V logic. Additionally, review the Python code for errors, such as incorrect pin numbers or library imports. Online forums and Raspberry Pi documentation offer valuable resources for resolving specific problems.
Safety and Best Practices
When working with photoelectric sensors and Raspberry Pi, follow safety and best practices. Always disconnect power before making wiring changes to prevent electrical shocks or damage. Use appropriate resistors or level shifters to protect GPIO pins from overvoltage. Keep the setup in a dry, cool environment to avoid overheating. For industrial settings, consider using optoisolators to separate high-power circuits from the Raspberry Pi. Regularly update the Raspberry Pi's software and back up your code. Document your project with notes and diagrams for future reference, and share your experiences in community forums to help others.