Introduction to the Xerox M118w and Its Sensing System
The Xerox WorkCentre M118w is a popular monochrome multifunction printer known for its compact design and reliable performance in small office and home office environments. At the heart of its reliable paper handling and printing operations lies a network of sensors, with photoelectric sensors playing a critical role. These sensors are fundamental components that monitor the printer's internal state, detect paper presence and movement, and ensure accurate toner cartridge recognition. Understanding their location and function is essential for effective troubleshooting and maintenance. This guide provides a detailed, technical overview of where to find the primary photoelectric sensors within the Xerox M118w, explaining their purpose and typical failure symptoms.
Primary Function and Types of Photoelectric Sensors in Printers
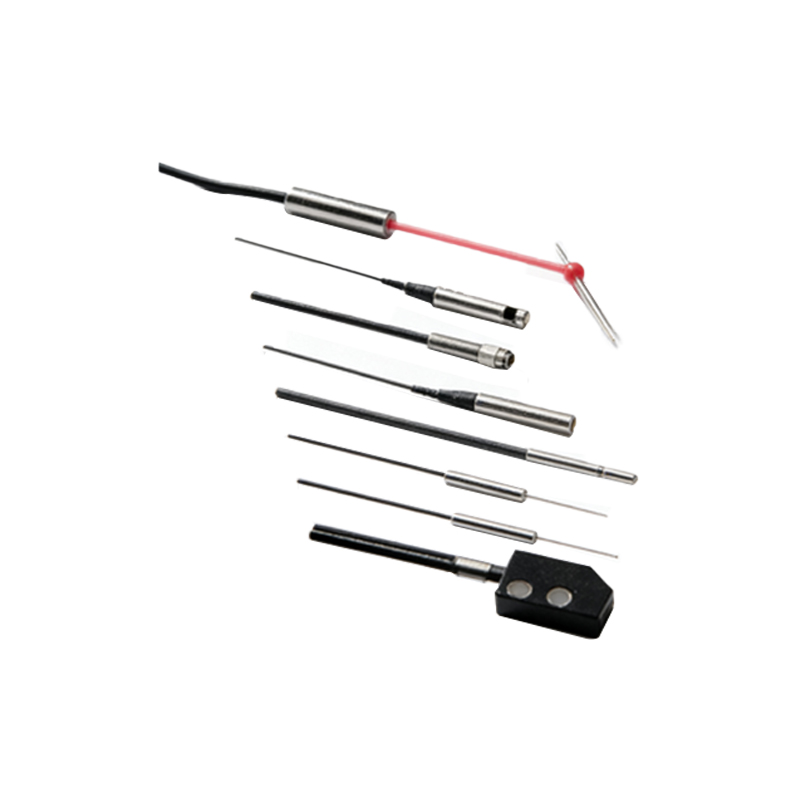
Photoelectric sensors, or photo-interrupters, operate by using a light source (usually an LED) and a photodetector. When the light beam is uninterrupted, the sensor outputs one signal state; when an object (like paper or a printer flag) breaks the beam, the output changes. In the Xerox M118w, these sensors are primarily used for paper path detection and cartridge presence verification. There are two main configurations: transmission-type, where the emitter and detector face each other with a gap, and reflection-type. The M118w predominantly uses the transmission-type for paper detection. Knowing this principle helps in diagnosing issues—a sensor blocked by dust, a malfunctioning flag, or a failed component can cause persistent paper jam errors or "no cartridge detected" messages even when hardware is physically present.
Locating the Paper Feed and Registration Sensors
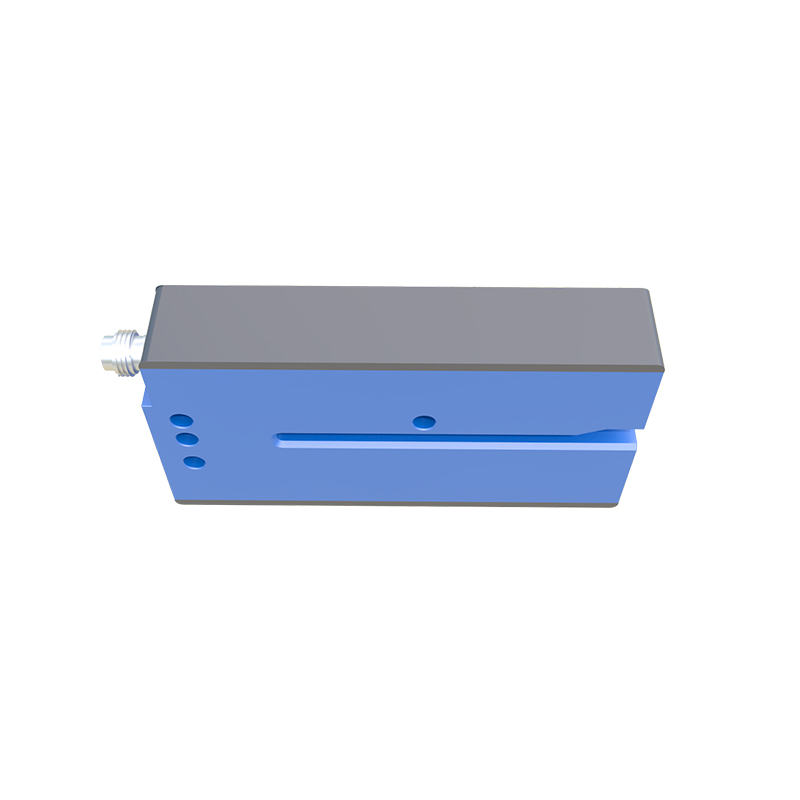
The paper path in the M118w is monitored by several key photoelectric sensors. The first is often called the paper feed sensor or paper tray sensor. It is located near the pickup roller assembly, inside the main body of the printer, just after where the paper enters from the tray. To access it, you typically need to open the printer's rear cover and possibly remove the duplex unit (if equipped) and the main drive assembly cover. The sensor is mounted on a chassis bracket, aligned with a small plastic actuator flag that moves when paper passes through. The registration sensor, which ensures the paper is correctly timed before entering the imaging area, is situated further along the paper path, close to the registration rollers. It is often accessible from the top or side after removing the printer's outer covers and the toner cartridge. Both sensors are small, rectangular components with a U-shaped gap.
Identifying the Toner Cartridge Presence Sensor
A crucial photoelectric sensor is dedicated to detecting the presence and proper installation of the toner cartridge. This sensor is not typically user-accessible without disassembly. It is located inside the printer's imaging area, on the side or rear of the toner cartridge cavity. When you insert a genuine or compatible Xerox M118w toner cartridge, a small tab or window on the cartridge interrupts the sensor's beam, signaling to the printer's logic board that a cartridge is installed. If this sensor fails or becomes dirty, the printer may display errors such as "No Toner Cartridge" or "Replace Toner Cartridge" despite the cartridge being new and correctly seated. Cleaning the sensor's optical window with compressed air is a common first step in troubleshooting.
Accessing the Fuser and Exit Area Sensors
After the paper passes the fuser unit, which melts the toner onto the page, it is guided to the output tray. The exit sensor, or delivery sensor, confirms that the paper has successfully exited the fusing area and is on its way out. This sensor is usually found near the exit rollers, often requiring removal of the printer's top cover and sometimes the fuser unit itself for clear access. In some multifunction printer designs, a separate sensor might monitor the fuser unit's correct positioning. These sensors are vital for completing the print cycle; if the exit sensor fails, the printer might logically assume a jam has occurred at the last stage, even if the paper has been delivered.
Step-by-Step Safety and Access Procedure
Before attempting to locate or inspect any photoelectric sensor, ensure the printer is powered off and unplugged from the electrical outlet. Allow time for the fuser unit to cool if printing has recently occurred. Gather necessary tools such as a Phillips screwdriver and a can of compressed air. The general access procedure involves: removing the rear cover (often secured by screws), carefully lifting the scanner unit (if it's an MFP) and securing it as per the service manual, and then removing the main printer covers. Document or note the location of screws and cable connections. The sensor boards are usually connected to the main controller board via thin wire harnesses. Do not use liquid cleaners on the sensors. Visually inspect for dust, paper debris, or damaged actuator flags that might obstruct the U-shaped slot.
Common Symptoms of Photoelectric Sensor Failure
Recognizing symptoms can pinpoint which sensor might be faulty. Persistent "Paper Jam" errors, especially if no paper is physically stuck, often point to the feed, registration, or exit sensors. The printer may repeatedly ask to "Close Door" or "Insert Cartridge" due to a faulty toner presence sensor. Misfeeds or skewed paper might indicate a registration sensor issue. In many cases, the problem is not the electronic sensor itself but mechanical: a worn-out, broken, or stuck actuator flag that no longer interrupts the beam properly. A thorough cleaning of the sensor gap and checking the free movement of associated flags resolves a significant percentage of these issues.
Conclusion and Maintenance Recommendations
The photoelectric sensors in the Xerox M118w are strategically located along the paper path and near critical components like the toner cartridge. While they are not components intended for regular user replacement, understanding their location and function empowers users and technicians to perform informed diagnostics. Regular maintenance, such as keeping the printer interior clean from paper dust and debris, can prevent many sensor-related problems. For complex disassembly or if a sensor component is confirmed defective, consulting the official Xerox service documentation or contacting a qualified technician is strongly recommended to avoid further damage to the printer's intricate mechanical assemblies.